Şablonlara qayıt
Dərin Dəniz Balığı Daş Boyama
Lazım olan materiallar
- Uzun, yastı daş
- Qara akril boya
- Tünd mavi akril boya
- Ağ akril boya
- Sarı akril boya
- Mavi akril boya
- Düz fırça (orta ölçü)
- İncə detal fırçası
- Şəffaf lak spreyi
Addım-addım təlimatlar
1
addım 1: Paint the pitch-dark abyss
Wash and dry your rock. Paint the entire surface with near-black. While still wet, blend in deep navy blue in the upper areas to suggest the water column — darker at the bottom (deepest water) and slightly less dark higher up. The abyssal zone has no sunlight at all. Add a few scattered pinpoints of light for bioluminescent particles in the water column.
2
addım 2: Sketch and paint the angler fish body
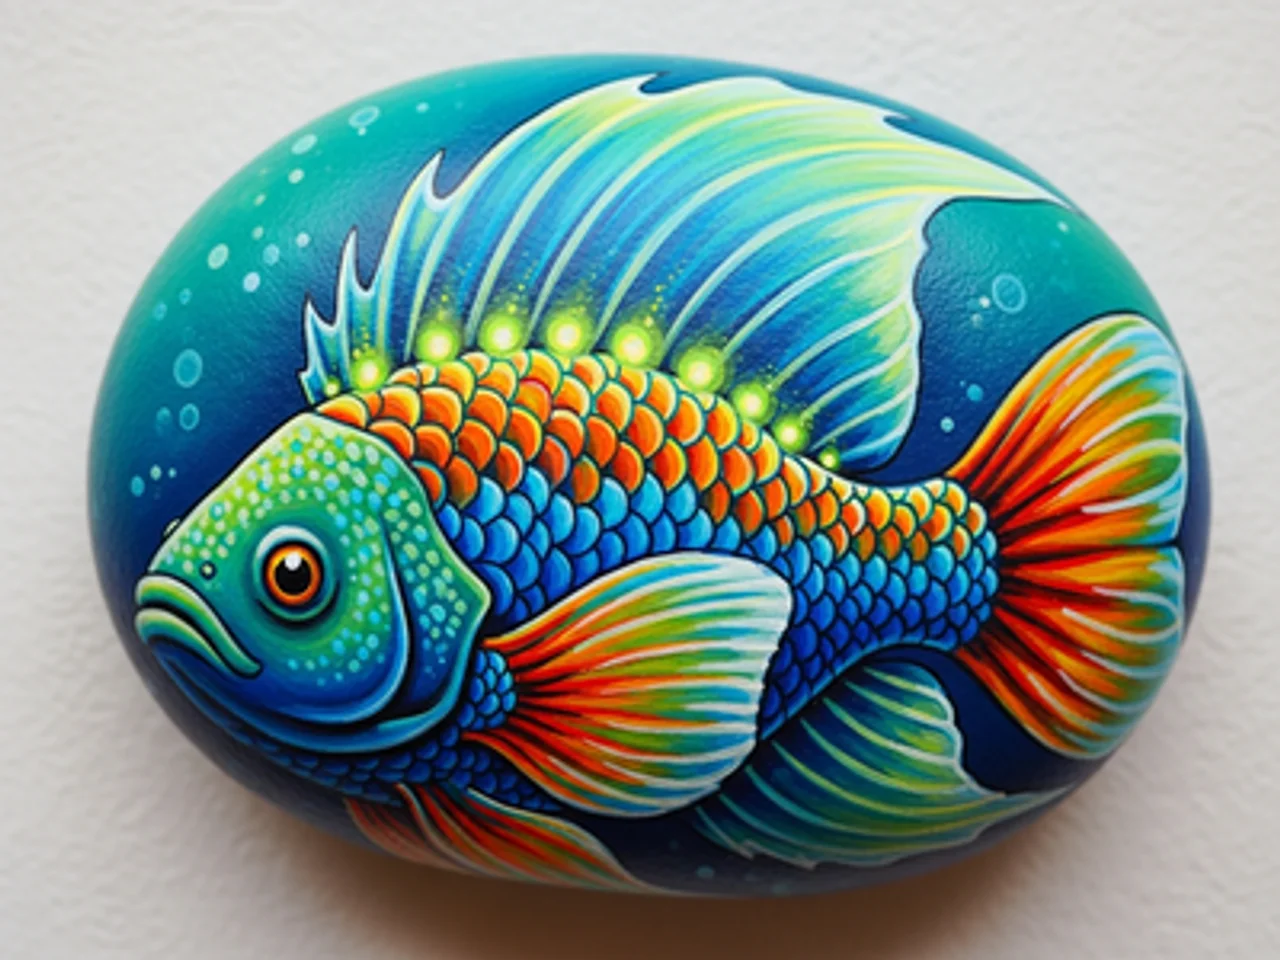
Sketch an anglerfish (deep sea fish) body — a wide, rounded head taking up most of the body, with a tapering tail. The anglerfish is the most recognizable deep sea creature. Paint the body in deep teal or dark gray-blue. Add a large, gaping mouth with massive jagged teeth in white — the teeth are a hallmark feature.
3
addım 3: Paint the bioluminescent lure
On the top of the anglerfish's head, paint a long spine (illicium) extending forward and curving down in front of the mouth. At the tip, paint a small glowing bulb in bright cyan or neon blue-green with a white core. This is the esca — the bioluminescent lure the anglerfish uses to attract prey in the darkness.
4
addım 4: Add bioluminescent body markings
Using neon green or bright cyan paint and a fine brush, add a series of glowing spots and curving line patterns along the body and fins of the anglerfish. These bioluminescent patterns suggest the photophores (light-producing organs) that many deep sea creatures use for communication and camouflage.
5
addım 5: Add the glowing eye and seal
Paint a large, haunting deep-sea eye on the side of the anglerfish head — a wide greenish iris surrounding a large black pupil with a tiny white highlight. Add a glow halo around the entire fish using very diluted cyan paint. Apply gloss sealant. The wet, shiny finish makes the fish look submerged in water.
addım 6: RoxGeo Kodunu əlavə edin
Rokunuzun altına və ya arxasına ROXGEO.COM, ardınca kəsik işarəsi və rokunuzun unikal kodunu yazın (məsələn, ROXGEO.COM/ABC123). Bu, tapana birbaşa qayanızın profil səhifəsinə getməyə və kəşfini qeyd etməyə imkan verir. Əgər qaya tam ünvan üçün çox kiçikdirsə, #ROX və ardınca boşluq qoymadan kodu yazın (məsələn, #ROXABC123) — qısadır, Google-da axtarmaq asandır və birbaşa rokunuzun səyahət səhifəsinə aparır. İncə ucu daimi marker və ya akril boya qələmindən istifadə edin və onu şəffaf lak ilə möhürləyin ki, kod yağış, günəş və macəra zamanı oxunaqlı olsun.
Faydalı məsləhətlər
- Dizaynına uyğun daş forması seç.
- Boyamadan əvvəl dizaynı qələmlə çək.
- Növbəti qatı əlavə etməzdən əvvəl hər qatın tam qurumasına icazə verin.
- Daşı kışarıda da qorumaq üçün şəffaf lak spreyi ilə bağla.
- Aşağıdakı RoxGeo kodu üçün suya davamlı daimi marker (məsələn, Sharpie) və ya akril boya qələmindən istifadə edin. Kodun üzərinə 2-3 qat şəffaf mastik tətbiq edin - bu, onu yağış, günəş və aylarla işləmə zamanı oxuna bilən saxlayır.
- Rokunuza #ROXCODE (məsələn, #ROXABC123) yazmaq Google axtarışı vasitəsilə tapmağı asanlaşdırır. Biz bu hashtag üçün aktiv şəkildə optimallaşdırırıq, ona görə də onu axtaran hər kəs rokunuzun profil səhifəsini tez tapacaq.
- ROXGEO.COM/CODE tam ünvanı tapıcını birbaşa qayanın kartına aparır, orada onlar onun tam səyahət tarixçəsini, əvvəlki tapıcılarını və səyahətinin hər dayanacağından fotoşəkilləri görə bilərlər.
Bu qayanı rəngləyin və RoxGeo ilə səyahətini izləyin!
RoxGeo-nu pulsuz yükləyin