Zpět k šablonám
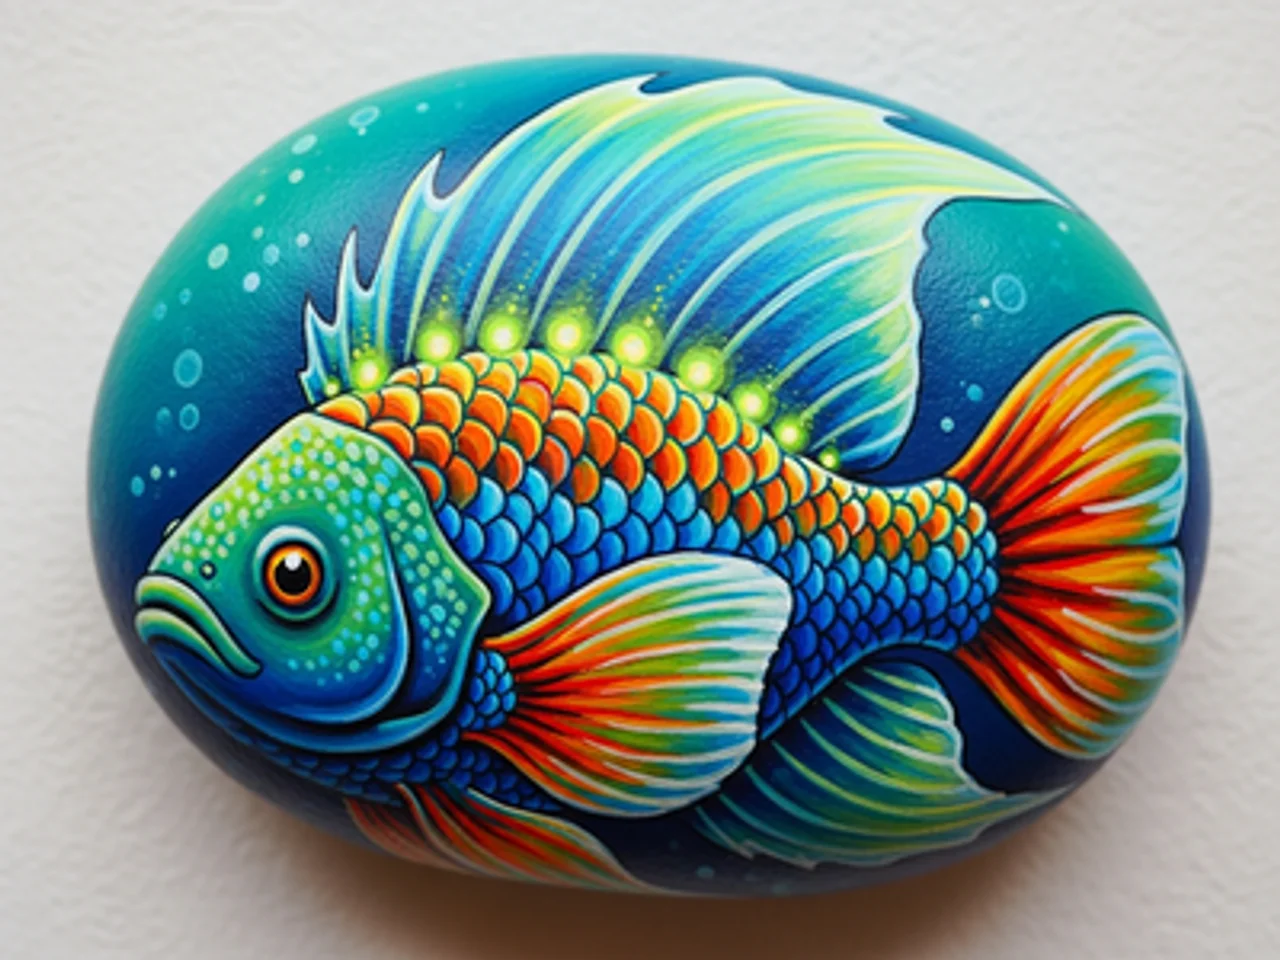
Malba Hlubinná Ryba na Kameni
Potřebné materiály
- Hladký, protáhlý plochý kámen
- Černá akrylová barva
- Tmavě modrá akrylová barva
- Bílá akrylová barva
- Žlutá akrylová barva
- Modrá akrylová barva
- Plochý štětec (střední)
- Jemný detailní štětec
- Bezbarvý lak ve spreji
Pokyny krok za krokem
1
Krok 1: Paint the pitch-dark abyss
Wash and dry your rock. Paint the entire surface with near-black. While still wet, blend in deep navy blue in the upper areas to suggest the water column — darker at the bottom (deepest water) and slightly less dark higher up. The abyssal zone has no sunlight at all. Add a few scattered pinpoints of light for bioluminescent particles in the water column.
2
Krok 2: Sketch and paint the angler fish body
Sketch an anglerfish (deep sea fish) body — a wide, rounded head taking up most of the body, with a tapering tail. The anglerfish is the most recognizable deep sea creature. Paint the body in deep teal or dark gray-blue. Add a large, gaping mouth with massive jagged teeth in white — the teeth are a hallmark feature.
3
Krok 3: Paint the bioluminescent lure
On the top of the anglerfish's head, paint a long spine (illicium) extending forward and curving down in front of the mouth. At the tip, paint a small glowing bulb in bright cyan or neon blue-green with a white core. This is the esca — the bioluminescent lure the anglerfish uses to attract prey in the darkness.
4
Krok 4: Add bioluminescent body markings
Using neon green or bright cyan paint and a fine brush, add a series of glowing spots and curving line patterns along the body and fins of the anglerfish. These bioluminescent patterns suggest the photophores (light-producing organs) that many deep sea creatures use for communication and camouflage.
5
Krok 5: Add the glowing eye and seal
Paint a large, haunting deep-sea eye on the side of the anglerfish head — a wide greenish iris surrounding a large black pupil with a tiny white highlight. Add a glow halo around the entire fish using very diluted cyan paint. Apply gloss sealant. The wet, shiny finish makes the fish look submerged in water.
Krok 6: Přidejte kód RoxGeo
Na spodní nebo zadní stranu vaší skály napište ROXGEO.COM následované lomítkem a jedinečným kódem vaší skály (např. ROXGEO.COM/ABC123). To umožňuje nálezci přejít přímo na stránku profilu vaší skály a zaznamenat svůj objev. Pokud je kámen pro celou adresu příliš malý, napište #ROX a za ním kód bez mezer (např. #ROXABC123) – je to krátké, snadno se hledá na Googlu a vede přímo na stránku cesty vašeho kamene. Použijte permanentní fix s jemným hrotem nebo akrylové pero a zalepte jej bezbarvým lakem, aby kód zůstal čitelný i za deště, slunce a dobrodružství.
Užitečné tipy
- Vyber tvar kamene, který odpovídá tvému motivu.
- Načrtni motiv tužkou, než začneš malovat.
- Nechte každou vrstvu úplně uschnout, než přidáte další.
- Zalakuj bezbarvým sprejem, aby kámen vydržel i venku.
- Pro kód RoxGeo na spodní straně použijte vodotěsný permanentní fix (jako Sharpie) nebo akrylové pero. Naneste na kód 2–3 vrstvy čirého tmelu – díky tomu bude čitelný za deště, slunce a manipulace po celé měsíce.
- Když na svůj kámen napíšete #ROXCODE (např. #ROXABC123), můžete jej snadno najít pomocí vyhledávání Google. Aktivně optimalizujeme pro tento hashtag, takže každý, kdo jej hledá, rychle najde profilovou stránku vašeho kamínku.
- Úplná adresa ROXGEO.COM/CODE přenese hledače přímo na kartu vašeho kamene, kde uvidí celou jeho cestovní historii, předchozí nálezce a fotografie z každé zastávky na jeho cestě.
Namalujte tento kámen a sledujte jeho cestu s RoxGeo!
Stáhněte si zdarma RoxGeo