Tilbage til skabeloner
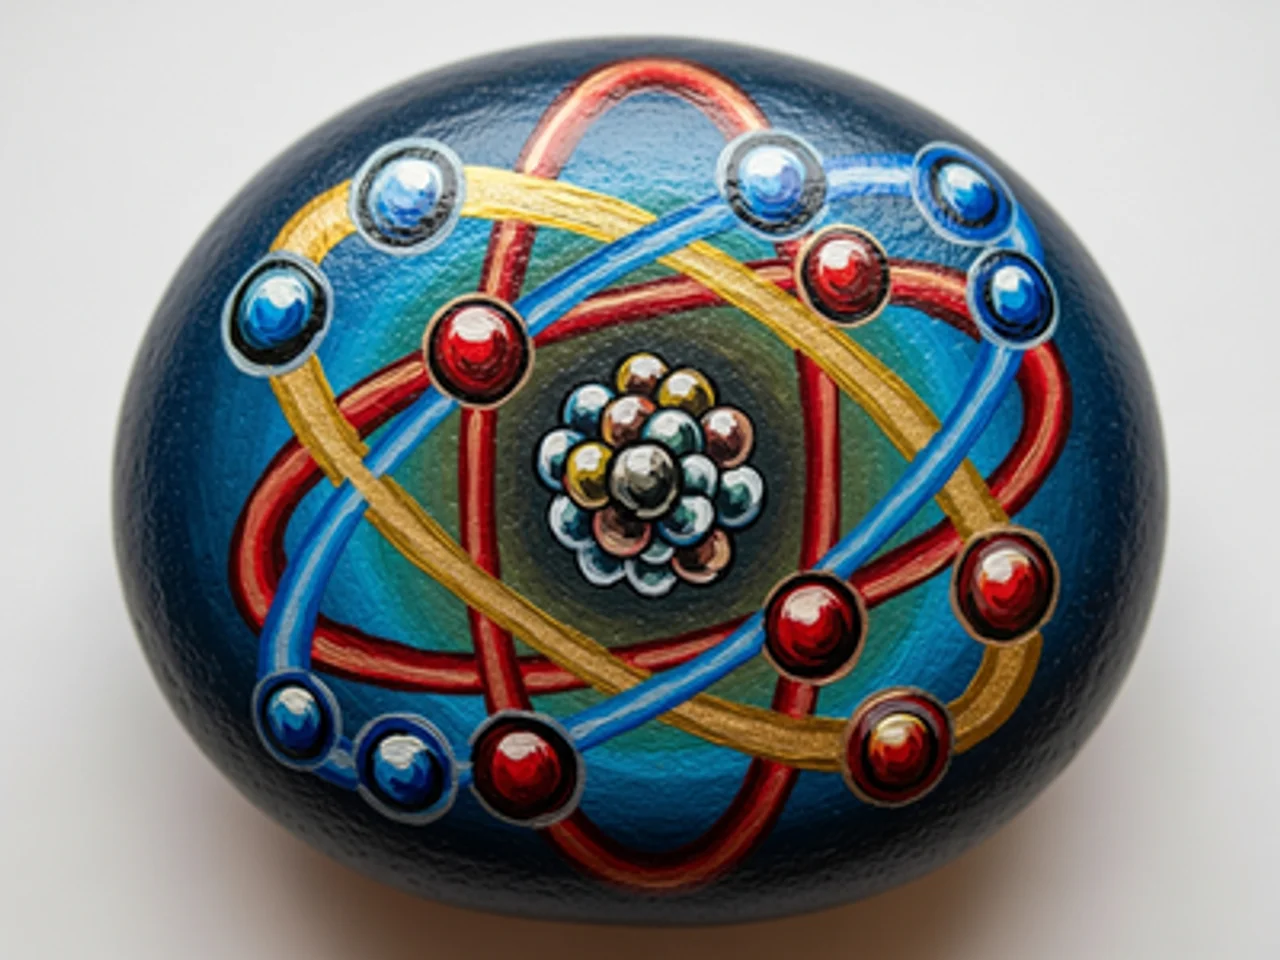
Atommodel Stenmaling
Nødvendige materialer
- Glat, rund sten (håndstørrelse)
- Sort akrylmaling
- Mørkeblå akrylmaling
- Hvid akrylmaling
- Rød akrylmaling
- Flad pensel (mellemstor)
- Fin detaljepensel
- Klarlaksspray
- Blyant
Trin-for-trin instruktioner
1
Trin 1: Paint the dark background
Wash and dry your rock. Paint the entire surface with deep navy blue or black. Tiny white dot stars can be added for a scientific-meets-cosmic feel. The dark background makes the glowing orbital lines and electrons stand out dramatically.
2
Trin 2: Draw and paint the nucleus
In the center of the rock, paint a cluster of tightly packed dots for the nucleus: some red (protons) and some white or gray (neutrons). The nucleus should be a dense, compact cluster suggesting the tight packing of nuclear particles. It should be notably smaller than the orbital rings around it.
3
Trin 3: Paint the electron orbital rings
Using teal or turquoise paint and a fine brush, paint two or three elliptical orbital rings around the nucleus at different angles. Each ring is a thin, complete ellipse. Like a gyroscope, the rings should be oriented differently — one horizontal, one tilted left, one tilted right — to create a three-dimensional spherical appearance.
4
Trin 4: Add the electrons
Paint one small bright yellow or gold dot on each orbital ring to represent an electron. Position them at different points along each ring — not all at the same angle. Each electron should glow slightly by adding a tiny white highlight dot inside the yellow dot.
5
Trin 5: Add glow effects and seal
Using very diluted white paint, add a soft glow halo around the nucleus. Add thin light-colored trailing lines behind each electron to suggest orbital movement. Apply clear sealant when fully dry for a polished finish on your atom model rock.
Trin 6: Tilføj RoxGeo-kode
På bunden eller bagsiden af din sten skal du skrive ROXGEO.COM efterfulgt af en skråstreg og din stens unikke kode (f.eks. ROXGEO.COM/ABC123). Dette lader finderen gå direkte til din stens profilside og logge deres opdagelse. Hvis stenen er for lille til den fulde adresse, skal du skrive #ROX efterfulgt af koden uden mellemrum (f.eks. #ROXABC123) - den er kort, nem at søge på Google og fører direkte til din stens rejseside. Brug en permanent tusch med fin spids eller akrylmaling, og forsegl den med klar lak, så koden forbliver læsbar gennem regn, sol og eventyr.
Nyttige tips
- Et hvidt grundlag gør alle farver mere levende.
- Skitser designet med blyant, inden du begynder at male.
- Lad hvert lag tørre helt, inden du tilføjer det næste.
- Forsegl med klar lakspray for at beskytte stenen udendørs.
- Til RoxGeo-koden i bunden skal du bruge en vandtæt permanent markør (som Sharpie) eller en akrylmaling. Påfør 2-3 lag klar fugemasse over koden - dette holder den læsbar gennem regn, sol og håndtering i flere måneder.
- At skrive #ROXCODE (f.eks. #ROXABC123) på din klippe gør det nemt at finde via Google-søgning. Vi optimerer aktivt til dette hashtag, så alle, der søger efter det, vil hurtigt finde din sten profilside.
- Den fulde adresse ROXGEO.COM/CODE tager finderen direkte til dit stenkort, hvor de kan se dens fulde rejsehistorie, tidligere findere og billeder fra hvert stop på rejsen.
Mal denne sten og følg dens rejse med RoxGeo!
Download RoxGeo gratis