Tilbage til skabeloner
Dybhavsfisk Stenmaling
Nødvendige materialer
- Aflang, flad sten
- Sort akrylmaling
- Mørkeblå akrylmaling
- Hvid akrylmaling
- Gul akrylmaling
- Blå akrylmaling
- Flad pensel (mellemstor)
- Fin detaljepensel
- Klarlaksspray
Trin-for-trin instruktioner
1
Trin 1: Paint the pitch-dark abyss
Wash and dry your rock. Paint the entire surface with near-black. While still wet, blend in deep navy blue in the upper areas to suggest the water column — darker at the bottom (deepest water) and slightly less dark higher up. The abyssal zone has no sunlight at all. Add a few scattered pinpoints of light for bioluminescent particles in the water column.
2
Trin 2: Sketch and paint the angler fish body
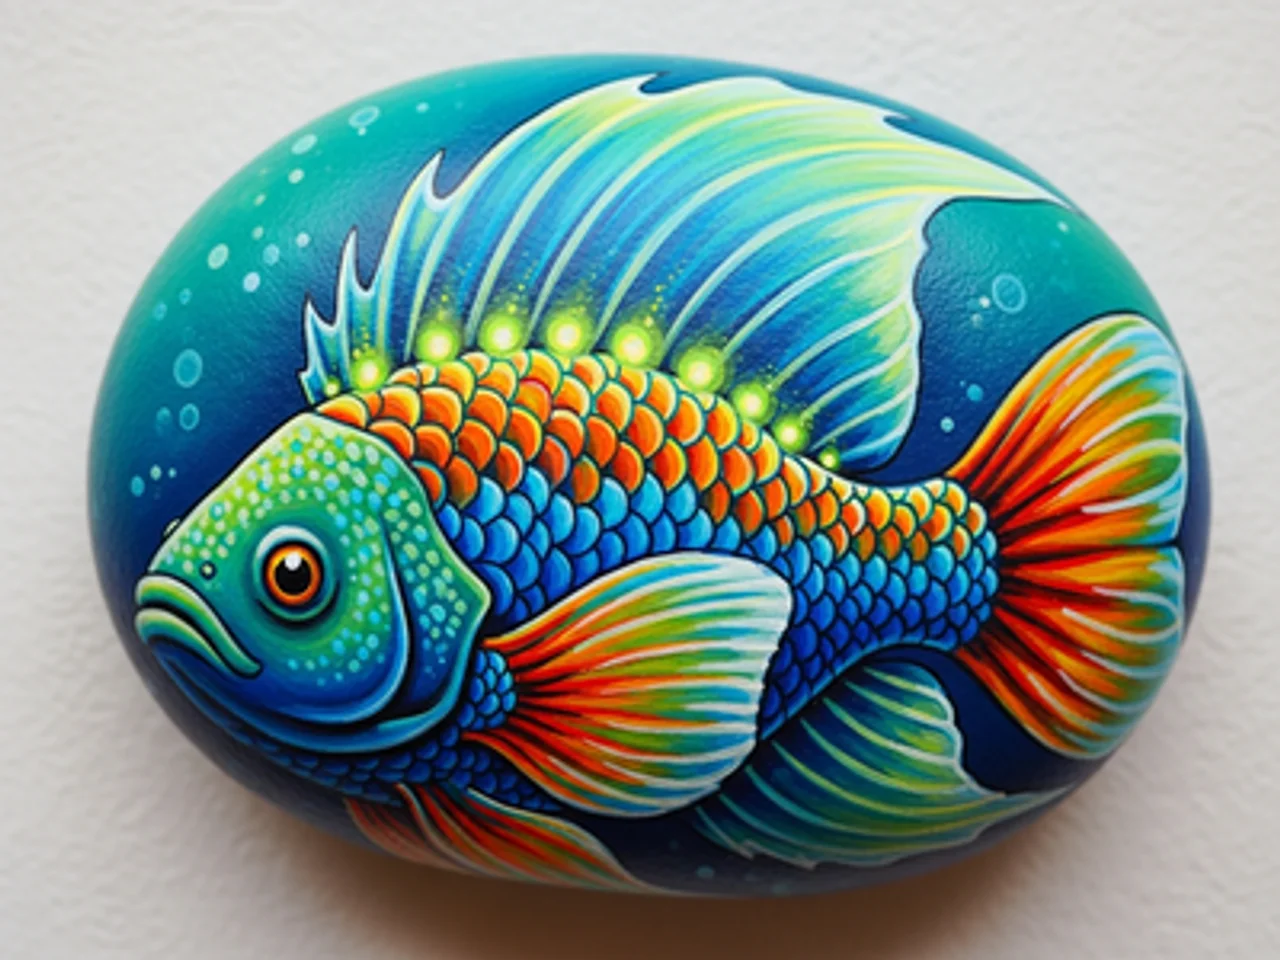
Sketch an anglerfish (deep sea fish) body — a wide, rounded head taking up most of the body, with a tapering tail. The anglerfish is the most recognizable deep sea creature. Paint the body in deep teal or dark gray-blue. Add a large, gaping mouth with massive jagged teeth in white — the teeth are a hallmark feature.
3
Trin 3: Paint the bioluminescent lure
On the top of the anglerfish's head, paint a long spine (illicium) extending forward and curving down in front of the mouth. At the tip, paint a small glowing bulb in bright cyan or neon blue-green with a white core. This is the esca — the bioluminescent lure the anglerfish uses to attract prey in the darkness.
4
Trin 4: Add bioluminescent body markings
Using neon green or bright cyan paint and a fine brush, add a series of glowing spots and curving line patterns along the body and fins of the anglerfish. These bioluminescent patterns suggest the photophores (light-producing organs) that many deep sea creatures use for communication and camouflage.
5
Trin 5: Add the glowing eye and seal
Paint a large, haunting deep-sea eye on the side of the anglerfish head — a wide greenish iris surrounding a large black pupil with a tiny white highlight. Add a glow halo around the entire fish using very diluted cyan paint. Apply gloss sealant. The wet, shiny finish makes the fish look submerged in water.
Trin 6: Tilføj RoxGeo-kode
På bunden eller bagsiden af din sten skal du skrive ROXGEO.COM efterfulgt af en skråstreg og din stens unikke kode (f.eks. ROXGEO.COM/ABC123). Dette lader finderen gå direkte til din stens profilside og logge deres opdagelse. Hvis stenen er for lille til den fulde adresse, skal du skrive #ROX efterfulgt af koden uden mellemrum (f.eks. #ROXABC123) - den er kort, nem at søge på Google og fører direkte til din stens rejseside. Brug en permanent tusch med fin spids eller akrylmaling, og forsegl den med klar lak, så koden forbliver læsbar gennem regn, sol og eventyr.
Nyttige tips
- Vælg en sten, der passer til dit motiv.
- Skitser designet med blyant, inden du begynder at male.
- Lad hvert lag tørre helt, inden du tilføjer det næste.
- Forsegl med klar lakspray for at beskytte stenen udendørs.
- Til RoxGeo-koden i bunden skal du bruge en vandtæt permanent markør (som Sharpie) eller en akrylmaling. Påfør 2-3 lag klar fugemasse over koden - dette holder den læsbar gennem regn, sol og håndtering i flere måneder.
- At skrive #ROXCODE (f.eks. #ROXABC123) på din klippe gør det nemt at finde via Google-søgning. Vi optimerer aktivt til dette hashtag, så alle, der søger efter det, vil hurtigt finde din sten profilside.
- Den fulde adresse ROXGEO.COM/CODE tager finderen direkte til dit stenkort, hvor de kan se dens fulde rejsehistorie, tidligere findere og billeder fra hvert stop på rejsen.
Mal denne sten og følg dens rejse med RoxGeo!
Download RoxGeo gratis