Tilbage til skabeloner
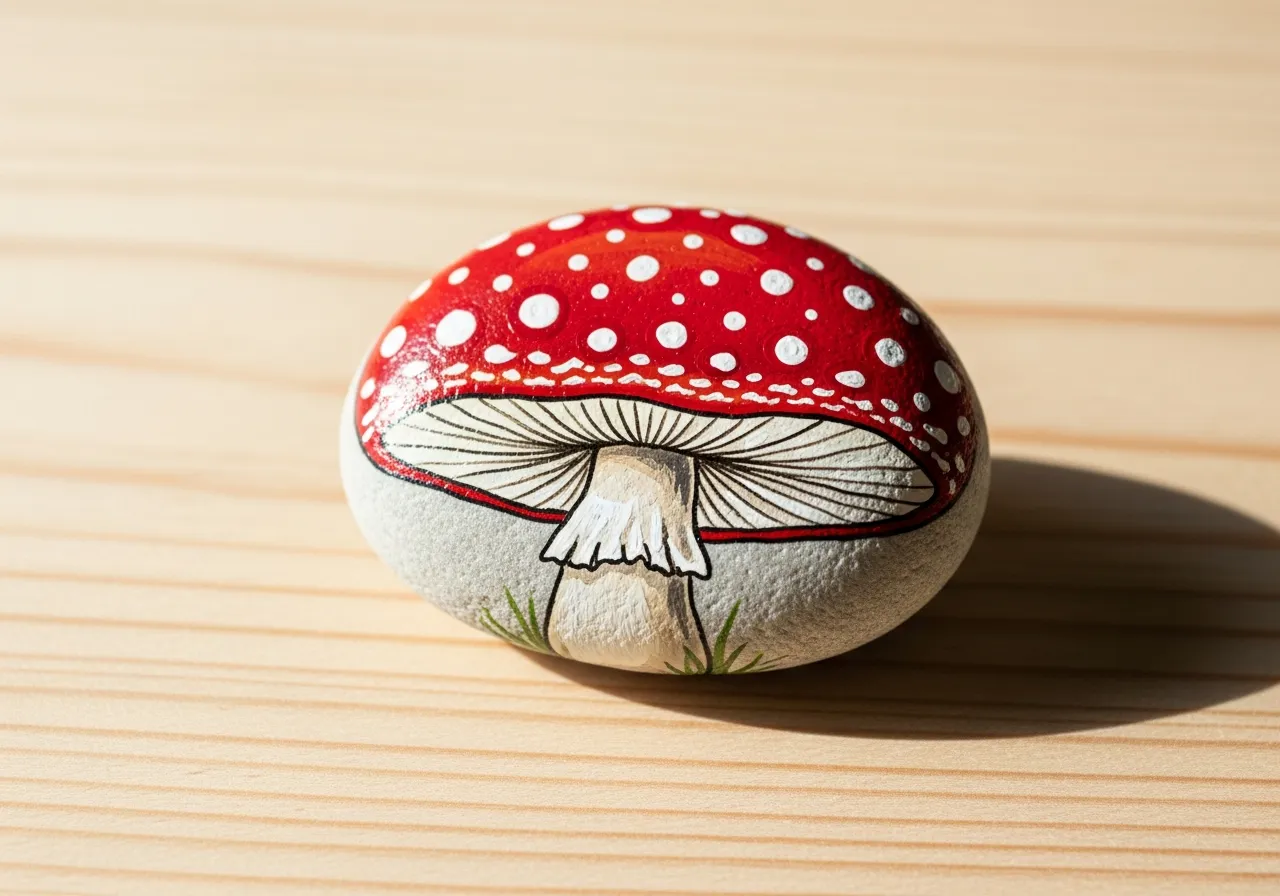
Svampestenmaling
Nødvendige materialer
- Rund, kuppelformet sten
- Rød akrylmaling
- Hvid akrylmaling
- Brun akrylmaling
- Grøn akrylmaling
- Flad pensel (mellemstor)
- Fin detaljepensel
- Klarlaksspray
Trin-for-trin instruktioner
1
Trin 1: Prepare the rock
Wash your rock with soap and water and let it dry completely. A round or slightly dome-shaped rock works best for a mushroom. Cover your workspace with newspaper.
2
Trin 2: Paint the mushroom cap
Paint the upper two-thirds of the rock with red acrylic paint. Apply two coats for a rich, even color. The dome shape of the rock will naturally look like a mushroom cap.
3
Trin 3: Add white dots
Once the red paint is dry, dip the end of your brush handle or a pencil eraser in white paint and stamp round dots across the red cap. Space them randomly for a natural toadstool look.
4
Trin 4: Paint the stem
Paint the lower third of the rock white or light beige for the mushroom stem. Keep the border between the cap and stem neat. You can add a small curved line for the stem ring.
5
Trin 5: Add details and seal
Optionally add tiny green grass blades at the base with green paint. Once everything is dry, spray with clear sealant to protect your mushroom rock from the weather.
Trin 6: Tilføj RoxGeo-kode
På bunden eller bagsiden af din sten skal du skrive ROXGEO.COM efterfulgt af en skråstreg og din stens unikke kode (f.eks. ROXGEO.COM/ABC123). Dette lader finderen gå direkte til din stens profilside og logge deres opdagelse. Hvis stenen er for lille til den fulde adresse, skal du skrive #ROX efterfulgt af koden uden mellemrum (f.eks. #ROXABC123) - den er kort, nem at søge på Google og fører direkte til din stens rejseside. Brug en permanent tusch med fin spids eller akrylmaling, og forsegl den med klar lak, så koden forbliver læsbar gennem regn, sol og eventyr.
Nyttige tips
- Vælg en sten, der passer til dit motiv.
- Et hvidt grundlag gør alle farver mere levende.
- Lad hvert lag tørre helt, inden du tilføjer det næste.
- Forsegl med klar lakspray for at beskytte stenen udendørs.
- Til RoxGeo-koden i bunden skal du bruge en vandtæt permanent markør (som Sharpie) eller en akrylmaling. Påfør 2-3 lag klar fugemasse over koden - dette holder den læsbar gennem regn, sol og håndtering i flere måneder.
- At skrive #ROXCODE (f.eks. #ROXABC123) på din klippe gør det nemt at finde via Google-søgning. Vi optimerer aktivt til dette hashtag, så alle, der søger efter det, vil hurtigt finde din sten profilside.
- Den fulde adresse ROXGEO.COM/CODE tager finderen direkte til dit stenkort, hvor de kan se dens fulde rejsehistorie, tidligere findere og billeder fra hvert stop på rejsen.
Mal denne sten og følg dens rejse med RoxGeo!
Download RoxGeo gratis


