Tilbage til skabeloner
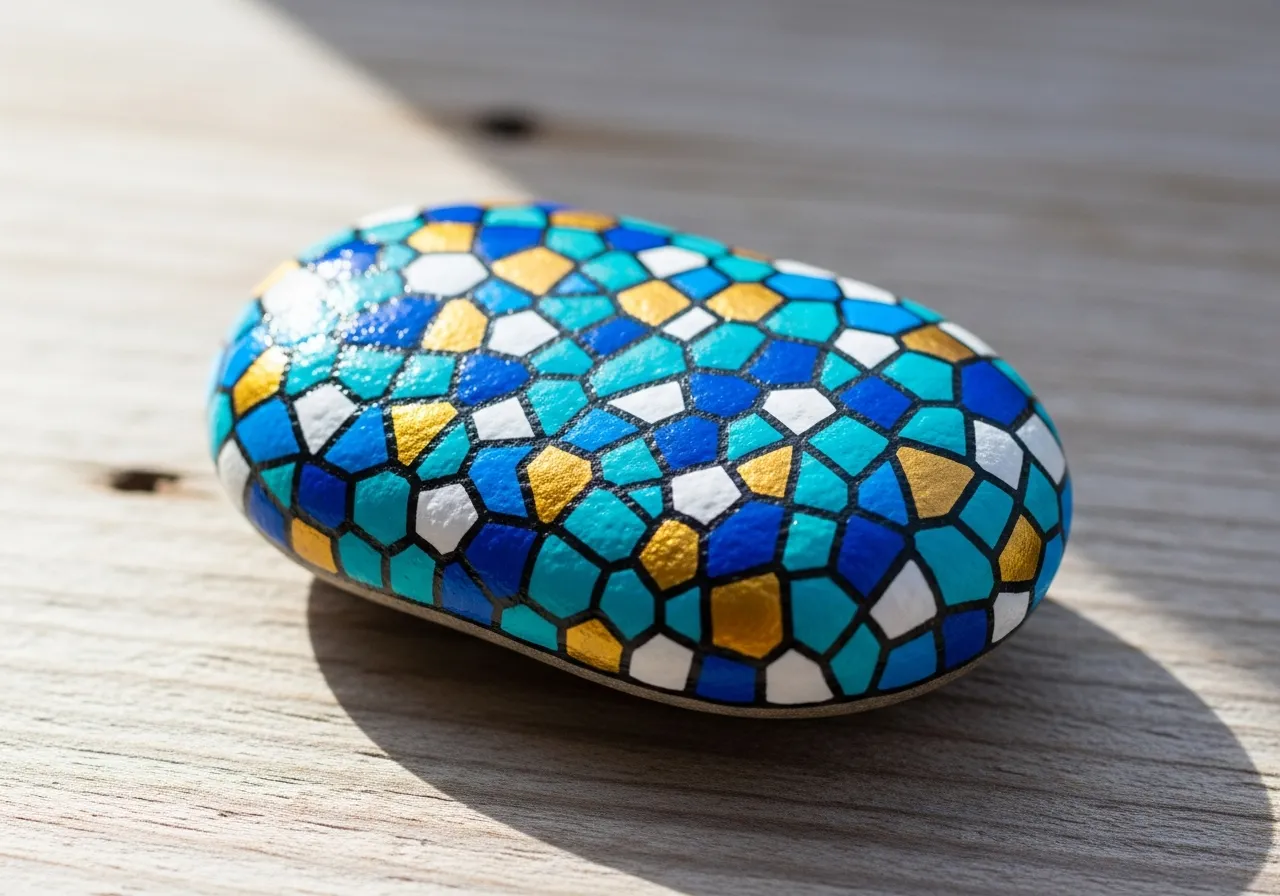
Prikkestenmaling
Nødvendige materialer
- Glat, rund sten (håndstørrelse)
- Diverse lyse akrylfarver
- Hvid akrylmaling
- Vatpinde eller runde pensler (til prikker)
- Flad pensel (mellemstor)
- Klarlaksspray
- Papirstallerken (som palet)
- Avis eller plastfilm (til arbejdspladsen)
Trin-for-trin instruktioner
1
Trin 1: Prepare the rock
Wash your rock with soap and water and let it dry completely. Paint the entire surface with white acrylic paint as a base coat. Let it dry fully before moving on.
2
Trin 2: Choose your colors
Pick 4 to 6 bright colors for your dots. Squeeze a small amount of each color onto your paper plate palette. Arrange them so they are easy to reach.
3
Trin 3: Start dotting
Dip a cotton swab or the round end of a brush into paint and press it firmly onto the rock to create a perfect circle. Start with the largest dots first, spacing them evenly across the rock.
4
Trin 4: Fill in the gaps
Add smaller dots in different colors between the larger dots. Use a thinner tool for tiny dots. Mix and match colors for a fun, playful pattern. Cover as much of the white background as you like.
5
Trin 5: Seal and display
Let all the dots dry completely. Spray with clear sealant to protect your colorful creation. Your polka dot rock is ready to brighten up any garden or shelf!
Trin 6: Tilføj RoxGeo-kode
På bunden eller bagsiden af din sten skal du skrive ROXGEO.COM efterfulgt af en skråstreg og din stens unikke kode (f.eks. ROXGEO.COM/ABC123). Dette lader finderen gå direkte til din stens profilside og logge deres opdagelse. Hvis stenen er for lille til den fulde adresse, skal du skrive #ROX efterfulgt af koden uden mellemrum (f.eks. #ROXABC123) - den er kort, nem at søge på Google og fører direkte til din stens rejseside. Brug en permanent tusch med fin spids eller akrylmaling, og forsegl den med klar lak, så koden forbliver læsbar gennem regn, sol og eventyr.
Nyttige tips
- Et hvidt grundlag gør alle farver mere levende.
- Lad hvert lag tørre helt, inden du tilføjer det næste.
- Vælg en sten, der passer til dit motiv.
- Forsegl med klar lakspray for at beskytte stenen udendørs.
- Til RoxGeo-koden i bunden skal du bruge en vandtæt permanent markør (som Sharpie) eller en akrylmaling. Påfør 2-3 lag klar fugemasse over koden - dette holder den læsbar gennem regn, sol og håndtering i flere måneder.
- At skrive #ROXCODE (f.eks. #ROXABC123) på din klippe gør det nemt at finde via Google-søgning. Vi optimerer aktivt til dette hashtag, så alle, der søger efter det, vil hurtigt finde din sten profilside.
- Den fulde adresse ROXGEO.COM/CODE tager finderen direkte til dit stenkort, hvor de kan se dens fulde rejsehistorie, tidligere findere og billeder fra hvert stop på rejsen.
Mal denne sten og følg dens rejse med RoxGeo!
Download RoxGeo gratis