Tagasi mallide juurde
Paabulind Kivimaal
Vajalikud materjalid
- Suur, lame kivi
- Sinine akrüülvärv
- Roheline akrüülvärv
- Mitmesugused eredad akrüülvärvid
- Must akrüülvärv
- Valge akrüülvärv
- Lai pintsel (keskmine)
- Peene detailpintsel
- Läbipaistev lakk-pihustus
Üksikasjalikud juhised
1
Samm 1: Plan and sketch the peacock design
Wash and dry your large flat rock. With a pencil, sketch a peacock face and small body in the center-lower portion of the rock. Then sketch a large fan of tail feathers spreading outward and upward, filling most of the rock surface. Each feather should end in a large oval eye spot.
2
Samm 2: Paint the feather fan background
Paint the entire fan area with a base coat of teal or turquoise. While wet, blend touches of emerald green toward the edges and cobalt blue toward the center. This creates the iridescent shimmer of peacock feathers. Apply two coats for solid coverage.
3
Samm 3: Paint the eye spots on feathers
This is the signature feature of peacock feathers. For each feather tip, paint concentric ovals: the innermost is black, surrounded by a ring of gold, then a ring of teal or blue, then an outer ring of dark green. Add a tiny white highlight dot in the center of each black oval for brilliance.
4
Samm 4: Paint the peacock body and crest
Paint the small peacock body in the lower center with iridescent blue-green, using your cobalt blue and teal blended together. Paint a small fan crest on top of the head: a row of tiny circular-tipped feather spikes radiating upward from the head like a crown.
5
Samm 5: Add feather detail lines and seal
Using a fine brush and dark teal or black, draw thin radiating lines from the base to the eye spot on each feather. These lines suggest the barbs of real peacock feathers. Add gold outlines around each eye spot for richness. Once fully dry, apply clear sealant.
Samm 6: Lisage RoxGeo kood
Kirjutage kivi põhjale või taha ROXGEO.COM, millele järgneb kaldkriips ja kivi unikaalne kood (nt ROXGEO.COM/ABC123). See võimaldab leidjal minna otse teie kivi profiililehele ja oma avastuse logida. Kui kivi on täieliku aadressi jaoks liiga väike, kirjutage #ROX, millele järgneb tühikuteta kood (nt #ROXABC123) – see on lühike, seda on lihtne Google'ist otsida ja see viib otse teie kivi teekonna lehele. Kasutage peene otsaga püsimarkerit või akrüülvärvipliiatsit ja pitseerige see läbipaistva lakiga, et kood jääks loetavaks läbi vihma, päikese ja seikluste.
Kasulikud näpunäited
- Vali kivi kuju, mis sobib sinu motiiviga.
- Visanda motiiv pliiatsiga enne maalimist.
- Laske igal kihil täielikult kuivada enne järgmise lisamist.
- Tihenda läbipaistva lakk-pihustiga, et kivi jääks ilus ka väljas.
- Põhjas oleva RoxGeo koodi jaoks kasutage veekindlat püsimarkerit (nagu Sharpie) või akrüülvärvipliiatsit. Kandke koodile 2–3 kihti läbipaistvat hermeetikut – nii jääb see loetavaks läbi vihma, päikese ja käsitsemise kuude jooksul.
- Kui kirjutate oma kivile #ROXCODE (nt #ROXABC123), on selle Google'i otsingu kaudu lihtne leida. Optimeerime selle hashtagiga aktiivselt, nii et igaüks, kes seda otsib, leiab teie roki profiililehe kiiresti.
- Täielik aadress ROXGEO.COM/CODE viib leidja otse teie kivi kaardile, kus ta näeb selle täielikku reisiajalugu, varasemaid leidjaid ja fotosid igast teekonna peatusest.
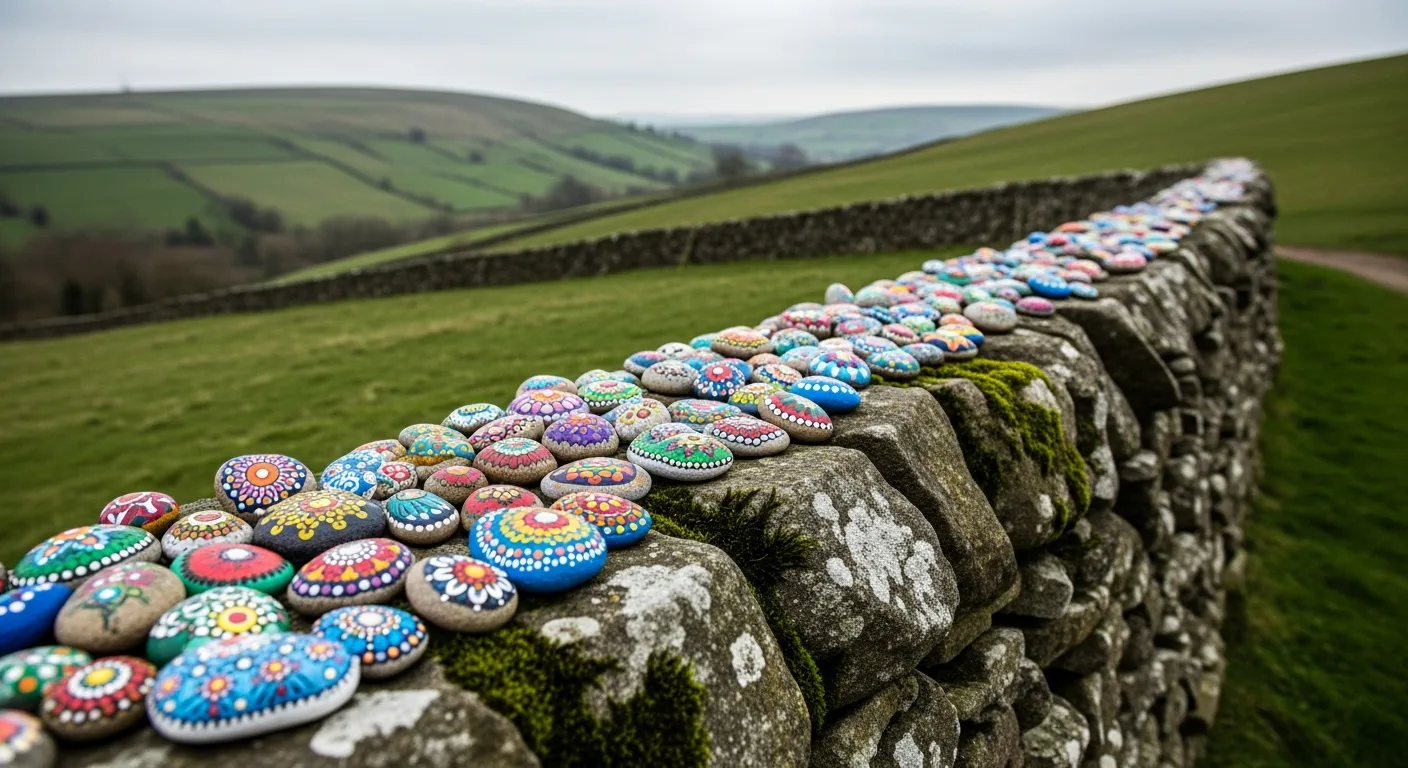
Värvige see kivi ja jälgige selle teekonda RoxGeoga!
Laadige alla RoxGeo tasuta