Tagasi mallide juurde
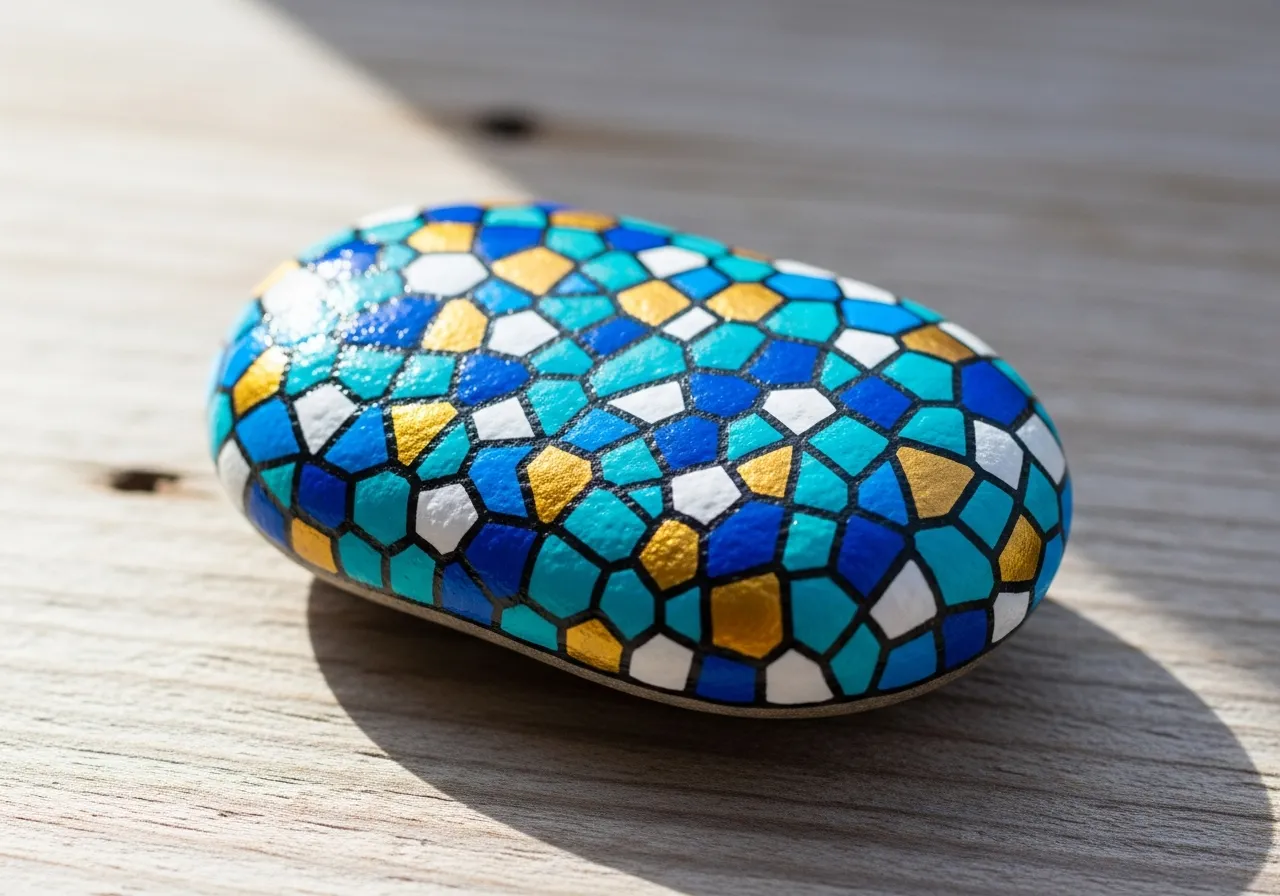
Täpimuster Kivil
Vajalikud materjalid
- Sile, ümmargune kivi (peopesa suurune)
- Mitmesugused eredad akrüülvärvid
- Valge akrüülvärv
- Vatitikud või ümmargused pintslid (punktide jaoks)
- Lai pintsel (keskmine)
- Läbipaistev lakk-pihustus
- Paberalus (paleti asemel)
- Ajaleht või kilekott (töötasapinna kaitseks)
Üksikasjalikud juhised
1
Samm 1: Prepare the rock
Wash your rock with soap and water and let it dry completely. Paint the entire surface with white acrylic paint as a base coat. Let it dry fully before moving on.
2
Samm 2: Choose your colors
Pick 4 to 6 bright colors for your dots. Squeeze a small amount of each color onto your paper plate palette. Arrange them so they are easy to reach.
3
Samm 3: Start dotting
Dip a cotton swab or the round end of a brush into paint and press it firmly onto the rock to create a perfect circle. Start with the largest dots first, spacing them evenly across the rock.
4
Samm 4: Fill in the gaps
Add smaller dots in different colors between the larger dots. Use a thinner tool for tiny dots. Mix and match colors for a fun, playful pattern. Cover as much of the white background as you like.
5
Samm 5: Seal and display
Let all the dots dry completely. Spray with clear sealant to protect your colorful creation. Your polka dot rock is ready to brighten up any garden or shelf!
Samm 6: Lisage RoxGeo kood
Kirjutage kivi põhjale või taha ROXGEO.COM, millele järgneb kaldkriips ja kivi unikaalne kood (nt ROXGEO.COM/ABC123). See võimaldab leidjal minna otse teie kivi profiililehele ja oma avastuse logida. Kui kivi on täieliku aadressi jaoks liiga väike, kirjutage #ROX, millele järgneb tühikuteta kood (nt #ROXABC123) – see on lühike, seda on lihtne Google'ist otsida ja see viib otse teie kivi teekonna lehele. Kasutage peene otsaga püsimarkerit või akrüülvärvipliiatsit ja pitseerige see läbipaistva lakiga, et kood jääks loetavaks läbi vihma, päikese ja seikluste.
Kasulikud näpunäited
- Valge põhikord muudab kõik värvid erksamaks.
- Laske igal kihil täielikult kuivada enne järgmise lisamist.
- Vali kivi kuju, mis sobib sinu motiiviga.
- Tihenda läbipaistva lakk-pihustiga, et kivi jääks ilus ka väljas.
- Põhjas oleva RoxGeo koodi jaoks kasutage veekindlat püsimarkerit (nagu Sharpie) või akrüülvärvipliiatsit. Kandke koodile 2–3 kihti läbipaistvat hermeetikut – nii jääb see loetavaks läbi vihma, päikese ja käsitsemise kuude jooksul.
- Kui kirjutate oma kivile #ROXCODE (nt #ROXABC123), on selle Google'i otsingu kaudu lihtne leida. Optimeerime selle hashtagiga aktiivselt, nii et igaüks, kes seda otsib, leiab teie roki profiililehe kiiresti.
- Täielik aadress ROXGEO.COM/CODE viib leidja otse teie kivi kaardile, kus ta näeb selle täielikku reisiajalugu, varasemaid leidjaid ja fotosid igast teekonna peatusest.
Värvige see kivi ja jälgige selle teekonda RoxGeoga!
Laadige alla RoxGeo tasuta