შაბლონებზე დაბრუნება
ღრმაზღვის თევზის ხატვა ქვაზე
საჭირო მასალები
- მდვარი, გახანგრძლივებული ბრტყელი ქვა
- შავი აკრილის საღებავი
- მუქი ლურჯი აკრილის საღებავი
- თეთრი აკრილის საღებავი
- ყვითელი აკრილის საღებავი
- ლურჯი აკრილის საღებავი
- ბრტყელი ფუნჯი (საშუალო ზომა)
- წვრილი დეტალური ფუნჯი
- გამჭვირვალე ლაქის სპრეი
ნაბიჯ-ნაბიჯ ინსტრუქციები
1
ნაბიჯი 1: Paint the pitch-dark abyss
Wash and dry your rock. Paint the entire surface with near-black. While still wet, blend in deep navy blue in the upper areas to suggest the water column — darker at the bottom (deepest water) and slightly less dark higher up. The abyssal zone has no sunlight at all. Add a few scattered pinpoints of light for bioluminescent particles in the water column.
2
ნაბიჯი 2: Sketch and paint the angler fish body
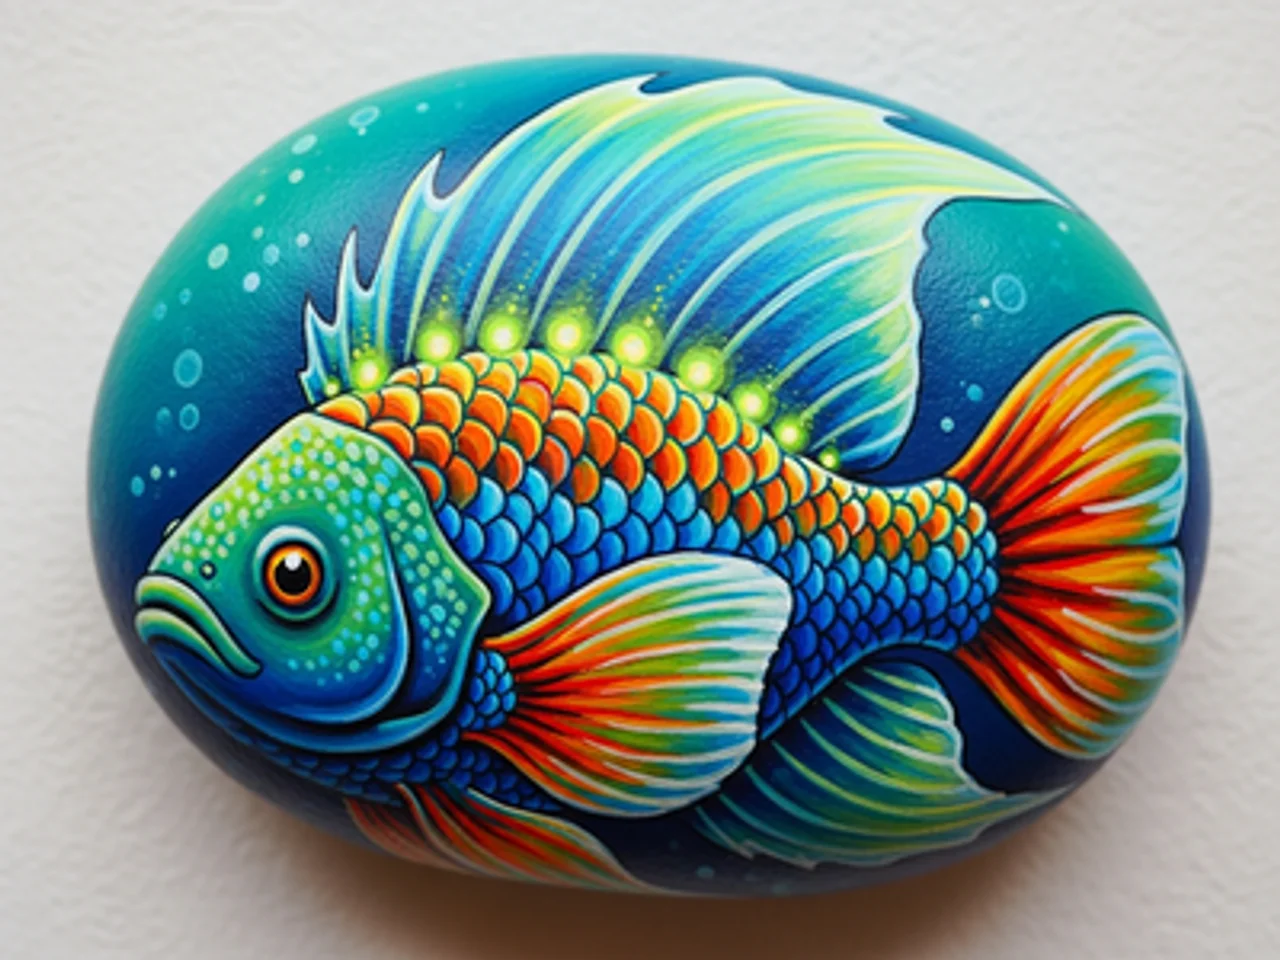
Sketch an anglerfish (deep sea fish) body — a wide, rounded head taking up most of the body, with a tapering tail. The anglerfish is the most recognizable deep sea creature. Paint the body in deep teal or dark gray-blue. Add a large, gaping mouth with massive jagged teeth in white — the teeth are a hallmark feature.
3
ნაბიჯი 3: Paint the bioluminescent lure
On the top of the anglerfish's head, paint a long spine (illicium) extending forward and curving down in front of the mouth. At the tip, paint a small glowing bulb in bright cyan or neon blue-green with a white core. This is the esca — the bioluminescent lure the anglerfish uses to attract prey in the darkness.
4
ნაბიჯი 4: Add bioluminescent body markings
Using neon green or bright cyan paint and a fine brush, add a series of glowing spots and curving line patterns along the body and fins of the anglerfish. These bioluminescent patterns suggest the photophores (light-producing organs) that many deep sea creatures use for communication and camouflage.
5
ნაბიჯი 5: Add the glowing eye and seal
Paint a large, haunting deep-sea eye on the side of the anglerfish head — a wide greenish iris surrounding a large black pupil with a tiny white highlight. Add a glow halo around the entire fish using very diluted cyan paint. Apply gloss sealant. The wet, shiny finish makes the fish look submerged in water.
ნაბიჯი 6: დაამატეთ RoxGeo კოდი
თქვენი კლდის ბოლოში ან უკანა მხარეს დაწერეთ ROXGEO.COM, რასაც მოჰყვება ხაზი და თქვენი კლდის უნიკალური კოდი (მაგ. ROXGEO.COM/ABC123). ეს საშუალებას აძლევს მპოვნელს გადავიდეს პირდაპირ თქვენი როკის პროფილის გვერდზე და დაარეგისტრიროს მათი აღმოჩენა. თუ კლდე ძალიან პატარაა სრული მისამართისთვის, ჩაწერეთ #ROX, რასაც მოჰყვება კოდი ინტერვალის გარეშე (მაგ. #ROXABC123) — ის მოკლეა, ადვილი მოსაძიებელია Google-ში და პირდაპირ მივყავართ თქვენი როკის მოგზაურობის გვერდზე. გამოიყენეთ მუდმივი მარკერი ან აკრილის საღებავის კალამი და დალუქეთ გამჭვირვალე ლაქით, რათა კოდი იკითხებოდეს წვიმის, მზისა და თავგადასავლების დროს.
სასარგებლო რჩევები
- აირჩიე ქვის ფორმა, რომელიც შენს მოტივს შეესაბამება.
- ფანქრით ჩახაზე მოტივი ფერების წასვლამდე.
- თითოეული ფენის მომდევნო ფენამდე სრულად გაშრობის საშუალება მიეცით.
- გამჭვირვალე ლაქის სპრეით დაბეჭდე, რომ ქვა გარეთაც ლამაზი დარჩეს.
- ბოლოში RoxGeo კოდისთვის გამოიყენეთ წყალგაუმტარი მუდმივი მარკერი (როგორც Sharpie) ან აკრილის საღებავის კალამი. წაისვით 2-3 ფენა გამჭვირვალე დალუქვის კოდზე - ეს ინარჩუნებს მას წაკითხვას წვიმის, მზისა და დამუშავების დროს თვეების განმავლობაში.
- თქვენს კლდეზე #ROXCODE (მაგ. #ROXABC123) ჩაწერა გაადვილებს პოვნას Google ძიების საშუალებით. ჩვენ აქტიურად ვახორციელებთ ოპტიმიზაციას ამ ჰეშთეგისთვის, ასე რომ, ვინც მას ეძებს, სწრაფად იპოვის თქვენი როკის პროფილის გვერდს.
- სრული მისამართი ROXGEO.COM/CODE მიჰყავს მპოვნელს პირდაპირ თქვენი როკის ბარათზე, სადაც მათ შეუძლიათ ნახონ მისი სრული მოგზაურობის ისტორია, წინა მაძიებლები და ფოტოები მოგზაურობის ყოველი გაჩერებიდან.
დახატე ეს კლდე და თვალყური ადევნე მის მოგზაურობას RoxGeo-სთან ერთად!
ჩამოტვირთეთ RoxGeo უფასო