템플릿으로 돌아가기
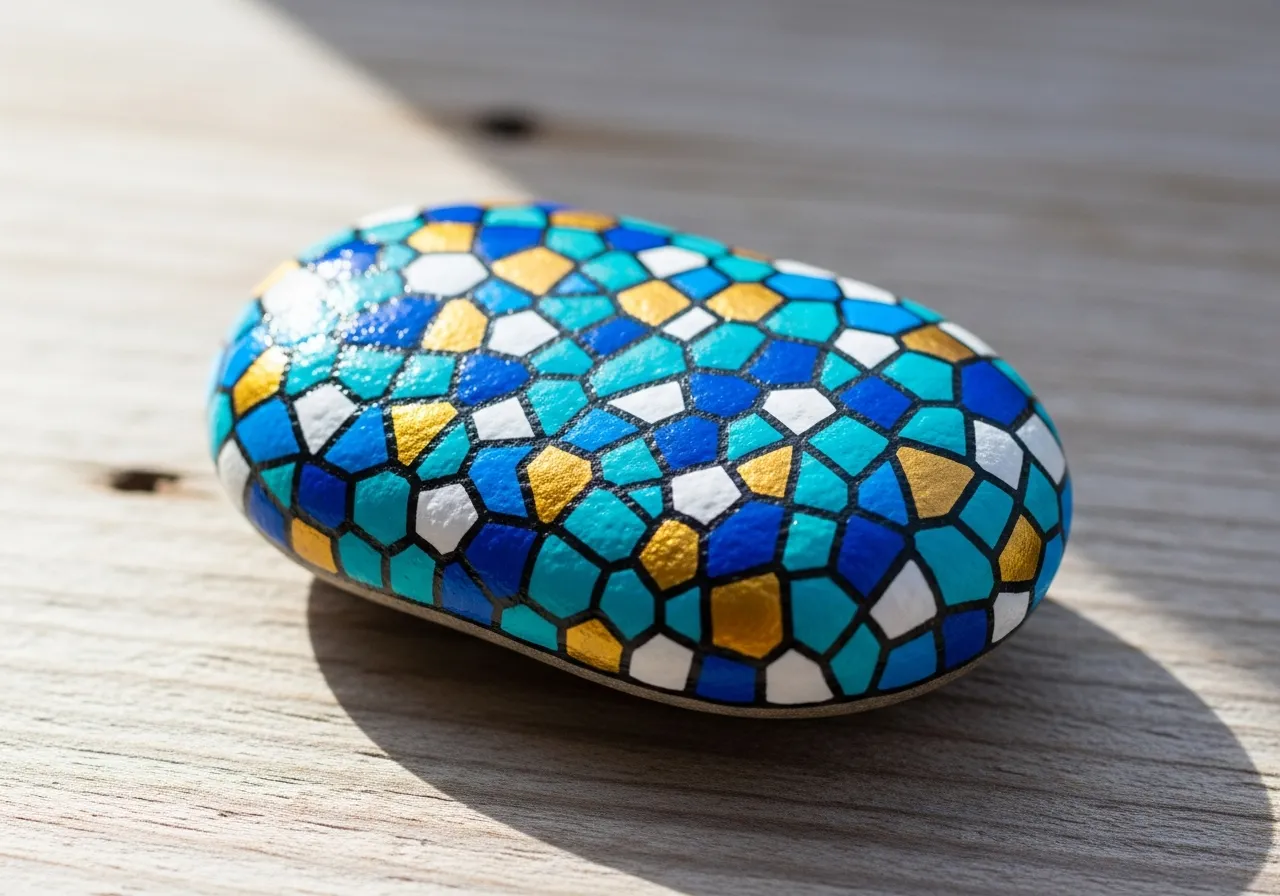
젠탱글 돌 그림
필요한 재료
- 매끄럽고 납작한 돌(손바닥 크기)
- 검정 아크릴 물감
- 흰색 아크릴 물감
- 세밀한 디테일 붓
- 투명 실란트 스프레이
- 연필
단계별 지침
1
단계 1: Prepare the white canvas
Wash and dry your rock. Apply two coats of white acrylic paint to create a smooth, bright surface. Let each coat dry completely. A perfectly white base is essential for zentangle patterns to show clearly.
2
단계 2: Divide into sections
Using a pencil, draw light curved lines across the rock to divide it into 5 to 8 sections of different sizes. These sections will each contain a different pattern. The lines can be flowing and organic - they do not need to be straight.
3
단계 3: Fill sections with patterns
Using your black pen or fine brush, fill each section with a different repeating pattern. Try stripes, crosshatching, scales, circles, waves, leaves, or brick patterns. Work slowly and keep each pattern consistent within its section.
4
단계 4: Add shading and depth
Once all sections are filled, add shading by drawing thicker lines on one side of each pattern element. You can also add small dots or fill certain areas with solid black. This creates a sense of depth and dimension.
5
단계 5: Outline and seal
Trace over the section dividing lines with a thicker black line to make each section distinct. Optionally, add metallic gold or silver accents to highlight certain elements. Let dry and seal with clear spray.
단계 6: RoxGeo 코드 추가
당신의 돌의 바닥이나 뒷면에 ROXGEO.COM을 적고 슬래시와 함께 돌의 고유 코드를 적어주세요 (예: ROXGEO.COM/ABC123). 이렇게 하면 발견자가 당신의 돌의 프로필 페이지로 직접 가서 발견 내용을 기록할 수 있습니다. 만약 돌이 너무 작아서 전체 주소를 적을 수 없다면, #ROX와 함께 코드(예: #ROXABC123)를 공백 없이 적어주세요 - 짧고, 구글에서 검색하기 쉬우며, 당신의 돌의 여정 페이지로 바로 연결됩니다. 얇은 팁의 영구 마커나 아크릴 페인트 펜을 사용하고, 투명 바니시로 밀봉하여 비, 태양, 모험 속에서도 코드가 읽을 수 있도록 유지하세요.
유용한 팁
- 그림을 그리기 전에 연필로 디자인을 스케치하세요。
- 다음 층을 추가하기 전에 각 층이 완전히 마를 때까지 기다리세요。
- 디자인 주제에 맞는 돌 모양을 선택하세요。
- 투명 실란트 스프레이로 마무리해 야외에서도 오래 유지되게 하세요。
- 바닥에 있는 RoxGeo 코드를 위해 방수 영구 마커(예: Sharpie)나 아크릴 페인트 펜을 사용하세요. 코드 위에 투명 실란트를 2-3회 도포하세요 - 이렇게 하면 비, 태양, 손질에도 몇 달 동안 읽을 수 있습니다.
- 당신의 돌에 #ROXCODE(예: #ROXABC123)를 적으면 구글 검색을 통해 쉽게 찾을 수 있습니다. 우리는 이 해시태그를 적극적으로 최적화하고 있으므로, 이를 검색하는 사람은 누구나 당신의 돌의 프로필 페이지를 빠르게 찾을 수 있습니다.
- 전체 주소 ROXGEO.COM/CODE는 발견자를 당신의 돌의 카드로 직접 안내합니다. 여기서 그들은 돌의 전체 여행 이력, 이전 발견자들, 그리고 여행의 모든 정거장에서의 사진을 볼 수 있습니다.
이 돌을 채색하고 RoxGeo로 그 여정을 추적해 보세요!
RoxGeo 무료 다운로드