Atgal į šablonus
Povo Akmens Tapyba
Reikalingos medžiagos
- Didelis, plokščias akmuo
- Mėlyna akrilinė dažai
- Žalia akrilinė dažai
- Įvairios ryškios akrilinės dažai
- Juoda akrilinė dažai
- Balta akrilinė dažai
- Plokščias teptukas (vidutinis)
- Smulkus detalių teptukas
- Skaidrus lakas purkštuvoje
Žingsnis po žingsnio instrukcijos
1
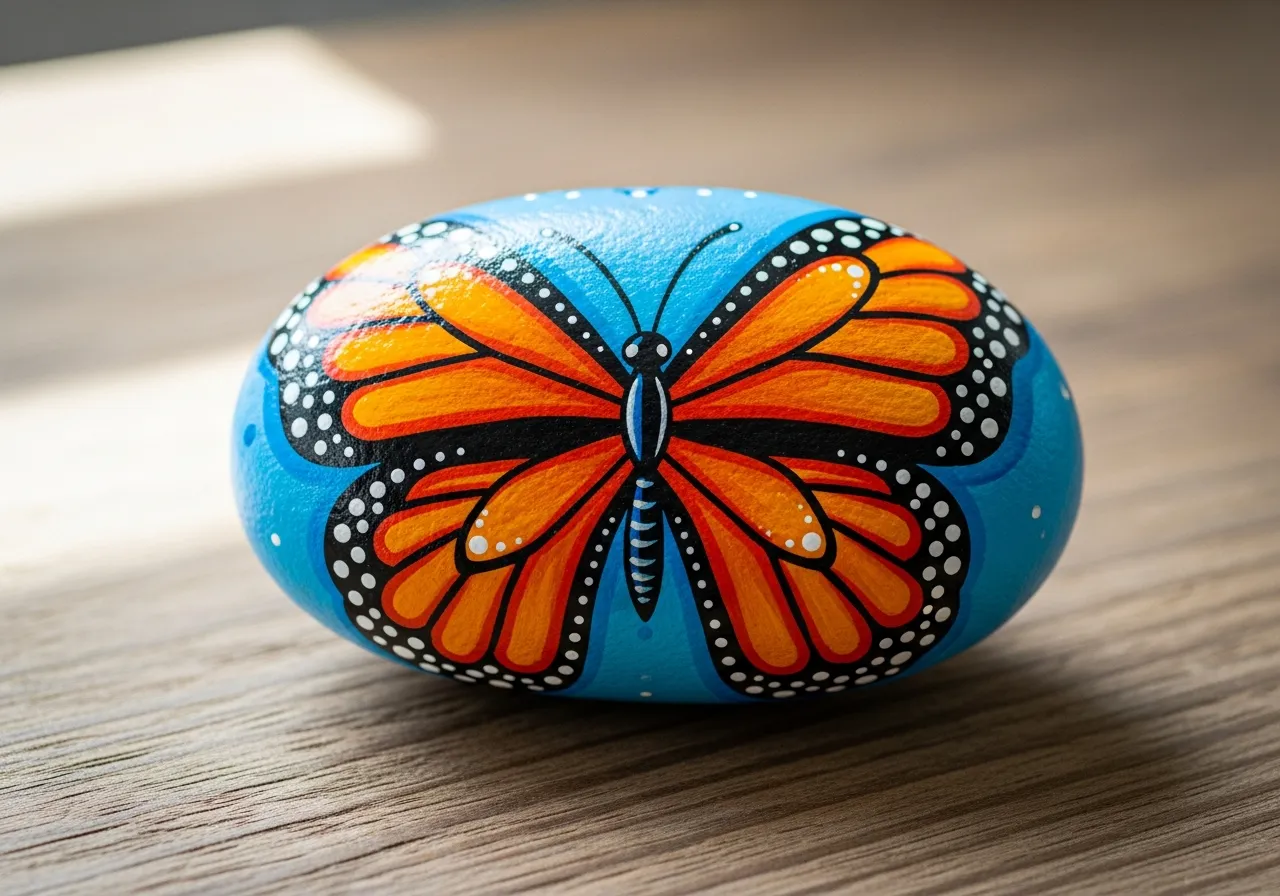
Žingsnis 1: Plan and sketch the peacock design
Wash and dry your large flat rock. With a pencil, sketch a peacock face and small body in the center-lower portion of the rock. Then sketch a large fan of tail feathers spreading outward and upward, filling most of the rock surface. Each feather should end in a large oval eye spot.
2
Žingsnis 2: Paint the feather fan background
Paint the entire fan area with a base coat of teal or turquoise. While wet, blend touches of emerald green toward the edges and cobalt blue toward the center. This creates the iridescent shimmer of peacock feathers. Apply two coats for solid coverage.
3
Žingsnis 3: Paint the eye spots on feathers
This is the signature feature of peacock feathers. For each feather tip, paint concentric ovals: the innermost is black, surrounded by a ring of gold, then a ring of teal or blue, then an outer ring of dark green. Add a tiny white highlight dot in the center of each black oval for brilliance.
4
Žingsnis 4: Paint the peacock body and crest
Paint the small peacock body in the lower center with iridescent blue-green, using your cobalt blue and teal blended together. Paint a small fan crest on top of the head: a row of tiny circular-tipped feather spikes radiating upward from the head like a crown.
5
Žingsnis 5: Add feather detail lines and seal
Using a fine brush and dark teal or black, draw thin radiating lines from the base to the eye spot on each feather. These lines suggest the barbs of real peacock feathers. Add gold outlines around each eye spot for richness. Once fully dry, apply clear sealant.
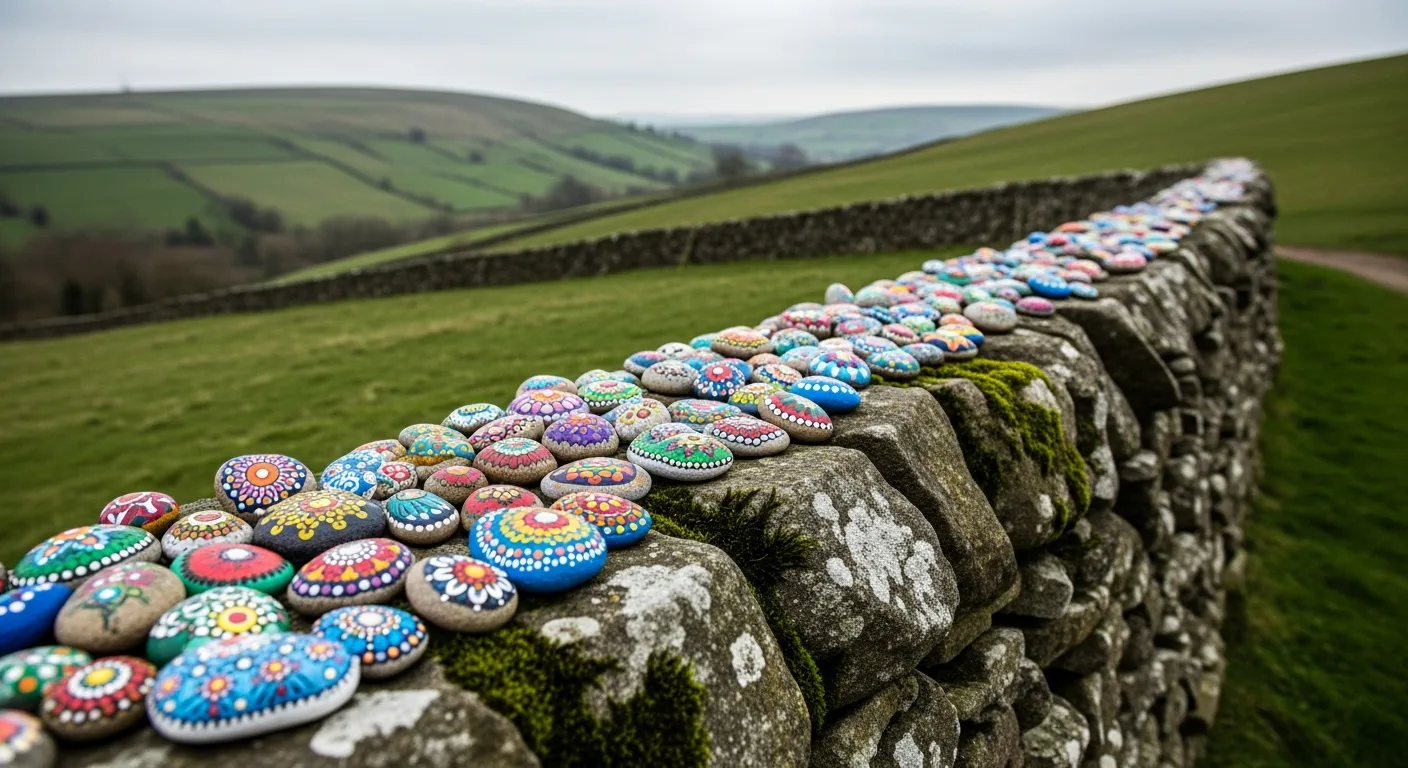
Žingsnis 6: Pridėti RoxGeo kodą
Akmens apačioje arba gale parašykite ROXGEO.COM, po kurio pasvirąjį brūkšnį ir unikalų uolos kodą (pvz., ROXGEO.COM/ABC123). Tai leidžia ieškikliui patekti tiesiai į jūsų roko profilio puslapį ir užregistruoti atradimą. Jei uoliena per maža visam adresui, parašykite #ROX ir kodą be tarpų (pvz., #ROXABC123) – tai trumpa, paprasta ieškoti „Google“ ir nukreipia tiesiai į jūsų akmens kelionės puslapį. Naudokite smulkių galiukų nuolatinį žymeklį arba akrilo dažų rašiklį ir užklijuokite jį skaidriu laku, kad kodas liktų įskaitomas per lietų, saulę ir nuotykius.
Naudingi patarimai
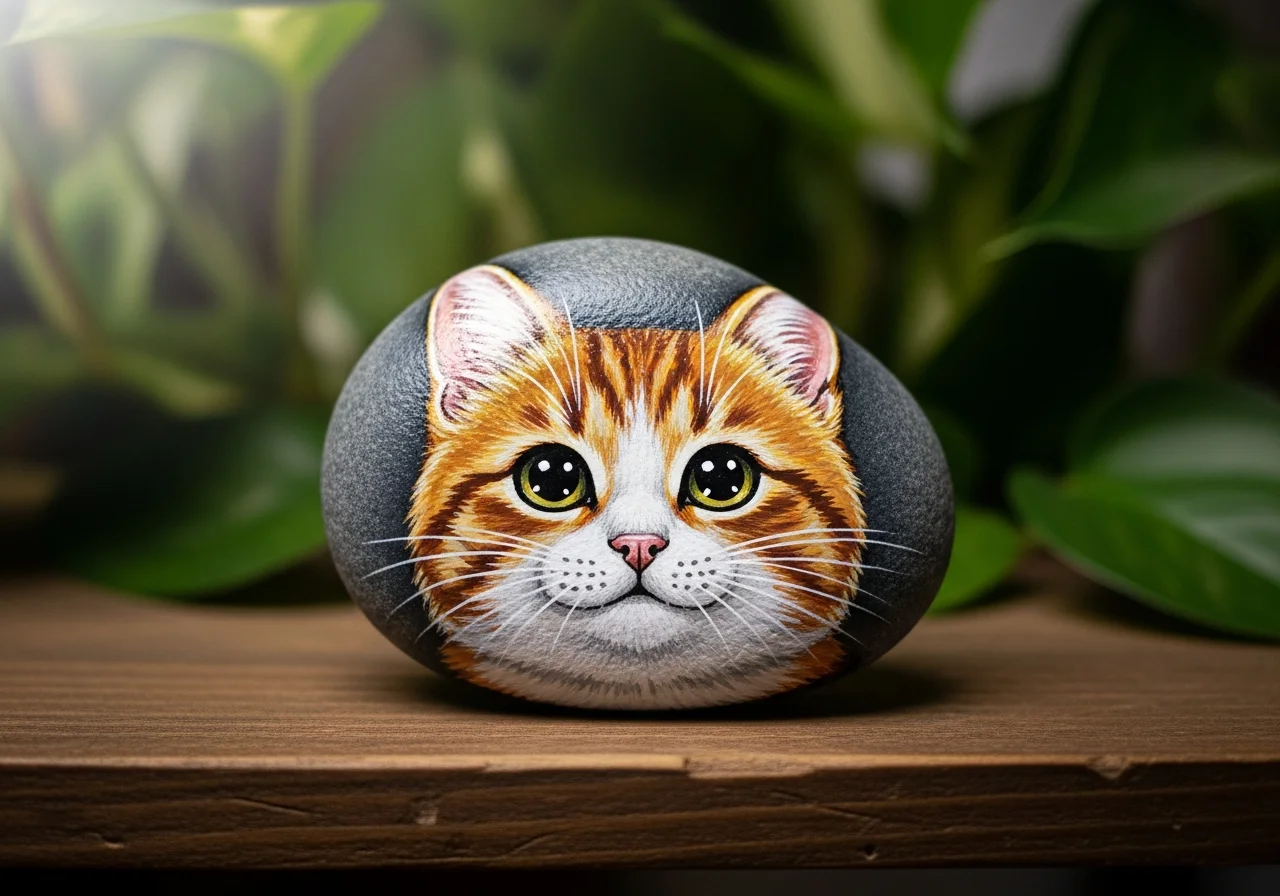
- Pasirink akmens formą, atitinkančią tavo motyvą.
- Pieštuku eskizuok motyvą prieš tapymą.
- Prieš dedant kitą sluoksnį, leiskite kiekvienam sluoksniui visiškai išdžiūti.
- Užantspauduok skaidriu laku, kad akmuo atlaikytų ir lauke.
- RoxGeo kodui apačioje naudokite vandeniui atsparų nuolatinį žymeklį (pvz., Sharpie) arba akrilo dažų rašiklį. Ant kodo užtepkite 2–3 skaidraus sandariklio sluoksnius – taip jis bus skaitomas per lietų, saulę ir naudojant kelis mėnesius.
- Ant uolos užrašius #ROXCODE (pvz., #ROXABC123), jį lengva rasti naudojant „Google“ paiešką. Mes aktyviai optimizuojame šią žymą su grotelėmis, todėl visi jos ieškantys greitai suras jūsų roko profilio puslapį.
- Visas adresas ROXGEO.COM/CODE nukreipia ieškiklį tiesiai į jūsų uolos kortelę, kur jis gali matyti visą kelionės istoriją, ankstesnius ieškiklius ir nuotraukas iš kiekvienos kelionės stotelės.
Nupieškite šią uolą ir stebėkite jos kelionę naudodami RoxGeo!
Parsisiųsti roxgeo nemokamai