Tilbake til maler
Krabbe Steinmaling
Materialer som trengs
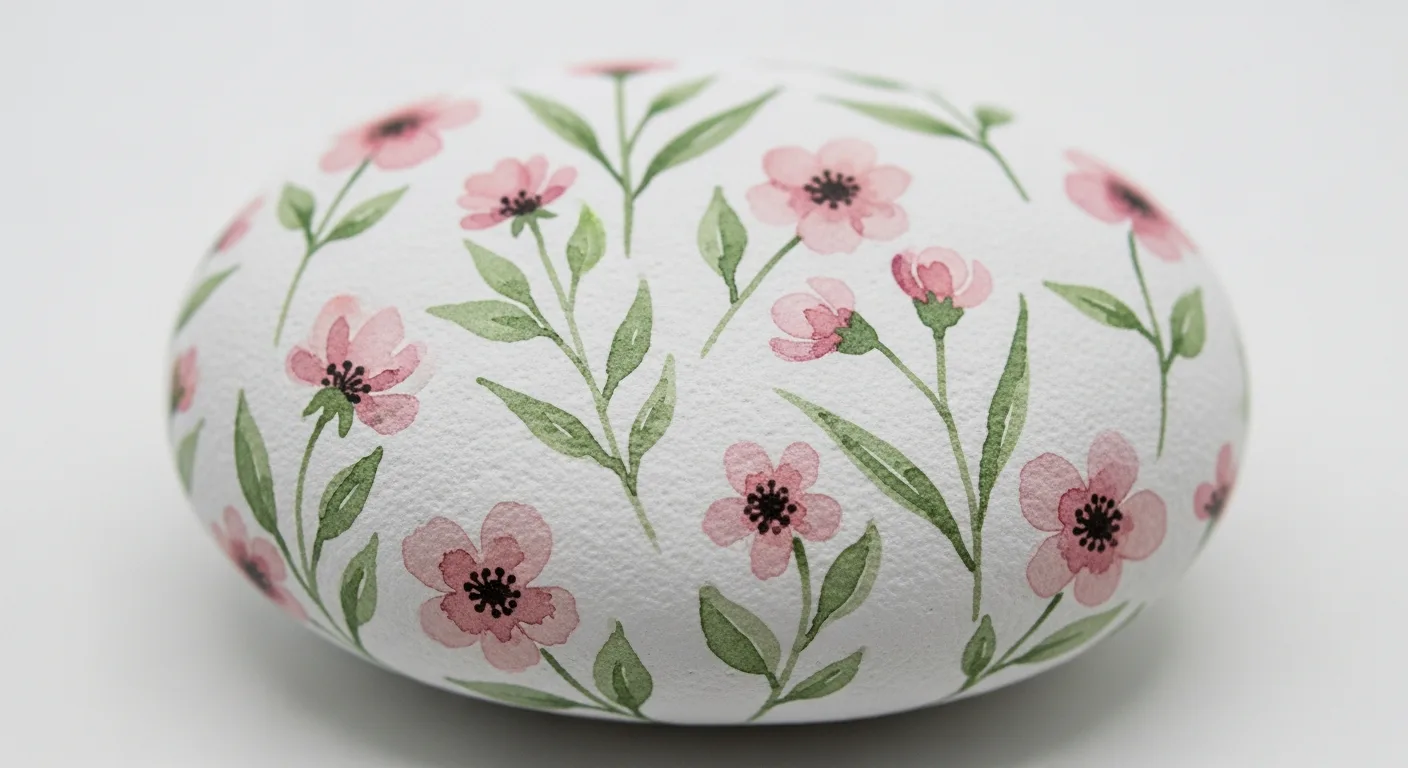
- Glatt, flat stein (håndstørrelse)
- Rød akrylmaling
- Oransje akrylmaling
- Sort akrylmaling
- Hvit akrylmaling
- Flat pensel (middels)
- Fin detaljpensel
- Klarlakkspray
Trinn-for-trinn-instruksjoner
1
Skritt 1: Paint a sandy ocean background
Wash and dry your flat rock. Paint the entire surface with sandy yellow or beige paint. Add a thin strip of light blue at the top of the rock for the sea. This background sets the beach scene before the crab is painted on top.
2
Skritt 2: Sketch and paint the crab body
Sketch an oval or rounded trapezoid shape for the crab body in the center of the rock. Paint it bright red or orange. Add a slightly darker shade on the edges to suggest the dome-shaped carapace (shell). Two small eyes on stalks can be suggested as tiny bumps at the front.
3
Skritt 3: Paint the claws
Paint two large claws (chelae) extending from the front of the body. Each claw has a wider upper arm and a pincer at the end - paint a thick curved arm with two pointed finger shapes at the tip. Make the claws proportionally large - they should look powerful.
4
Skritt 4: Add the legs
Paint four thin walking legs on each side of the body (eight legs total). They should be jointed - paint them as two segments that bend at an angle. Crabs walk sideways, so position the legs extending to the sides and slightly forward.
5
Skritt 5: Add details and seal
Paint two small white eyes on tiny stalks at the front of the body. Add curved lines on the carapace with dark red to suggest texture. Add white highlights on the top of the claws for a shiny shell effect. Once dry, apply clear sealant.
Skritt 6: Legg til RoxGeo-kode
På bunnen eller baksiden av steinen din, skriv ROXGEO.COM etterfulgt av en skråstrek og steinens unike kode (f.eks. ROXGEO.COM/ABC123). Dette lar finneren gå direkte til steinens profilside og logge oppdagelsen deres. Hvis steinen er for liten for hele adressen, skriv #ROX etterfulgt av koden uten mellomrom (f.eks. #ROXABC123) – den er kort, enkel å søke på Google og leder rett til reisesiden til steinen din. Bruk en finspiss permanent tusj eller akrylmalingspenn, og forsegl den med klar lakk slik at koden forblir lesbar gjennom regn, sol og eventyr.
Nyttige tips
- Velg en steinform som passer til motivet ditt.
- Skisser designet med blyant før du begynner å male.
- La hvert lag tørke helt før du legger til det neste.
- Forsegl med klarlakkspray for å beskytte steinen utendørs.
- For RoxGeo-koden på bunnen, bruk en vanntett permanent markør (som Sharpie) eller en akrylmalingspenn. Påfør 2–3 strøk med klar fugemasse over koden – dette holder den lesbar gjennom regn, sol og håndtering i flere måneder.
- Å skrive #ROXCODE (f.eks. #ROXABC123) på steinen din gjør det enkelt å finne via Google-søk. Vi optimerer aktivt for denne hashtaggen, så alle som søker etter den vil raskt finne steinens profilside.
- Den fullstendige adressen ROXGEO.COM/CODE tar finneren direkte til klippekortet ditt, hvor de kan se hele reisehistorikken, tidligere finner og bilder fra hvert stopp på reisen.
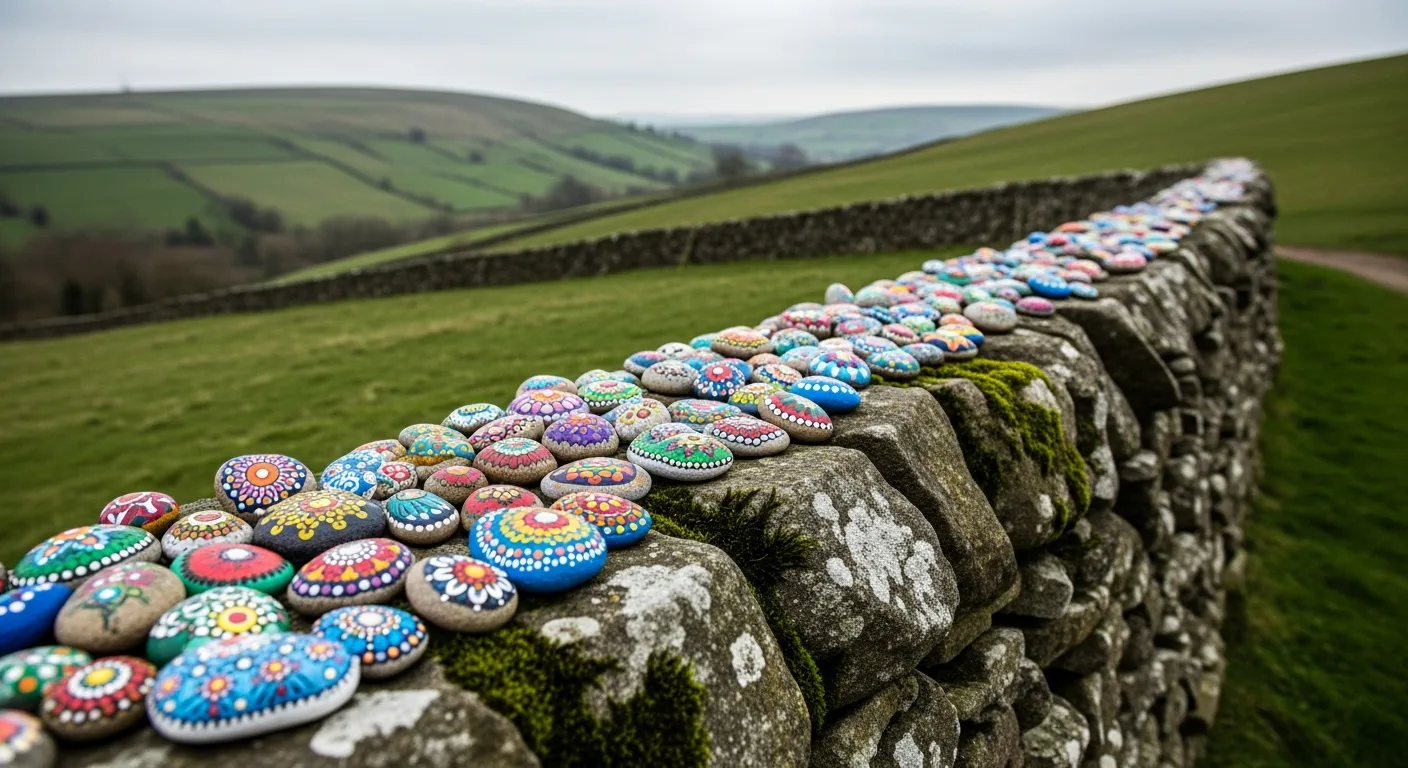
Mal denne steinen og følg reisen med RoxGeo!
Last ned RoxGeo gratis