Tilbake til maler
Sol Mandala Steinmaling
Materialer som trengs
- Large, flat round rock (at least 10 cm diameter)
- Golden yellow and orange acrylic paint
- White acrylic paint (for base coat)
- Fine detail brush (size 0 or 00)
- Medium round brush
- Compass or circular stencil
- Toothpicks and dotting tools
- Pencil (for sketching)
- Clear sealant spray
Trinn-for-trinn-instruksjoner
1
Skritt 1: Prepare and prime the rock
Wash and dry the rock thoroughly. Paint the entire surface with two coats of white acrylic paint, letting each coat dry fully. A smooth, round rock at least 10 cm across gives you the best canvas for intricate mandala detail work.
2
Skritt 2: Sketch the mandala grid
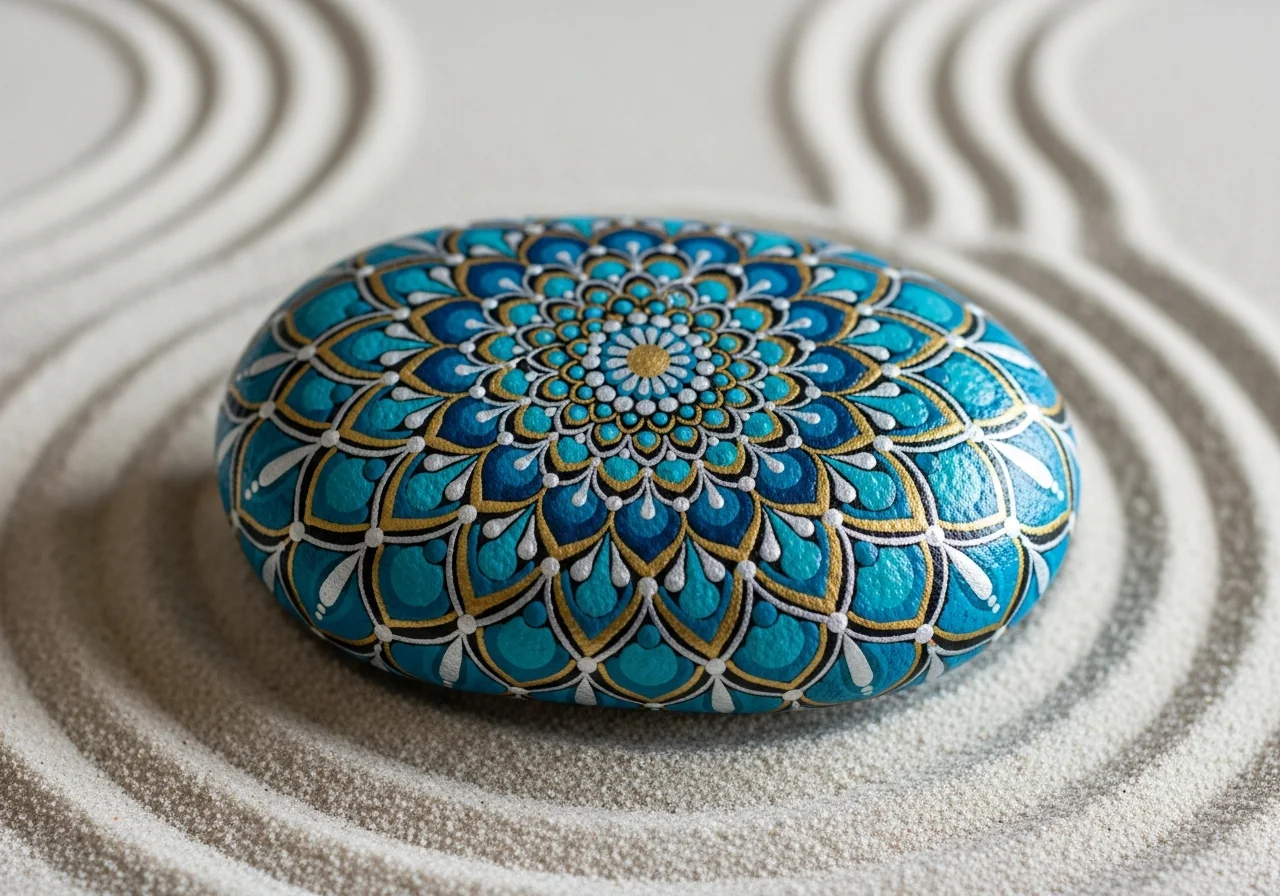
Using a compass and pencil, draw a small circle at the center of the rock. Add concentric circles at equal intervals outward. Divide the rock into 8 or 16 equal segments with radiating pencil lines to create your symmetrical mandala grid.
3
Skritt 3: Paint the golden base color
Fill the entire top surface with two coats of deep golden yellow paint, working carefully within the pencil guidelines. This warm solar base will make your finished mandala glow with the energy of the sun. Let dry completely before continuing.
4
Skritt 4: Paint the inner sun core
Using bright orange paint and a fine brush, paint a bold circle at the very center. Add short radiating flame-like strokes around it to create the burning core. Place a precise bright white dot at the absolute center using a dotting tool dipped in white paint.
5
Skritt 5: Build the first ring of petals
Paint symmetrical teardrop-shaped petals around the central core, following your grid lines. Each petal should be evenly spaced and identical in size. Use a medium brush for the body of each petal and your fine brush to refine the pointed tips to a crisp finish.
6
Skritt 6: Layer outer rings with geometric detail
Add progressively larger and more elaborate rings outward: chevron bands, triangular points, and small dot clusters between each major petal layer. Check symmetry after each ring by rotating the rock and comparing opposite sections carefully.
7
Skritt 7: Add stippling and dot-work details
Load a toothpick or fine dotting tool with white or orange paint and add rows of uniformly sized dots along the border of each completed ring. This stippling technique creates beautiful texture and is the hallmark of traditional mandala stone art.
8
Skritt 8: Outline, refine and seal
Once all paint layers are fully dry, use a fine brush with slightly diluted black or dark brown paint to outline key shapes for clarity and contrast. Apply two coats of clear sealant spray, allowing full drying between coats. Your sun mandala rock is complete.
Skritt 9: Legg til RoxGeo-kode
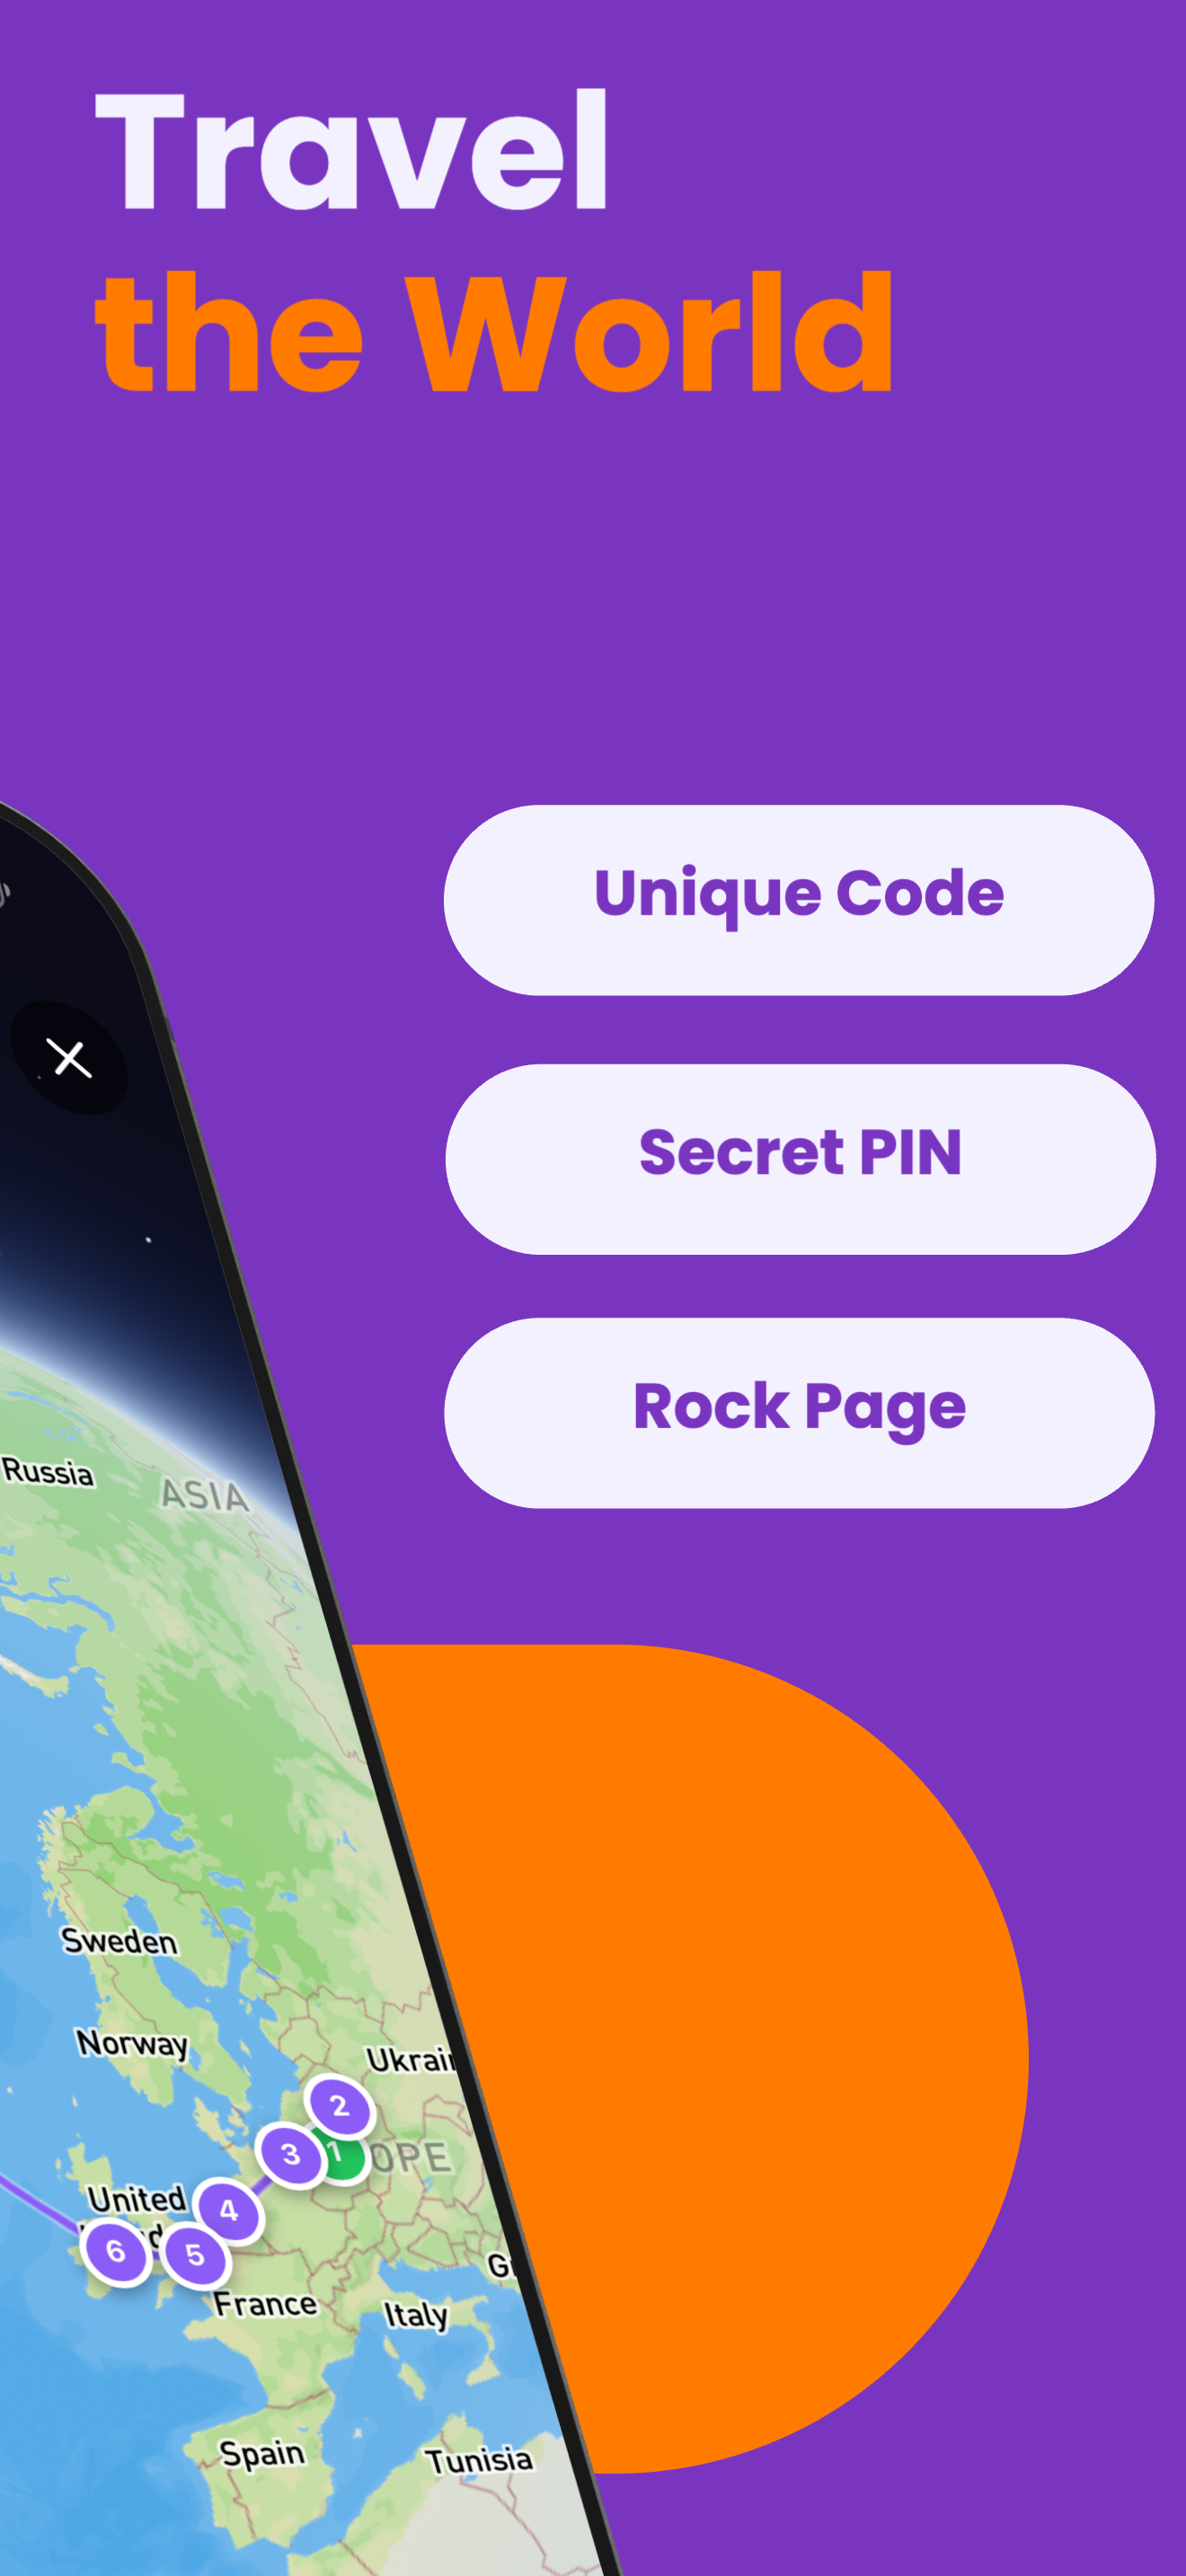
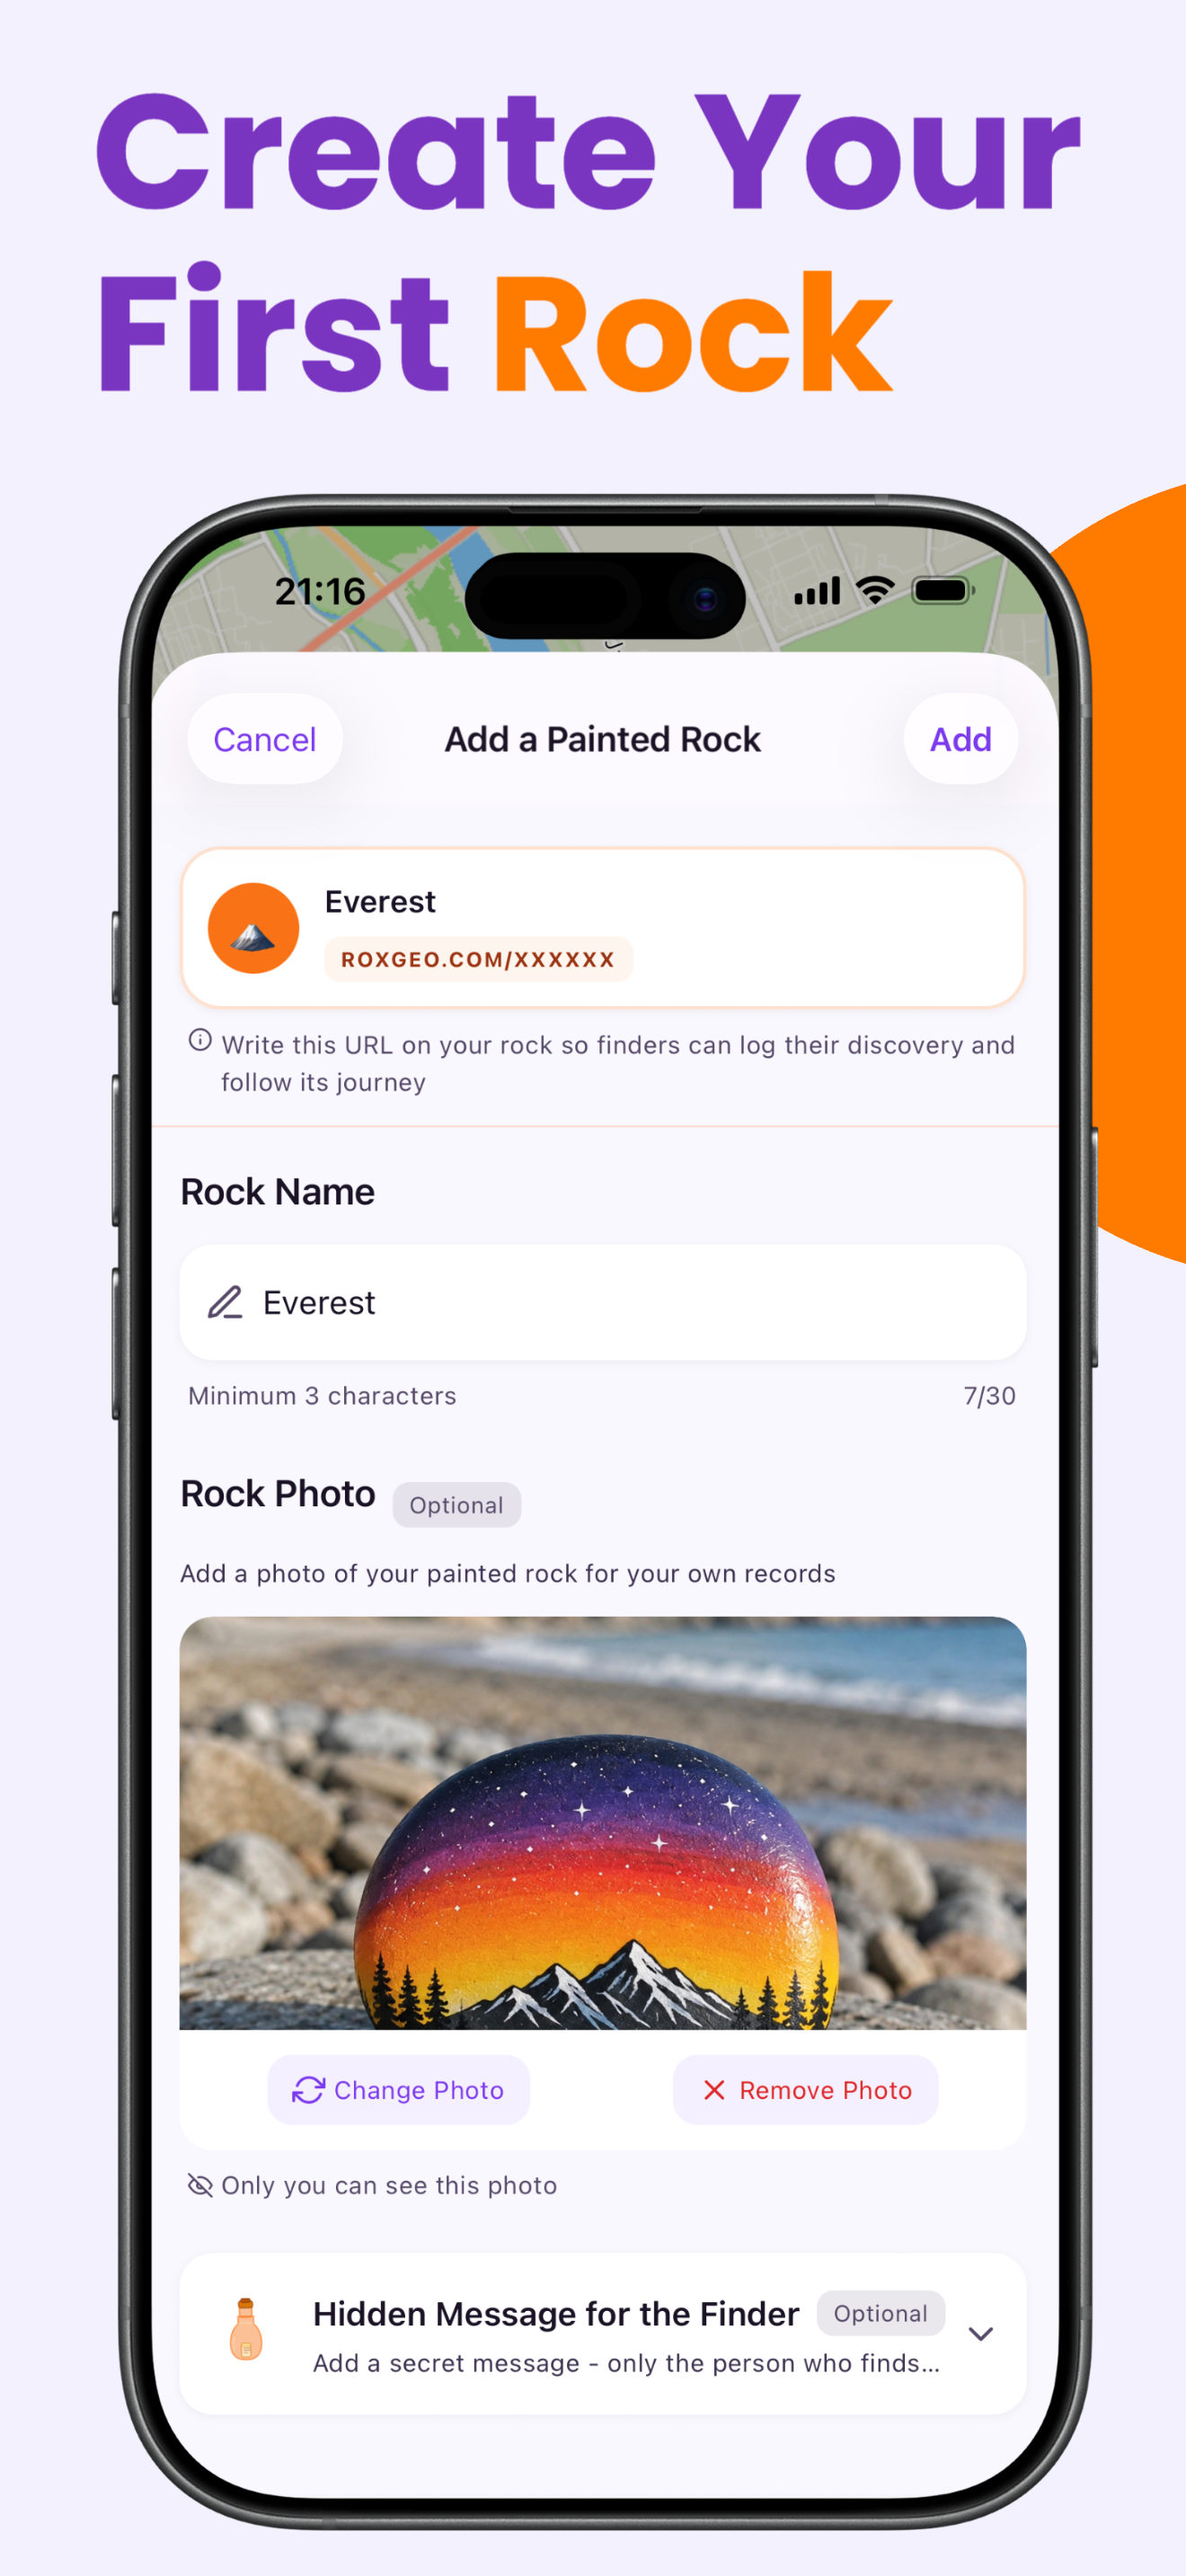
På bunnen eller baksiden av steinen din, skriv ROXGEO.COM etterfulgt av en skråstrek og steinens unike kode (f.eks. ROXGEO.COM/ABC123). Dette lar finneren gå direkte til steinens profilside og logge oppdagelsen deres. Hvis steinen er for liten for hele adressen, skriv #ROX etterfulgt av koden uten mellomrom (f.eks. #ROXABC123) – den er kort, enkel å søke på Google og leder rett til reisesiden til steinen din. Bruk en finspiss permanent tusj eller akrylmalingspenn, og forsegl den med klar lakk slik at koden forblir lesbar gjennom regn, sol og eventyr.
Nyttige tips
- Use a compass for perfect circles - freehand circles look less professional in mandala work.
- Always work from the center outward, completing each ring fully before starting the next.
- A mandala compass dotting tool set makes spacing dots uniformly much easier and faster.
- Test your dotting tool pressure on a spare rock before applying to the design.
- The painting looks busier than expected in progress - trust the grid and it will come together beautifully.
- For RoxGeo-koden på bunnen, bruk en vanntett permanent markør (som Sharpie) eller en akrylmalingspenn. Påfør 2–3 strøk med klar fugemasse over koden – dette holder den lesbar gjennom regn, sol og håndtering i flere måneder.
- Å skrive #ROXCODE (f.eks. #ROXABC123) på steinen din gjør det enkelt å finne via Google-søk. Vi optimerer aktivt for denne hashtaggen, så alle som søker etter den vil raskt finne steinens profilside.
- Den fullstendige adressen ROXGEO.COM/CODE tar finneren direkte til klippekortet ditt, hvor de kan se hele reisehistorikken, tidligere finner og bilder fra hvert stopp på reisen.
Mal denne steinen og følg reisen med RoxGeo!
Last ned RoxGeo gratis