Voltar aos modelos
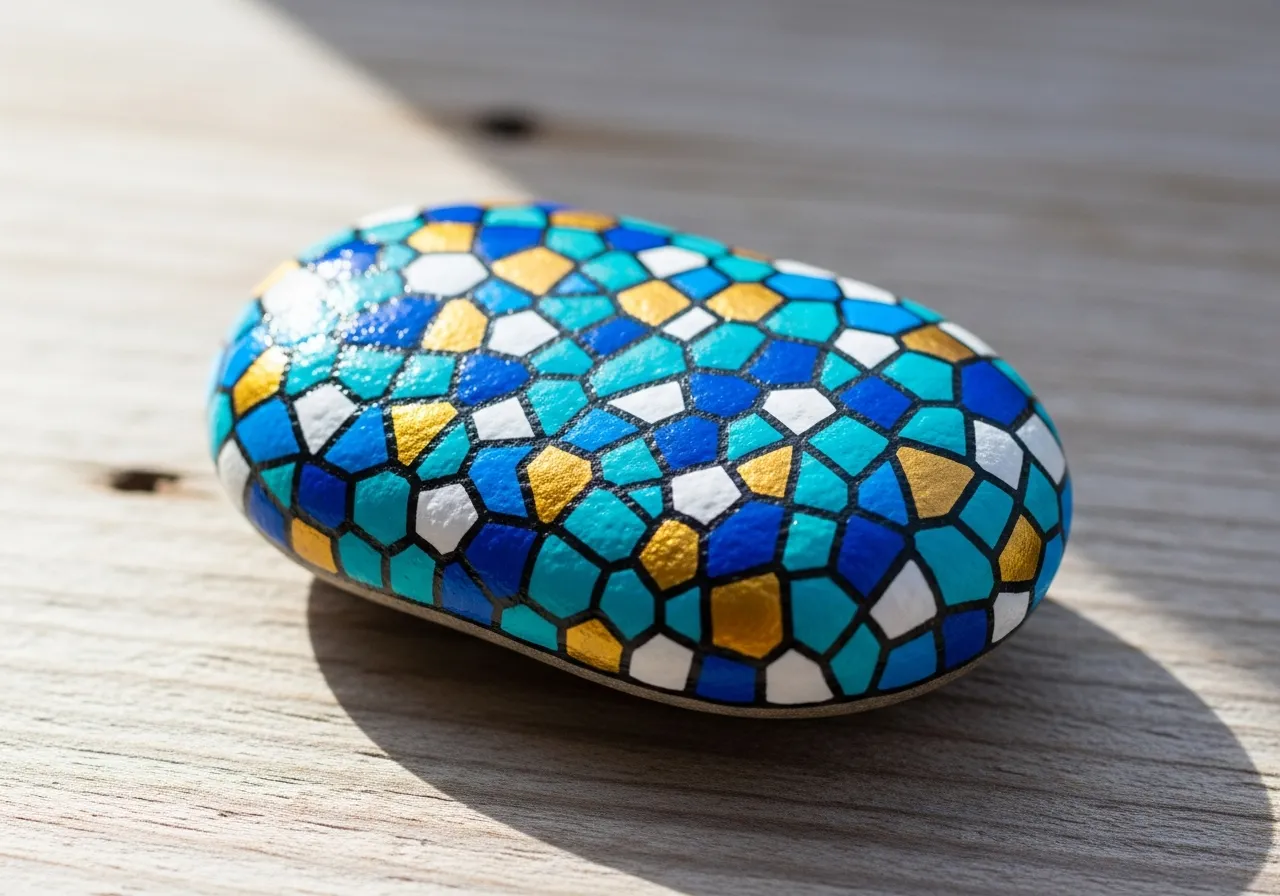
Pintura de Mosaico em Pedra
Materiais necessários
- Pedra grande e plana
- Tintas acrílicas variadas brilhantes
- Tinta acrílica preta
- Tinta acrílica branca
- Pincel fino para detalhes
- Pincel chato médio
- Spray selante transparente
- Lápis
Guia passo a passo
1
Passo 1: Prepare and plan your design
Wash and dry the rock. Using a pencil, divide the rock surface into irregular geometric shapes - triangles, squares, diamonds, and trapezoids. The shapes should fit together like tiles with small gaps between them.
2
Passo 2: Paint the base white
Paint the entire rock surface white as a base coat. This helps the mosaic colors appear brighter and more vivid. Let it dry completely, then redraw your mosaic lines with pencil if needed.
3
Passo 3: Fill in the tiles
Choose a color scheme - warm colors, cool colors, or a rainbow palette. Paint each tile shape with a different color, making sure no two adjacent tiles share the same color. Use your flat brush for larger shapes and the detail brush for small ones.
4
Passo 4: Add black outlines
Once all tile colors are dry, use your fine brush and black paint to carefully outline each tile. Keep the lines thin and consistent. The black outlines create the classic mosaic "grout" look that makes each tile stand out.
5
Passo 5: Add highlights and seal
For a polished look, add a tiny white highlight dot to the corner of each tile. This creates a 3D glass effect. Let everything dry fully, then apply clear sealant spray to protect your mosaic masterpiece.
Passo 6: Adicionar código RoxGeo
Escreva ROXGEO.COM seguido de uma barra e o código único da sua pedra (ex. ROXGEO.COM/ABC123) na parte inferior ou verso.
Dicas úteis
- Escolhe uma pedra cujo formato se adeque ao teu tema.
- Esboça o design a lápis antes de começar a pintar.
- Deixa cada camada secar completamente antes de adicionar a seguinte.
- Aplica spray selante transparente para proteger a pedra no exterior.
- Para o código no verso, use marcador permanente à prova d'água. Aplique 2-3 camadas de verniz.
- #ROXCODE (ex. #ROXABC123) na pedra facilita a busca no Google.
- O endereço completo ROXGEO.COM/CODE leva o descobridor diretamente ao mapa da pedra.
Pinte esta pedra e rastreie sua viagem com RoxGeo!
Baixar RoxGeo grátis


