Tillbaka till mallar
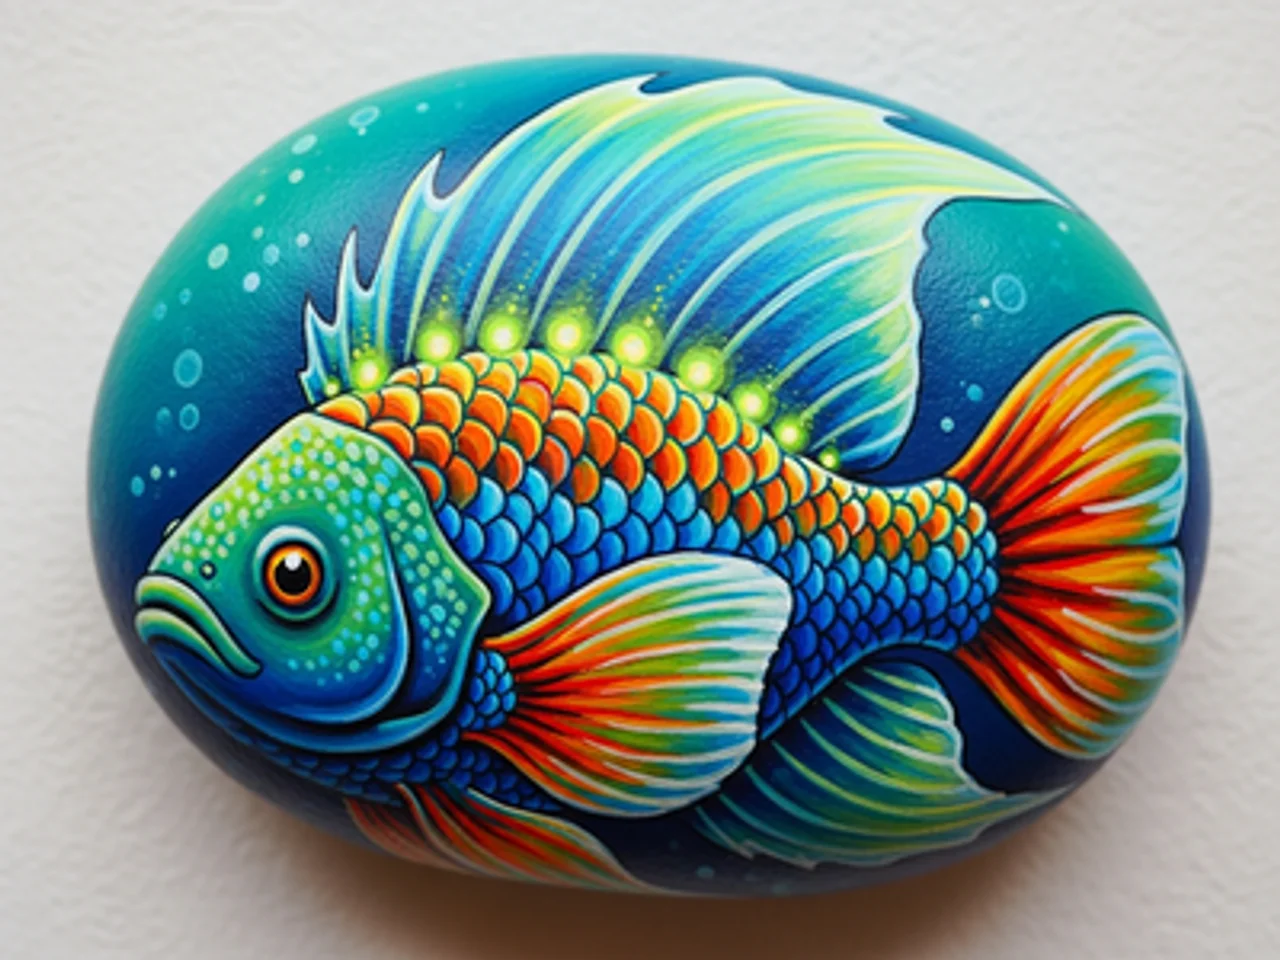
Djuphavsfisk Stenmålning
Material som behövs
- Avlång, platt sten
- Svart akrylfärg
- Mörkblå akrylfärg
- Vit akrylfärg
- Gul akrylfärg
- Blå akrylfärg
- Platt pensel (medelstor)
- Fin detaljpensel
- Klarlacksspray
Steg-för-steg-instruktioner
1
Steg 1: Paint the pitch-dark abyss
Wash and dry your rock. Paint the entire surface with near-black. While still wet, blend in deep navy blue in the upper areas to suggest the water column — darker at the bottom (deepest water) and slightly less dark higher up. The abyssal zone has no sunlight at all. Add a few scattered pinpoints of light for bioluminescent particles in the water column.
2
Steg 2: Sketch and paint the angler fish body
Sketch an anglerfish (deep sea fish) body — a wide, rounded head taking up most of the body, with a tapering tail. The anglerfish is the most recognizable deep sea creature. Paint the body in deep teal or dark gray-blue. Add a large, gaping mouth with massive jagged teeth in white — the teeth are a hallmark feature.
3
Steg 3: Paint the bioluminescent lure
On the top of the anglerfish's head, paint a long spine (illicium) extending forward and curving down in front of the mouth. At the tip, paint a small glowing bulb in bright cyan or neon blue-green with a white core. This is the esca — the bioluminescent lure the anglerfish uses to attract prey in the darkness.
4
Steg 4: Add bioluminescent body markings
Using neon green or bright cyan paint and a fine brush, add a series of glowing spots and curving line patterns along the body and fins of the anglerfish. These bioluminescent patterns suggest the photophores (light-producing organs) that many deep sea creatures use for communication and camouflage.
5
Steg 5: Add the glowing eye and seal
Paint a large, haunting deep-sea eye on the side of the anglerfish head — a wide greenish iris surrounding a large black pupil with a tiny white highlight. Add a glow halo around the entire fish using very diluted cyan paint. Apply gloss sealant. The wet, shiny finish makes the fish look submerged in water.
Steg 6: Lägg till RoxGeo Code
På botten eller baksidan av din sten, skriv ROXGEO.COM följt av ett snedstreck och din stens unika kod (t.ex. ROXGEO.COM/ABC123). Detta låter hittaren gå direkt till din stens profilsida och logga sin upptäckt. Om stenen är för liten för den fullständiga adressen, skriv #ROX följt av koden utan mellanslag (t.ex. #ROXABC123) – den är kort, lätt att söka på Google och leder direkt till din stens ressida. Använd en finspets permanent markör eller akrylfärgspenna och försegla den med klarlack så att koden förblir läsbar genom regn, sol och äventyr.
Användbara tips
- Välj en stenform som passar till ditt motiv.
- Skissa designen med blyertspenna innan du börjar måla.
- Låt varje lager torka helt innan du lägger till nästa.
- Försegla med klarlacksspray för att skydda stenen utomhus.
- För RoxGeo-koden på botten, använd en vattentät permanent markör (som Sharpie) eller en akrylfärgspenna. Applicera 2–3 lager av genomskinligt tätningsmedel över koden – detta håller den läsbar genom regn, sol och hantering i månader.
- Att skriva #ROXCODE (t.ex. #ROXABC123) på din sten gör det enkelt att hitta via Google-sökning. Vi optimerar aktivt för denna hashtag, så alla som söker efter den hittar din stenar profilsida snabbt.
- Den fullständiga adressen ROXGEO.COM/CODE tar hittaren direkt till ditt stenkort, där de kan se hela resehistoriken, tidigare hittare och foton från varje stopp på resan.
Måla den här stenen och spåra dess resa med RoxGeo!
Ladda ner RoxGeo gratis