Şablonlara Geri Dön
Derin Deniz Balığı Taş Boyama
Gerekli Malzemeler
- Uzun, yassı taş
- Siyah akrilik boya
- Koyu mavi akrilik boya
- Beyaz akrilik boya
- Sarı akrilik boya
- Mavi akrilik boya
- Yassı fırça (orta boy)
- İnce detay fırçası
- Şeffaf sealant sprey
Adım Adım Talimatlar
1
Adım 1: Paint the pitch-dark abyss
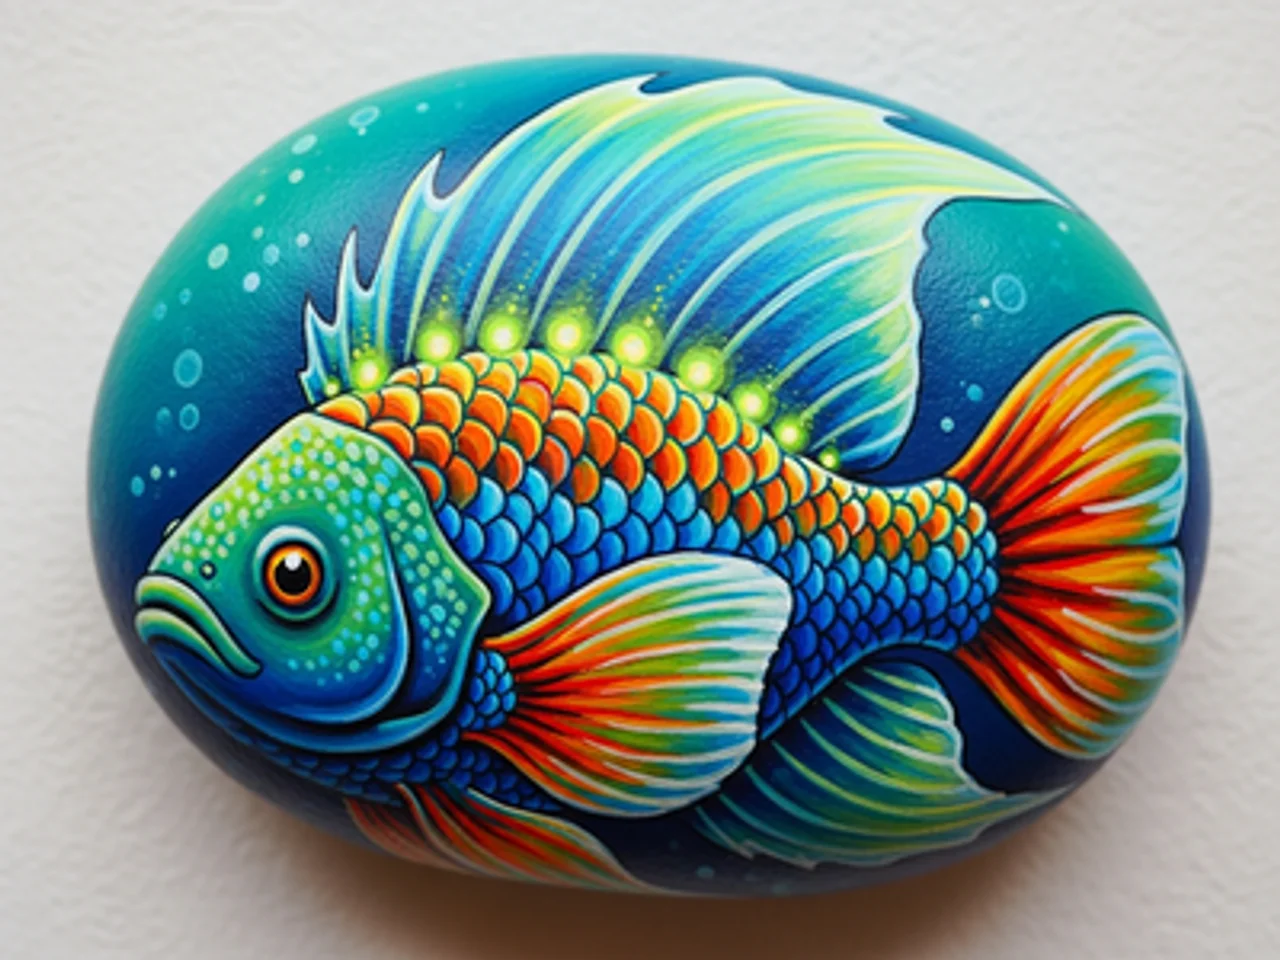
Wash and dry your rock. Paint the entire surface with near-black. While still wet, blend in deep navy blue in the upper areas to suggest the water column — darker at the bottom (deepest water) and slightly less dark higher up. The abyssal zone has no sunlight at all. Add a few scattered pinpoints of light for bioluminescent particles in the water column.
2
Adım 2: Sketch and paint the angler fish body
Sketch an anglerfish (deep sea fish) body — a wide, rounded head taking up most of the body, with a tapering tail. The anglerfish is the most recognizable deep sea creature. Paint the body in deep teal or dark gray-blue. Add a large, gaping mouth with massive jagged teeth in white — the teeth are a hallmark feature.
3
Adım 3: Paint the bioluminescent lure
On the top of the anglerfish's head, paint a long spine (illicium) extending forward and curving down in front of the mouth. At the tip, paint a small glowing bulb in bright cyan or neon blue-green with a white core. This is the esca — the bioluminescent lure the anglerfish uses to attract prey in the darkness.
4
Adım 4: Add bioluminescent body markings
Using neon green or bright cyan paint and a fine brush, add a series of glowing spots and curving line patterns along the body and fins of the anglerfish. These bioluminescent patterns suggest the photophores (light-producing organs) that many deep sea creatures use for communication and camouflage.
5
Adım 5: Add the glowing eye and seal
Paint a large, haunting deep-sea eye on the side of the anglerfish head — a wide greenish iris surrounding a large black pupil with a tiny white highlight. Add a glow halo around the entire fish using very diluted cyan paint. Apply gloss sealant. The wet, shiny finish makes the fish look submerged in water.
Adım 6: RoxGeo Kodu Ekle
Kayanızın altına veya arkasına ROXGEO.COM yazıp ardından bir eğik çizgi ve kayanızın benzersiz kodunu yazın (örn. ROXGEO.COM/ABC123). Bu, bulucunun doğrudan taş'ınızın profil sayfasına gitmesine ve keşfini günlüğe kaydetmesine olanak tanır. Kaya tam adres için çok küçükse, #ROX yazın ve ardından boşluksuz kodu yazın (örn. #ROXABC123) — bu kısadır, Google'da aranması kolaydır ve doğrudan kayanızın yolculuk sayfasına yönlendirir. İnce uçlu bir kalıcı kalem veya akrilik boya kalemi kullanın ve kodun yağmurda, güneşte ve macerada okunabilir kalması için şeffaf vernikle kapatın.
Yararlı İpuçları
- Tasarımına uyan bir taş şekli seç.
- Boyamadan önce tasarımı kalemle çiz.
- Her katmanın tam olarak kurumasını bekle.
- Taşı dışarıda da korumak için şeffaf sprey ile mühürle.
- Alttaki RoxGeo kodu için suya dayanıklı kalıcı bir kalem (Sharpie gibi) veya akrilik boya kalemi kullanın. Kodun üzerine 2-3 kat şeffaf sızdırmazlık maddesi uygulayın; bu, kodun yağmurda, güneşte ve kullanımda aylarca okunabilir olmasını sağlar.
- Kayanızın üzerine #ROXCODE (ör. #ROXABC123) yazmak, Google arama yoluyla bulmayı kolaylaştırır. Bu hashtag'i aktif olarak optimize ediyoruz, böylece onu arayan herkes taş'ınızın profil sayfasını hızlı bir şekilde bulacaktır.
- Tam adres ROXGEO.COM/CODE, bulucuyu doğrudan taş kartınıza götürür; burada tam seyahat geçmişini, önceki bulucuları ve yolculuğunun her durağındaki fotoğrafları görebilir.
Bu kayayı boyayın ve yolculuğunu RoxGeo ile takip edin!
RoxGeo'yu Ücretsiz İndirin