Retour aux modèles
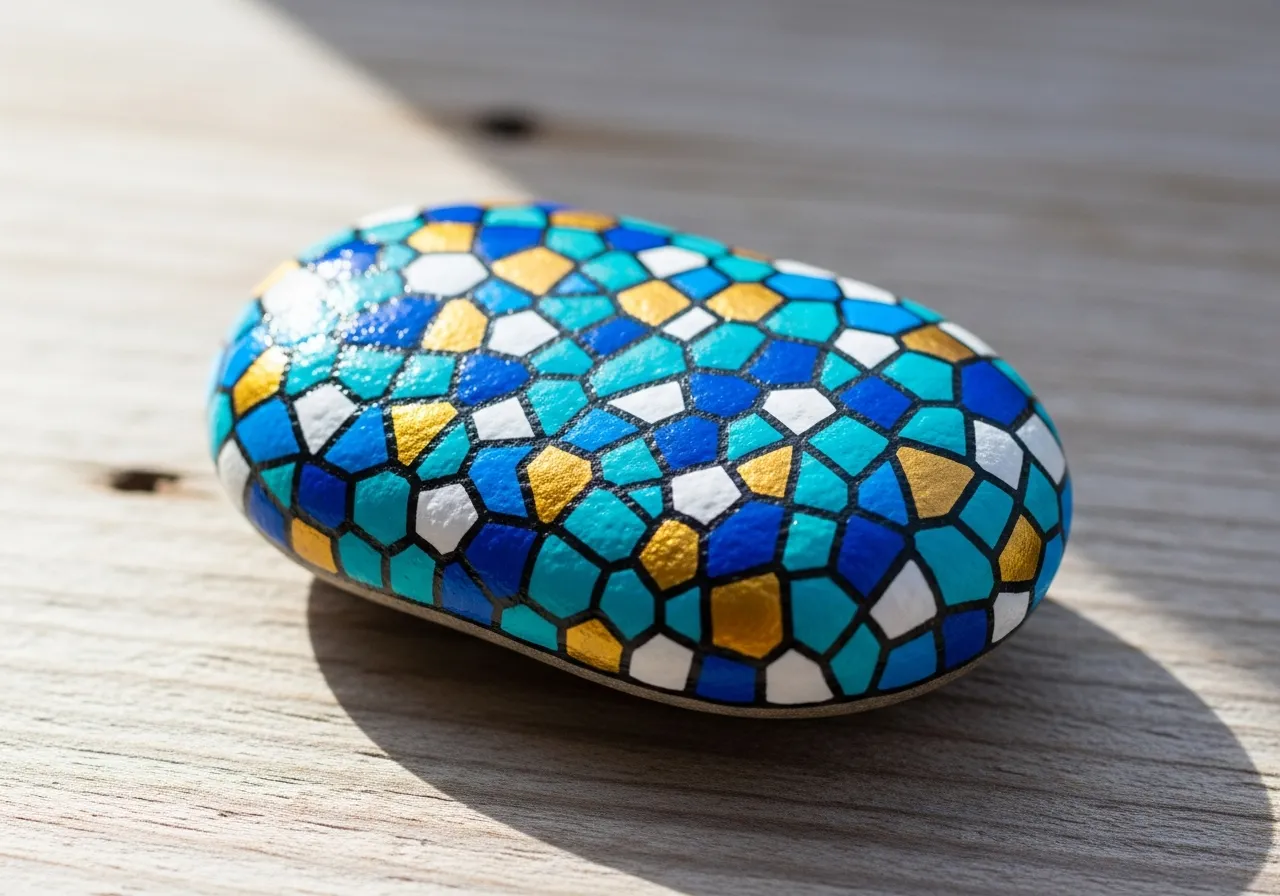
Peinture Mosaïque sur Pierre
Matériaux nécessaires
- Grande pierre plate
- Peintures acryliques assorties vives
- Peinture acrylique noire
- Peinture acrylique blanche
- Pinceau fin pour les détails
- Pinceau plat moyen
- Spray vernis transparent
- Crayon à papier
Guide étape par étape
1
Étape 1: Prepare and plan your design
Wash and dry the rock. Using a pencil, divide the rock surface into irregular geometric shapes - triangles, squares, diamonds, and trapezoids. The shapes should fit together like tiles with small gaps between them.
2
Étape 2: Paint the base white
Paint the entire rock surface white as a base coat. This helps the mosaic colors appear brighter and more vivid. Let it dry completely, then redraw your mosaic lines with pencil if needed.
3
Étape 3: Fill in the tiles
Choose a color scheme - warm colors, cool colors, or a rainbow palette. Paint each tile shape with a different color, making sure no two adjacent tiles share the same color. Use your flat brush for larger shapes and the detail brush for small ones.
4
Étape 4: Add black outlines
Once all tile colors are dry, use your fine brush and black paint to carefully outline each tile. Keep the lines thin and consistent. The black outlines create the classic mosaic "grout" look that makes each tile stand out.
5
Étape 5: Add highlights and seal
For a polished look, add a tiny white highlight dot to the corner of each tile. This creates a 3D glass effect. Let everything dry fully, then apply clear sealant spray to protect your mosaic masterpiece.
Étape 6: Ajouter le code RoxGeo
Écrivez ROXGEO.COM suivi d'une barre oblique et du code unique de votre pierre (ex. ROXGEO.COM/ABC123) sur le dessous ou le dos de votre pierre.
Conseils utiles
- Choisis une forme de pierre qui correspond à ton sujet.
- Esquisse le motif au crayon avant de commencer à peindre.
- Laisse bien sécher chaque couche avant d'en appliquer une autre.
- Protège avec un spray vernis transparent pour que ta pierre reste belle dehors.
- Pour le code RoxGeo au dos, utilisez un marqueur permanent résistant à l'eau. Appliquez 2-3 couches de vernis transparent par-dessus.
- Écrire #ROXCODE (ex. #ROXABC123) sur votre pierre le rend facile à trouver via Google.
- L'adresse complète ROXGEO.COM/CODE amène le trouveur directement à la carte de votre pierre.
Peignez cette pierre et suivez son voyage avec RoxGeo !
Télécharger RoxGeo gratuitement


