Վերադարձ դեպի Կաղապարներ
Խոր Ջրի Ձուկ Քարի Նկարչություն
Պահանջվող նյութեր
- Հարթ, երկարավուն տափակ քար
- Սև ակրիլային ներկ
- Մուգ կարմիր ակրիլային ներկ
- Սպիտակ ակրիլային ներկ
- Դեղին ակրիլային ներկ
- Կապույտ ակրիլային ներկ
- Հարթ վրձին (միջին)
- Բարակ մանրամասների վրձին
- Թափանցիկ լաք սփրեյ
Քայլ առ քայլ հրահանգներ
1
Քայլ 1: Paint the pitch-dark abyss
Wash and dry your rock. Paint the entire surface with near-black. While still wet, blend in deep navy blue in the upper areas to suggest the water column — darker at the bottom (deepest water) and slightly less dark higher up. The abyssal zone has no sunlight at all. Add a few scattered pinpoints of light for bioluminescent particles in the water column.
2
Քայլ 2: Sketch and paint the angler fish body
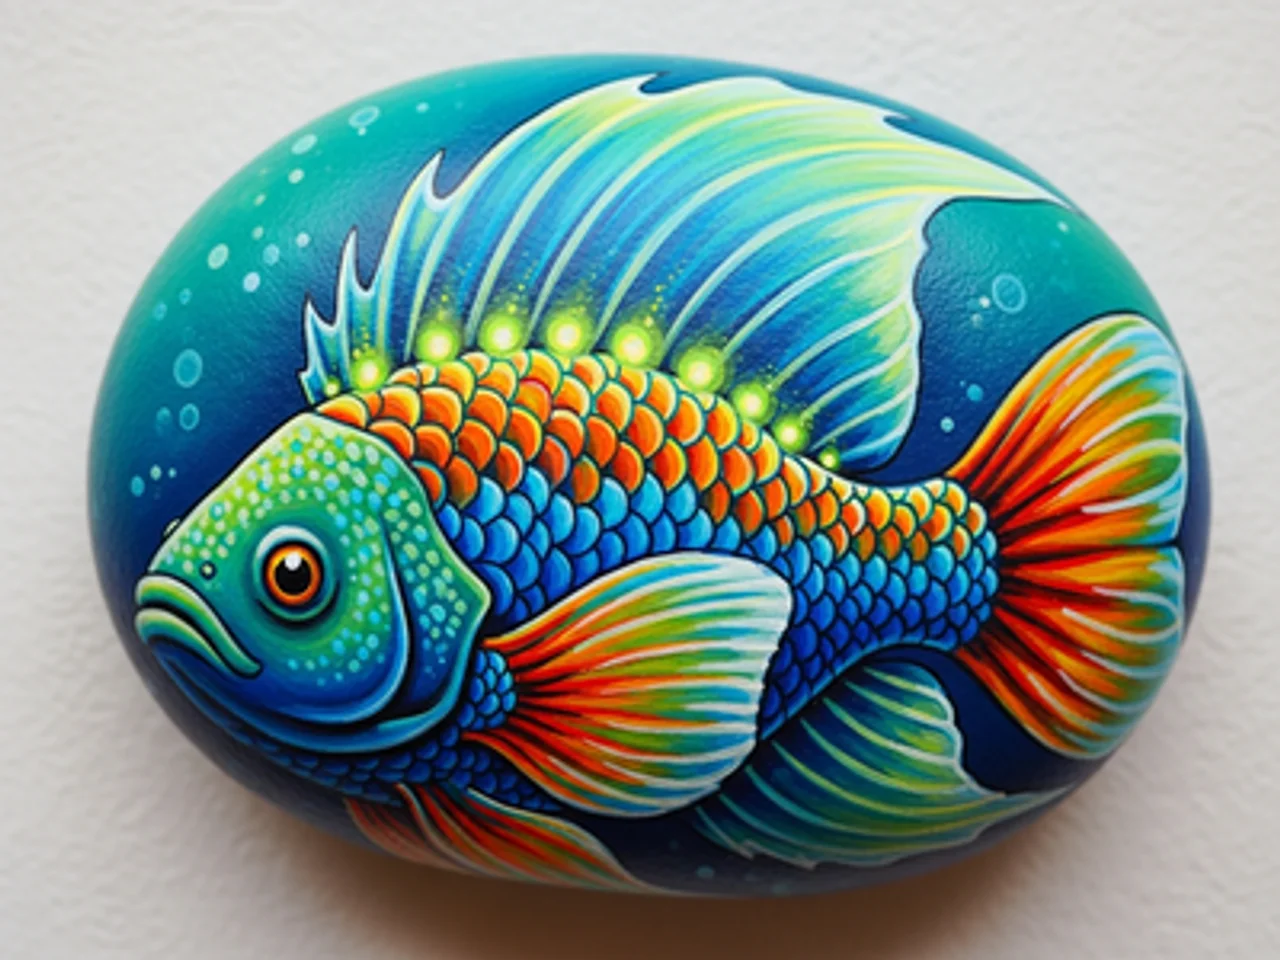
Sketch an anglerfish (deep sea fish) body — a wide, rounded head taking up most of the body, with a tapering tail. The anglerfish is the most recognizable deep sea creature. Paint the body in deep teal or dark gray-blue. Add a large, gaping mouth with massive jagged teeth in white — the teeth are a hallmark feature.
3
Քայլ 3: Paint the bioluminescent lure
On the top of the anglerfish's head, paint a long spine (illicium) extending forward and curving down in front of the mouth. At the tip, paint a small glowing bulb in bright cyan or neon blue-green with a white core. This is the esca — the bioluminescent lure the anglerfish uses to attract prey in the darkness.
4
Քայլ 4: Add bioluminescent body markings
Using neon green or bright cyan paint and a fine brush, add a series of glowing spots and curving line patterns along the body and fins of the anglerfish. These bioluminescent patterns suggest the photophores (light-producing organs) that many deep sea creatures use for communication and camouflage.
5
Քայլ 5: Add the glowing eye and seal
Paint a large, haunting deep-sea eye on the side of the anglerfish head — a wide greenish iris surrounding a large black pupil with a tiny white highlight. Add a glow halo around the entire fish using very diluted cyan paint. Apply gloss sealant. The wet, shiny finish makes the fish look submerged in water.
Քայլ 6: Ավելացնել RoxGeo կոդը
Ձեր ժայռի ներքևի կամ հետևի մասում գրեք ROXGEO.COM, որին հաջորդում է կտրվածք և ձեր ժայռի եզակի կոդը (օրինակ՝ ROXGEO.COM/ABC123): Սա հնարավորություն է տալիս որոնողին ուղղակիորեն գնալ ձեր ժայռի պրոֆիլի էջ և գրանցել իր հայտնագործությունը: Եթե ժայռը չափազանց փոքր է ամբողջական հասցեի համար, գրեք #ROX, որին հաջորդում է ծածկագիրը՝ առանց բացատների (օրինակ՝ #ROXABC123), այն կարճ է, հեշտ է որոնել Google-ում և ուղիղ դեպի ձեր ժայռի ճամփորդության էջը: Օգտագործեք նուրբ ծայրով մշտական մարկեր կամ ակրիլային ներկի գրիչ և փակեք այն թափանցիկ լաքով, որպեսզի ծածկագիրը ընթեռնելի մնա անձրևի, արևի և արկածների ժամանակ:
Օգտակար խորհուրդներ
- Ընտրի՛ր այնպիսի քար, որի ձևը համապատասխանում է քո մոտիվին։
- Մատիտով նախ նշի՛ր ուրվագիծը, հետո սկսի՛ր ներկել։
- Թող յուրաքանչյուր շերտը ամբողջովին չորանա, նախքան հաջորդը քսելը։
- Ծածկի՛ր թափանցիկ սփրեյով, որպեսզի քարը պաշտպանված և գեղեցիկ մնա։
- Ներքևում գտնվող RoxGeo կոդի համար օգտագործեք անջրանցիկ մշտական մարկեր (ինչպես Sharpie) կամ ակրիլային ներկի գրիչ: Կոդերի վրա քսեք 2-3 շերտ թափանցիկ հերմետիկ նյութ, որն այն ընթեռնելի է պահում անձրևի, արևի և բեռնաթափման ժամանակ ամիսներ շարունակ:
- Ձեր քարի վրա #ROXCODE (օրինակ՝ #ROXABC123) գրելը հեշտացնում է այն գտնելը Google-ի որոնման միջոցով: Մենք ակտիվորեն օպտիմիզացնում ենք այս հեշթեգը, այնպես որ յուրաքանչյուրը, ով որոնում է այն, արագ կգտնի ձեր ռոքի պրոֆիլի էջը:
- Ամբողջական ROXGEO.COM/CODE հասցեն որոնողին տանում է անմիջապես ձեր ժայռի քարտը, որտեղ նրանք կարող են տեսնել նրա ճանապարհորդության ամբողջական պատմությունը, նախորդ որոնողներին և լուսանկարները ճանապարհորդության յուրաքանչյուր կանգառից:
Ներկիր այս ժայռը և հետևիր նրա ճանապարհորդությանը RoxGeo-ի հետ:
Ներբեռնեք RoxGeo անվճար