Torna ai modelli
Pittura Vulcano su Sasso
Materiali necessari
- Sasso alto e ovale
- Colore acrilico marrone
- Colore acrilico arancione
- Colore acrilico rosso
- Colore acrilico nero
- Colore acrilico giallo
- Pennello piatto medio
- Pennello fine per i dettagli
- Spray sigillante trasparente
Guida passo passo
1
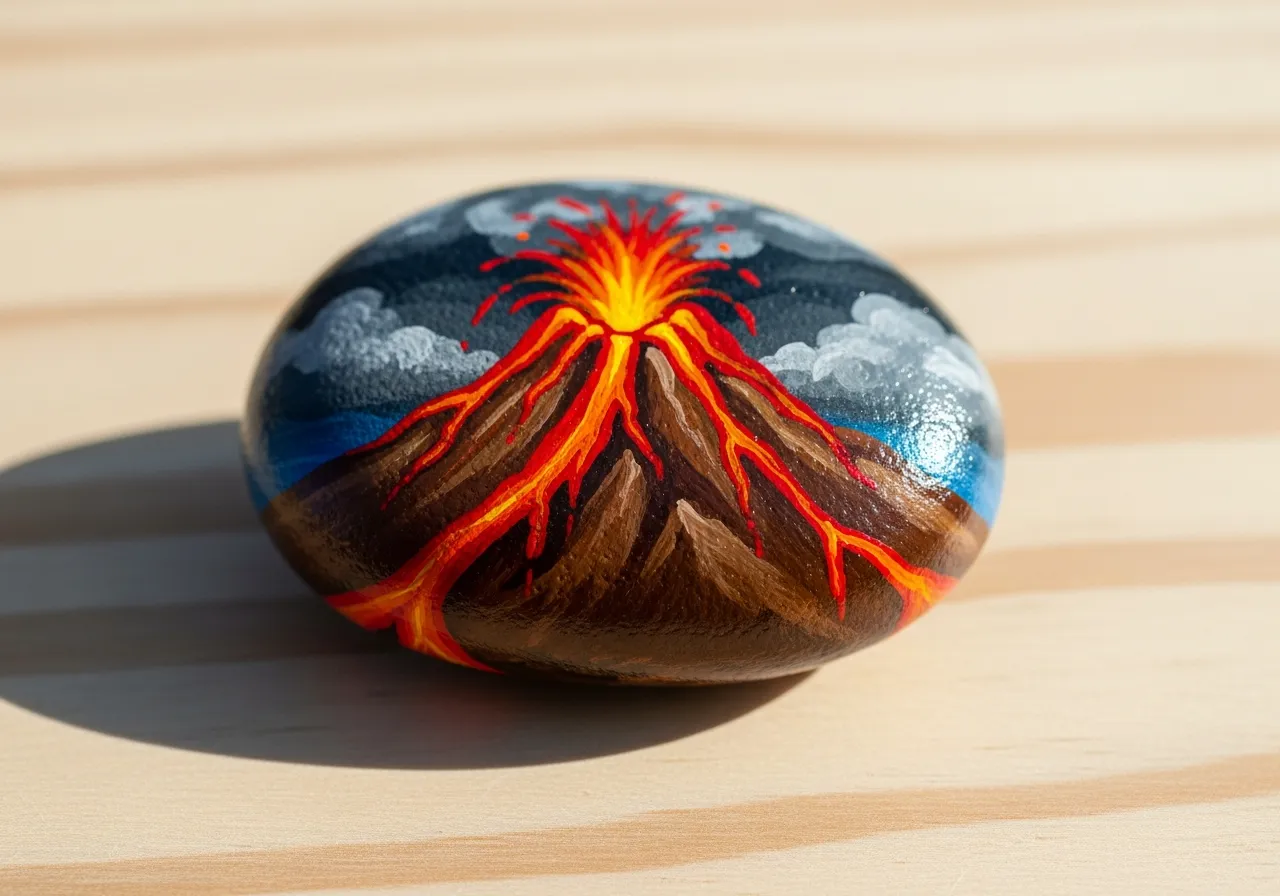
Passo 1: Prepare and sketch
Wash and dry your rock. A triangular or cone-shaped rock works best for a volcano. Use a pencil to divide the rock into sections: the mountain base (bottom two-thirds) and the eruption area (top third).
2
Passo 2: Paint the mountain
Paint the lower portion of the rock with brown paint. Add darker brown or gray streaks along the sides to create depth and rocky texture. Blend the colors slightly where they meet for a natural look.
3
Passo 3: Create the lava flow
Starting from the top of the rock, paint streams of red and orange flowing down the sides. Make the lava thicker at the top and thinner as it flows down. Add yellow highlights in the center of the lava streams for a glowing effect.
4
Passo 4: Paint the eruption
At the very top, paint a bright explosion of yellow and orange bursting upward. Add small red and orange dots flying outward from the crater to represent volcanic debris. Use black to outline the crater opening.
5
Passo 5: Add details and seal
Add smoke wisps with light gray paint above the eruption. Paint a few small rocks or boulders at the base using dark gray. Once fully dry, apply clear sealant to preserve your erupting volcano.
Passo 6: Aggiungi codice RoxGeo
Scrivi ROXGEO.COM seguito da una barra e il codice unico del tuo sasso (es. ROXGEO.COM/ABC123) sul fondo o sul retro del sasso.
Consigli utili
- Scegli una forma di sasso che si adatti al tuo soggetto.
- Abbozza il disegno a matita prima di iniziare a dipingere.
- Lascia asciugare completamente ogni strato prima di aggiungere il successivo.
- Applica il sigillante spray per proteggere il tuo sasso anche all'esterno.
- Per il codice RoxGeo sul retro, usa un pennarello permanente resistente all'acqua. Applica 2-3 strati di vernice trasparente sopra.
- Scrivere #ROXCODE (es. #ROXABC123) sul tuo sasso lo rende facile da trovare su Google.
- L'indirizzo completo ROXGEO.COM/CODE porta lo scopritore direttamente alla mappa del tuo sasso.
Dipingi questo sasso e traccia il suo viaggio con RoxGeo!
Scarica RoxGeo gratis