テンプレートに戻る
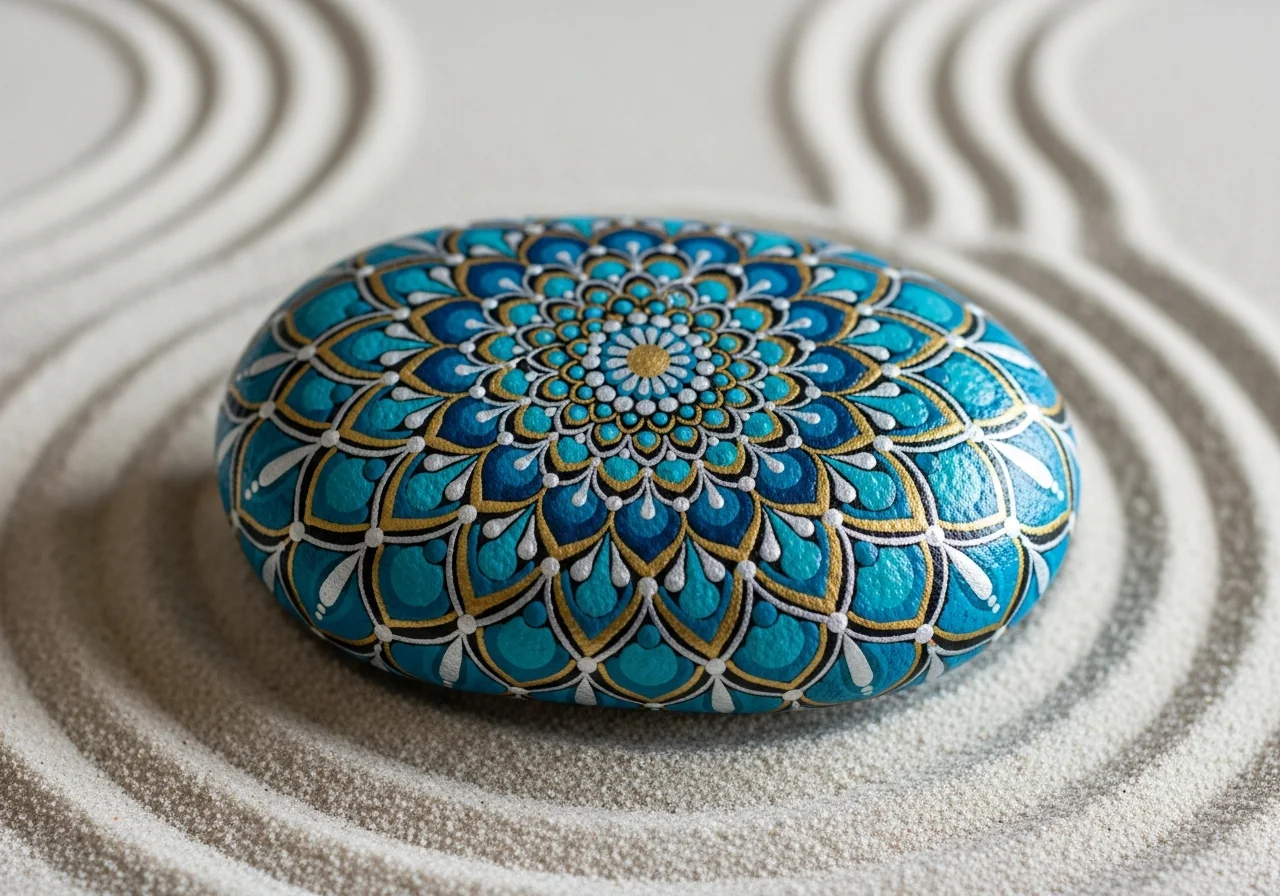
太陽マンダラ石のペイント
必要な材料
- Large, flat round rock (at least 10 cm diameter)
- Golden yellow and orange acrylic paint
- White acrylic paint (for base coat)
- Fine detail brush (size 0 or 00)
- Medium round brush
- Compass or circular stencil
- Toothpicks and dotting tools
- Pencil (for sketching)
- Clear sealant spray
ステップバイステップの指示
1
ステップ 1: Prepare and prime the rock
Wash and dry the rock thoroughly. Paint the entire surface with two coats of white acrylic paint, letting each coat dry fully. A smooth, round rock at least 10 cm across gives you the best canvas for intricate mandala detail work.
2
ステップ 2: Sketch the mandala grid
Using a compass and pencil, draw a small circle at the center of the rock. Add concentric circles at equal intervals outward. Divide the rock into 8 or 16 equal segments with radiating pencil lines to create your symmetrical mandala grid.
3
ステップ 3: Paint the golden base color
Fill the entire top surface with two coats of deep golden yellow paint, working carefully within the pencil guidelines. This warm solar base will make your finished mandala glow with the energy of the sun. Let dry completely before continuing.
4
ステップ 4: Paint the inner sun core
Using bright orange paint and a fine brush, paint a bold circle at the very center. Add short radiating flame-like strokes around it to create the burning core. Place a precise bright white dot at the absolute center using a dotting tool dipped in white paint.
5
ステップ 5: Build the first ring of petals
Paint symmetrical teardrop-shaped petals around the central core, following your grid lines. Each petal should be evenly spaced and identical in size. Use a medium brush for the body of each petal and your fine brush to refine the pointed tips to a crisp finish.
6
ステップ 6: Layer outer rings with geometric detail
Add progressively larger and more elaborate rings outward: chevron bands, triangular points, and small dot clusters between each major petal layer. Check symmetry after each ring by rotating the rock and comparing opposite sections carefully.
7
ステップ 7: Add stippling and dot-work details
Load a toothpick or fine dotting tool with white or orange paint and add rows of uniformly sized dots along the border of each completed ring. This stippling technique creates beautiful texture and is the hallmark of traditional mandala stone art.
8
ステップ 8: Outline, refine and seal
Once all paint layers are fully dry, use a fine brush with slightly diluted black or dark brown paint to outline key shapes for clarity and contrast. Apply two coats of clear sealant spray, allowing full drying between coats. Your sun mandala rock is complete.
ステップ 9: RoxGeoコードを追加
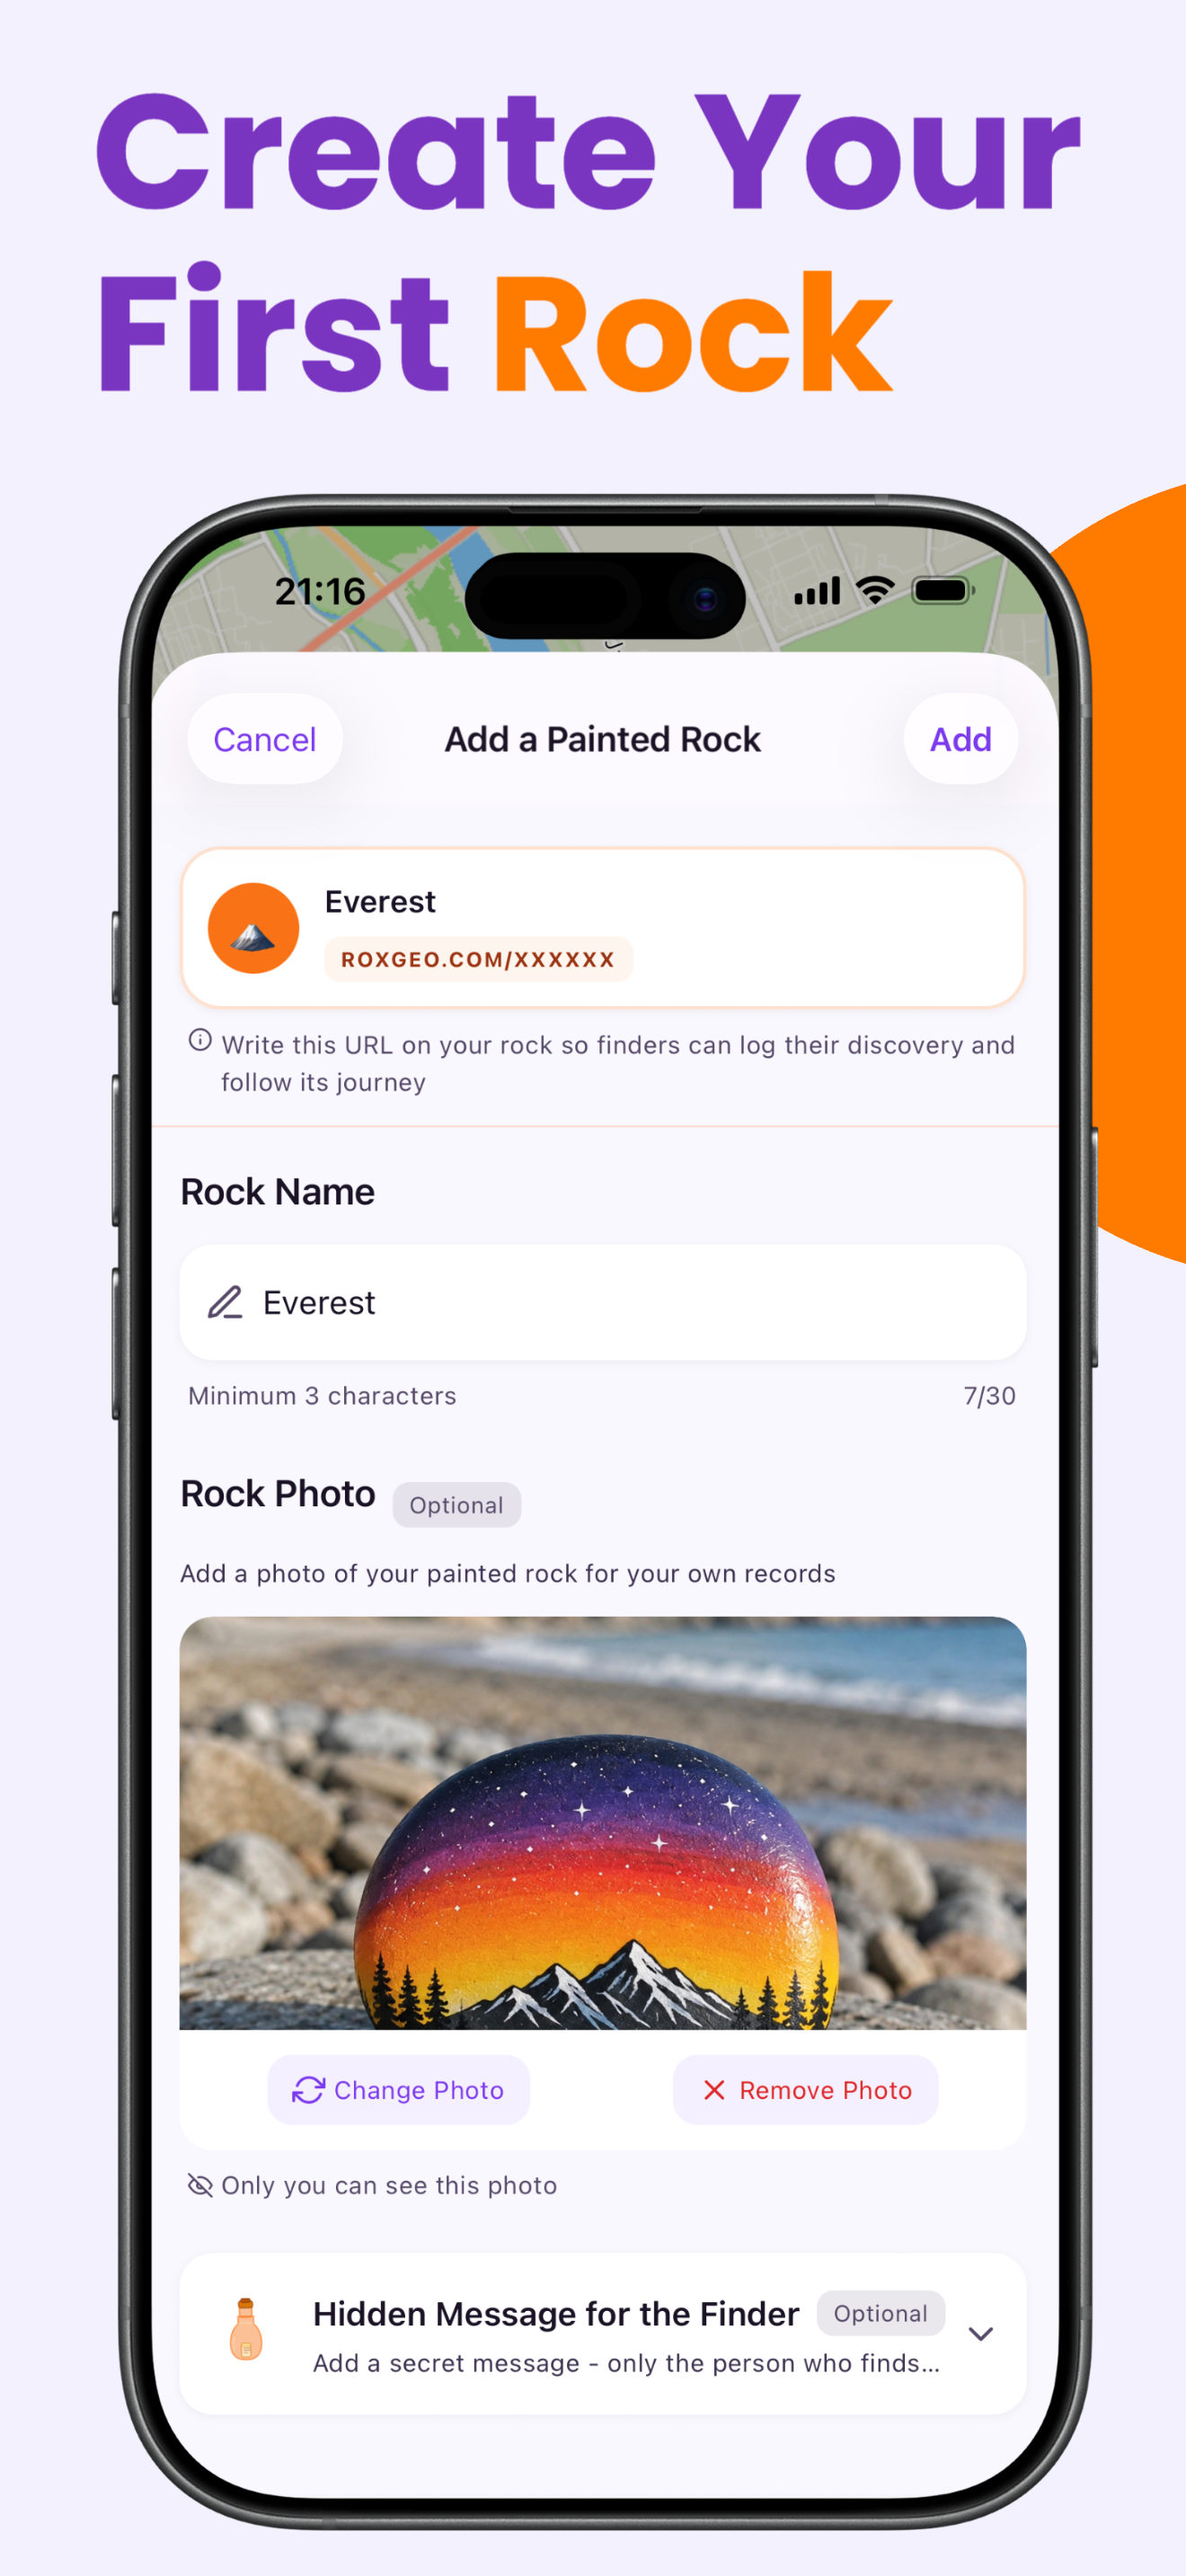
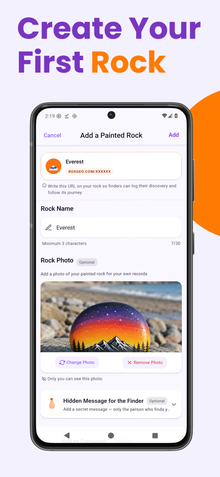
あなたの岩の底面または裏面に、ROXGEO.COMとスラッシュの後に岩のユニークコード(例:ROXGEO.COM/ABC123)を書いてください。これにより、見つけた人は直接あなたの岩のプロフィールページにアクセスし、発見を記録できます。岩が小さすぎてフルアドレスを書くことができない場合は、スペースなしで#ROXとコードを書く(例:#ROXABC123)と短く、Googleで検索しやすく、あなたの岩の旅ページに直接つながります。細い先の永久マーカーまたはアクリルペイントペンを使用し、透明なニスでコーティングして、雨や日差し、冒険の中でもコードが読みやすく保ちましょう。
役立つヒント
- Use a compass for perfect circles - freehand circles look less professional in mandala work.
- Always work from the center outward, completing each ring fully before starting the next.
- A mandala compass dotting tool set makes spacing dots uniformly much easier and faster.
- Test your dotting tool pressure on a spare rock before applying to the design.
- The painting looks busier than expected in progress - trust the grid and it will come together beautifully.
- 底面のRoxGeoコードには、防水の永久マーカー(シャーピーなど)またはアクリルペイントペンを使用してください。コードの上に透明なシーラントを2〜3回塗布します。これにより、雨や日差し、取り扱いによっても数ヶ月間読みやすく保たれます。
- 岩に#ROXCODE(例:#ROXABC123)を書くことで、Google検索で簡単に見つけられます。このハッシュタグに対して積極的に最適化しているため、検索した人はすぐにあなたの岩のプロフィールページを見つけることができます。
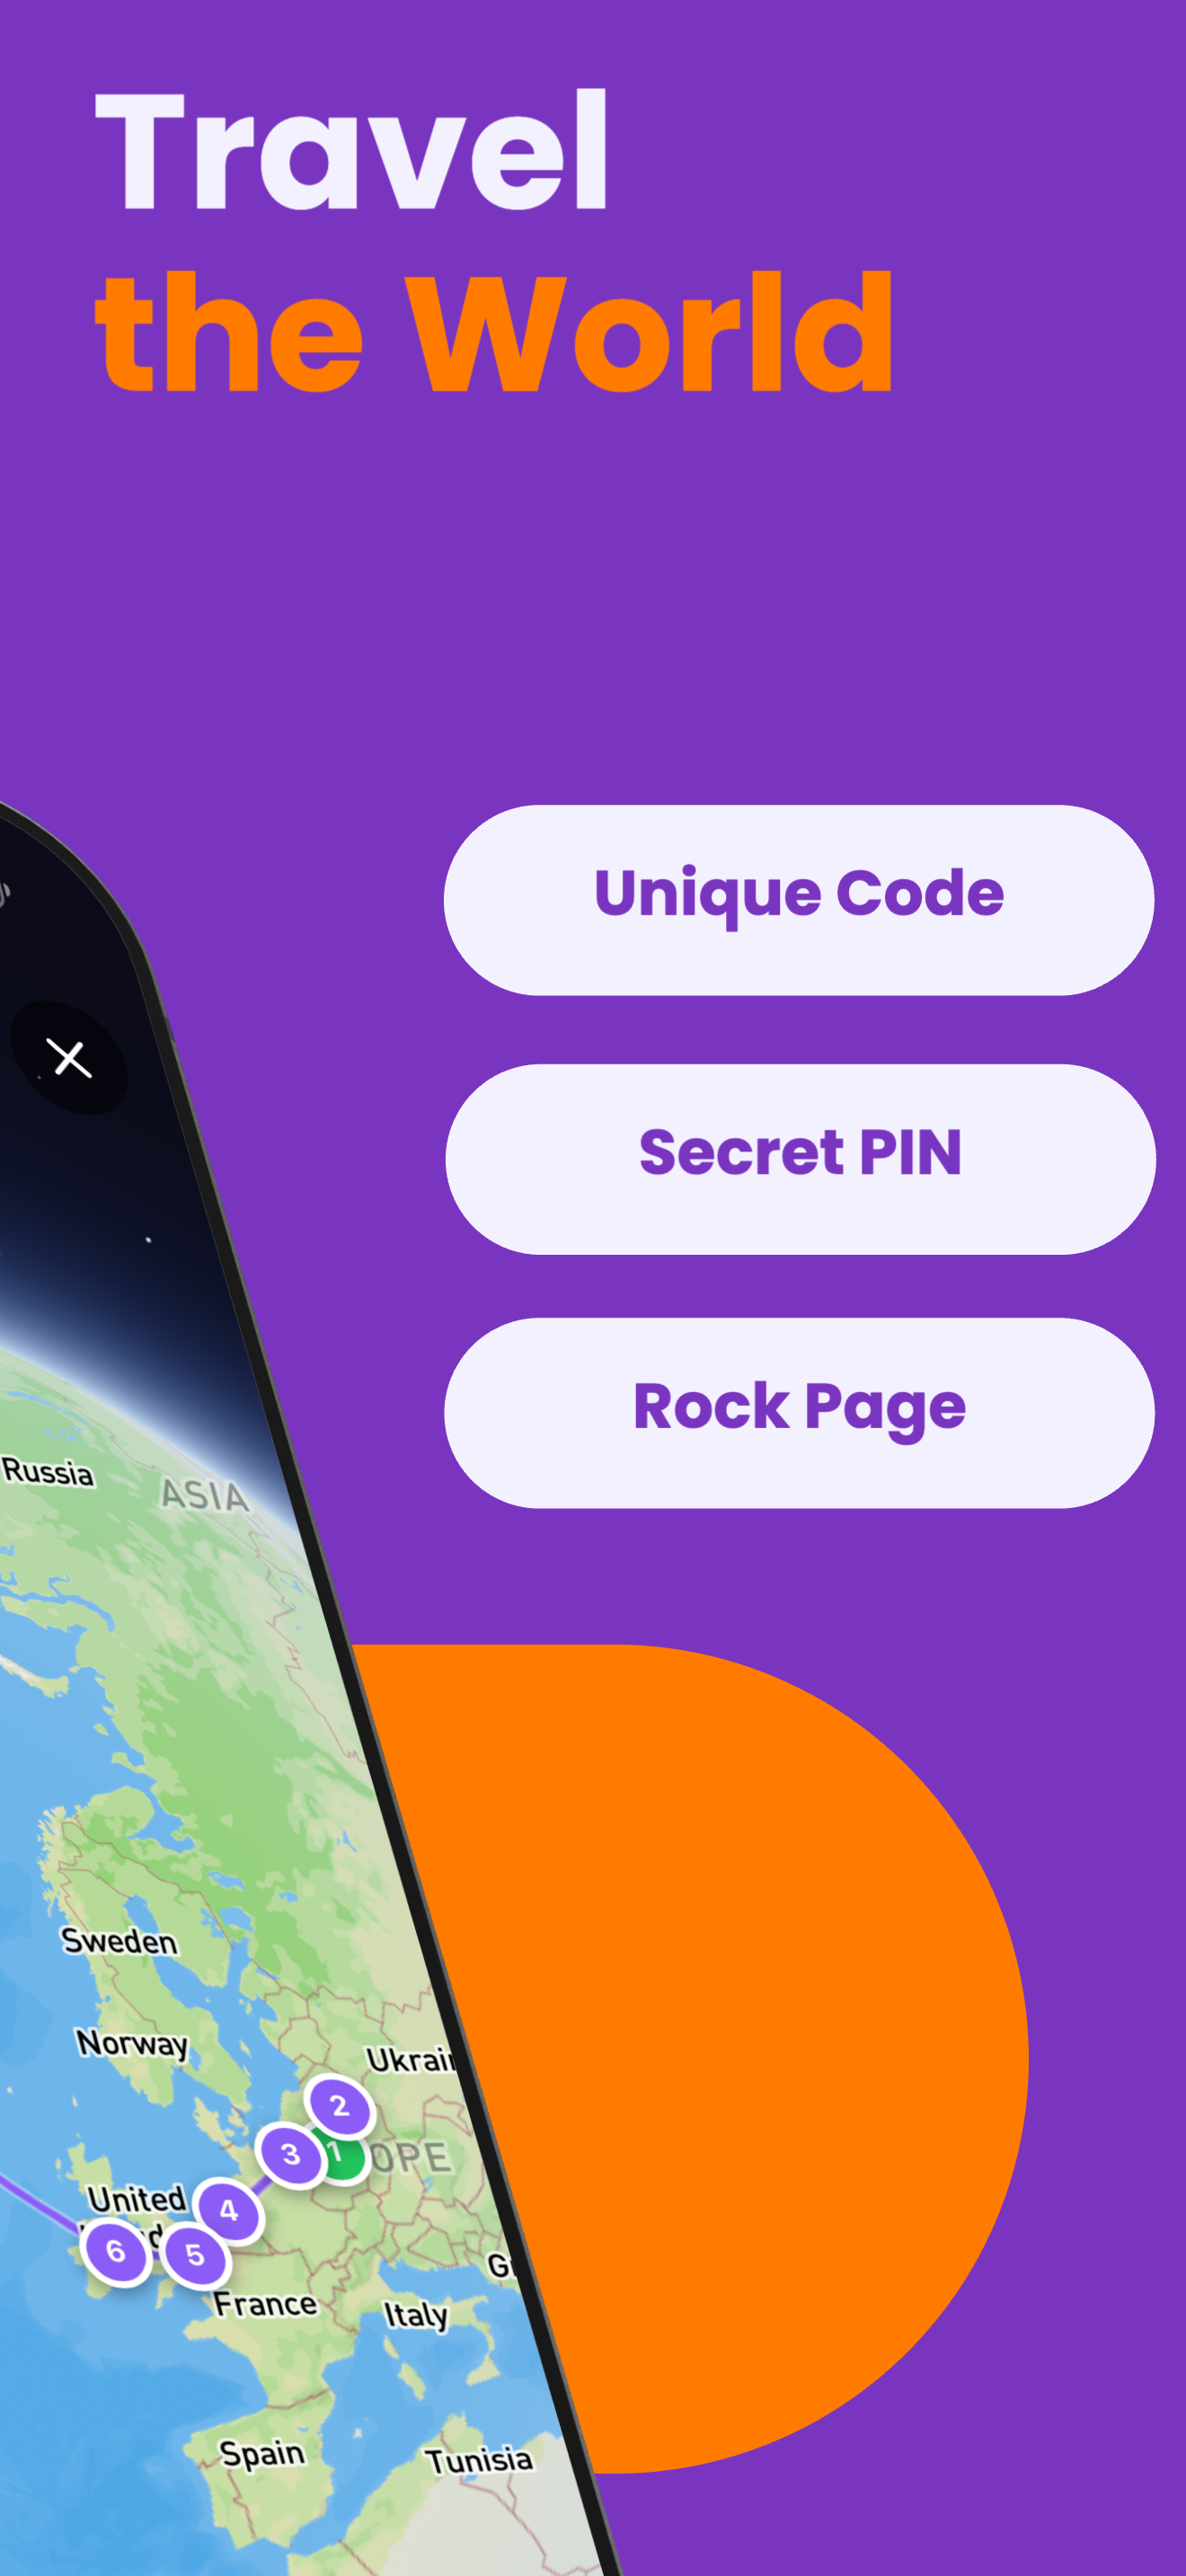
- フルアドレスROXGEO.COM/CODEは、見つけた人をあなたの岩のカードに直接導き、そこではその岩の完全な旅行履歴、以前の発見者、旅の各停留所の写真を確認できます。
この岩を塗って、RoxGeoでその旅を追跡しましょう!
RoxGeoを無料でダウンロード