Terug naar sjablonen
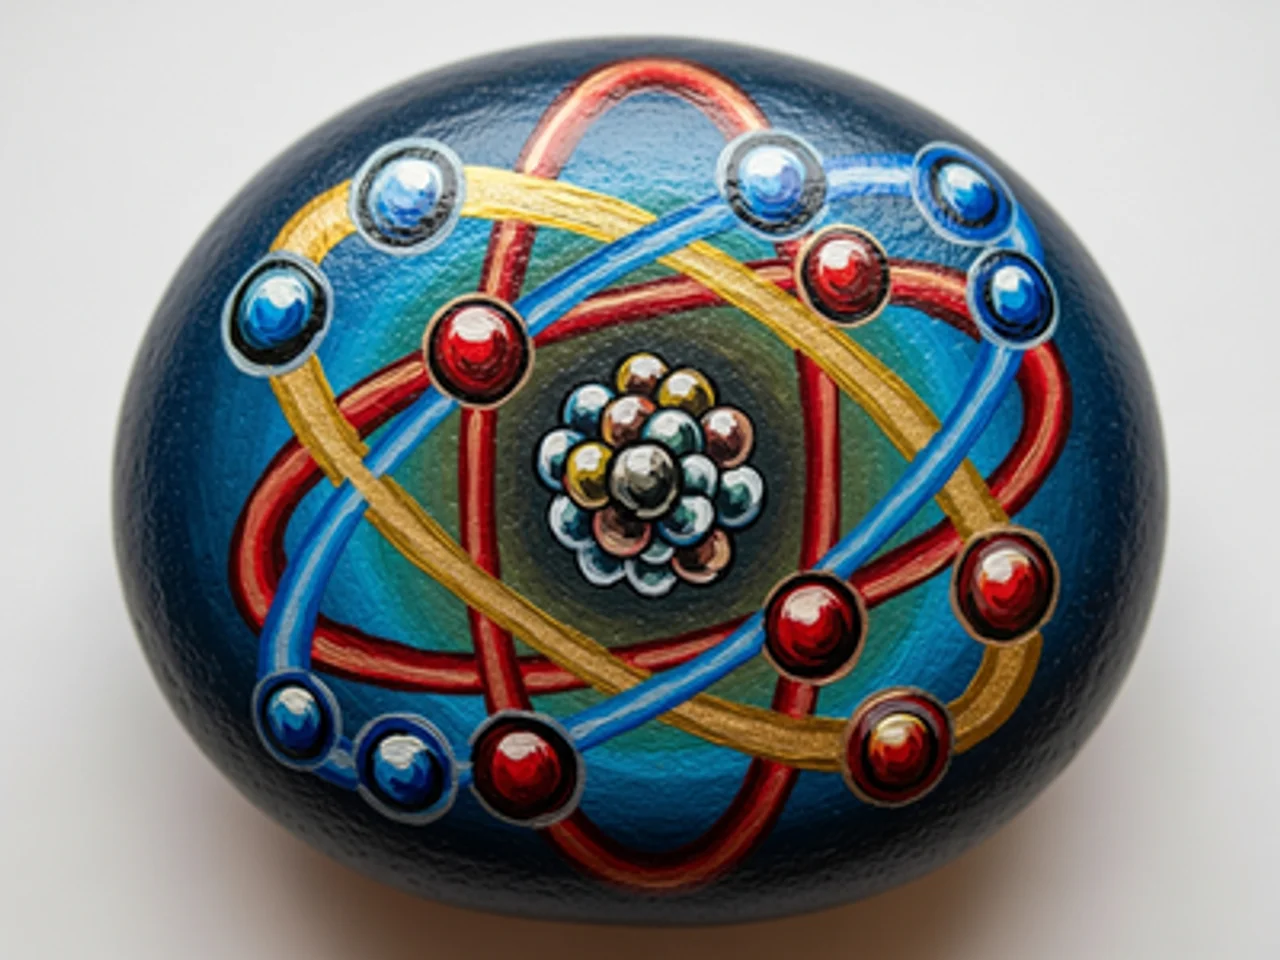
Atoommodel Steenschildering
Benodigde materialen
- Gladde, ronde steen (handvulling)
- Zwarte acrylverf
- Donkerblauwe acrylverf
- Witte acrylverf
- Rode acrylverf
- Plat penseel (middelgroot)
- Fijn detailpenseel
- Transparante vernisspray
- Potlood
Stap-voor-stap instructies
1
Stap 1: Paint the dark background
Wash and dry your rock. Paint the entire surface with deep navy blue or black. Tiny white dot stars can be added for a scientific-meets-cosmic feel. The dark background makes the glowing orbital lines and electrons stand out dramatically.
2
Stap 2: Draw and paint the nucleus
In the center of the rock, paint a cluster of tightly packed dots for the nucleus: some red (protons) and some white or gray (neutrons). The nucleus should be a dense, compact cluster suggesting the tight packing of nuclear particles. It should be notably smaller than the orbital rings around it.
3
Stap 3: Paint the electron orbital rings
Using teal or turquoise paint and a fine brush, paint two or three elliptical orbital rings around the nucleus at different angles. Each ring is a thin, complete ellipse. Like a gyroscope, the rings should be oriented differently — one horizontal, one tilted left, one tilted right — to create a three-dimensional spherical appearance.
4
Stap 4: Add the electrons
Paint one small bright yellow or gold dot on each orbital ring to represent an electron. Position them at different points along each ring — not all at the same angle. Each electron should glow slightly by adding a tiny white highlight dot inside the yellow dot.
5
Stap 5: Add glow effects and seal
Using very diluted white paint, add a soft glow halo around the nucleus. Add thin light-colored trailing lines behind each electron to suggest orbital movement. Apply clear sealant when fully dry for a polished finish on your atom model rock.
Stap 6: Voeg RoxGeo-code toe
Schrijf op de onderkant of achterkant van je steen ROXGEO.COM gevolgd door een schuine streep en de unieke code van je steen (bijv. ROXGEO.COM/ABC123). Hiermee kan de vinder direct naar de profielpagina van je steen gaan.
Handige tips
- Een witte basislaag maakt alle kleuren levendiger.
- Schets het ontwerp eerst met potlood voor je begint te schilderen.
- Laat elke laag volledig drogen voordat je de volgende aanbrengt.
- Verzegel met transparante spray om je steen ook buiten te beschermen.
- Gebruik voor de RoxGeo-code een waterbestendige permanente stift (zoals Sharpie) of een acrylverfpen. Breng 2-3 lagen heldere lak over de code aan.
- Het schrijven van #ROXCODE (bijv. #ROXABC123) op je steen maakt het makkelijk te vinden via Google.
- Het volledige adres ROXGEO.COM/CODE brengt de vinder direct naar de kaart van je steen met volledige reisgeschiedenis.
Schilder deze steen en volg de reis met RoxGeo!
Download RoxGeo gratis