Terug naar sjablonen
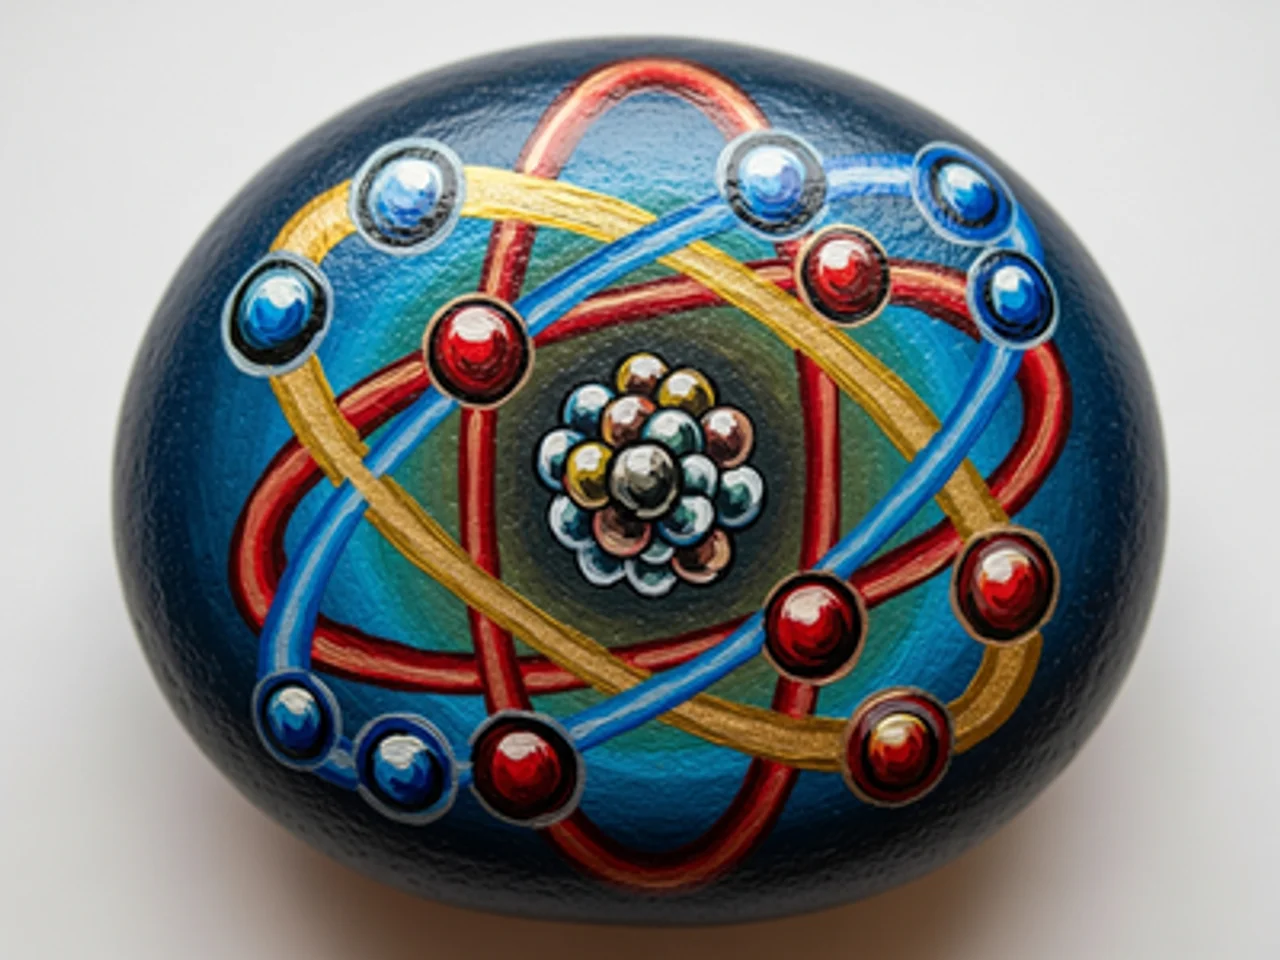
Zonnestelsel Steenschildering
Benodigde materialen
- Grote, platte steen
- Zwarte acrylverf
- Donkerblauwe acrylverf
- Diverse heldere acrylverven
- Witte acrylverf
- Plat penseel (middelgroot)
- Fijn detailpenseel
- Transparante vernisspray
- Potlood
Stap-voor-stap instructies
1
Stap 1: Paint the deep space background
Wash and dry your large rock. Paint the entire surface solid black for space. While still slightly wet, add tiny touches of deep blue or dark purple in some areas for a nebula effect. Let dry completely. Using a toothpick or fine brush, add hundreds of tiny white dots for stars scattered randomly across the surface.
2
Stap 2: Place the sun and sketch orbits
Paint a large bright yellow-orange circle for the sun in the left-center of the rock (to allow space for the planets). While slightly larger than the planets, it need not take more than a quarter of the space. Lightly sketch curved arc lines representing the orbital paths of the eight planets.
3
Stap 3: Paint Mercury, Venus, Earth, and Mars
Working outward from the sun, paint the four inner rocky planets. Mercury: tiny gray dot. Venus: small yellow-cream dot. Earth: slightly larger blue dot with a green-brown continent shape. Mars: slightly smaller than Earth, solid rust-red. Keep planets proportionally different in size.
4
Stap 4: Paint Jupiter, Saturn, Uranus, and Neptune
Paint the four outer gas giant planets: Jupiter: largest planet dot, orange with darker horizontal bands. Saturn: second largest, yellow-beige with thin elliptical white rings extending to either side. Uranus: medium teal-blue dot. Neptune: slightly smaller than Uranus, deep blue.
5
Stap 5: Add planet details and seal
Add Jupiter's Great Red Spot (tiny orange-red oval). Add thin curved lines on the orbital arcs. Label the planets in tiny text if space allows. Apply clear sealant to protect your solar system rock — a cosmic art piece with educational value.
Stap 6: Voeg RoxGeo-code toe
Schrijf op de onderkant of achterkant van je steen ROXGEO.COM gevolgd door een schuine streep en de unieke code van je steen (bijv. ROXGEO.COM/ABC123). Hiermee kan de vinder direct naar de profielpagina van je steen gaan.
Handige tips
- Schets het ontwerp eerst met potlood voor je begint te schilderen.
- Een witte basislaag maakt alle kleuren levendiger.
- Laat elke laag volledig drogen voordat je de volgende aanbrengt.
- Verzegel met transparante spray om je steen ook buiten te beschermen.
- Gebruik voor de RoxGeo-code een waterbestendige permanente stift (zoals Sharpie) of een acrylverfpen. Breng 2-3 lagen heldere lak over de code aan.
- Het schrijven van #ROXCODE (bijv. #ROXABC123) op je steen maakt het makkelijk te vinden via Google.
- Het volledige adres ROXGEO.COM/CODE brengt de vinder direct naar de kaart van je steen met volledige reisgeschiedenis.
Schilder deze steen en volg de reis met RoxGeo!
Download RoxGeo gratis