Terug naar sjablonen
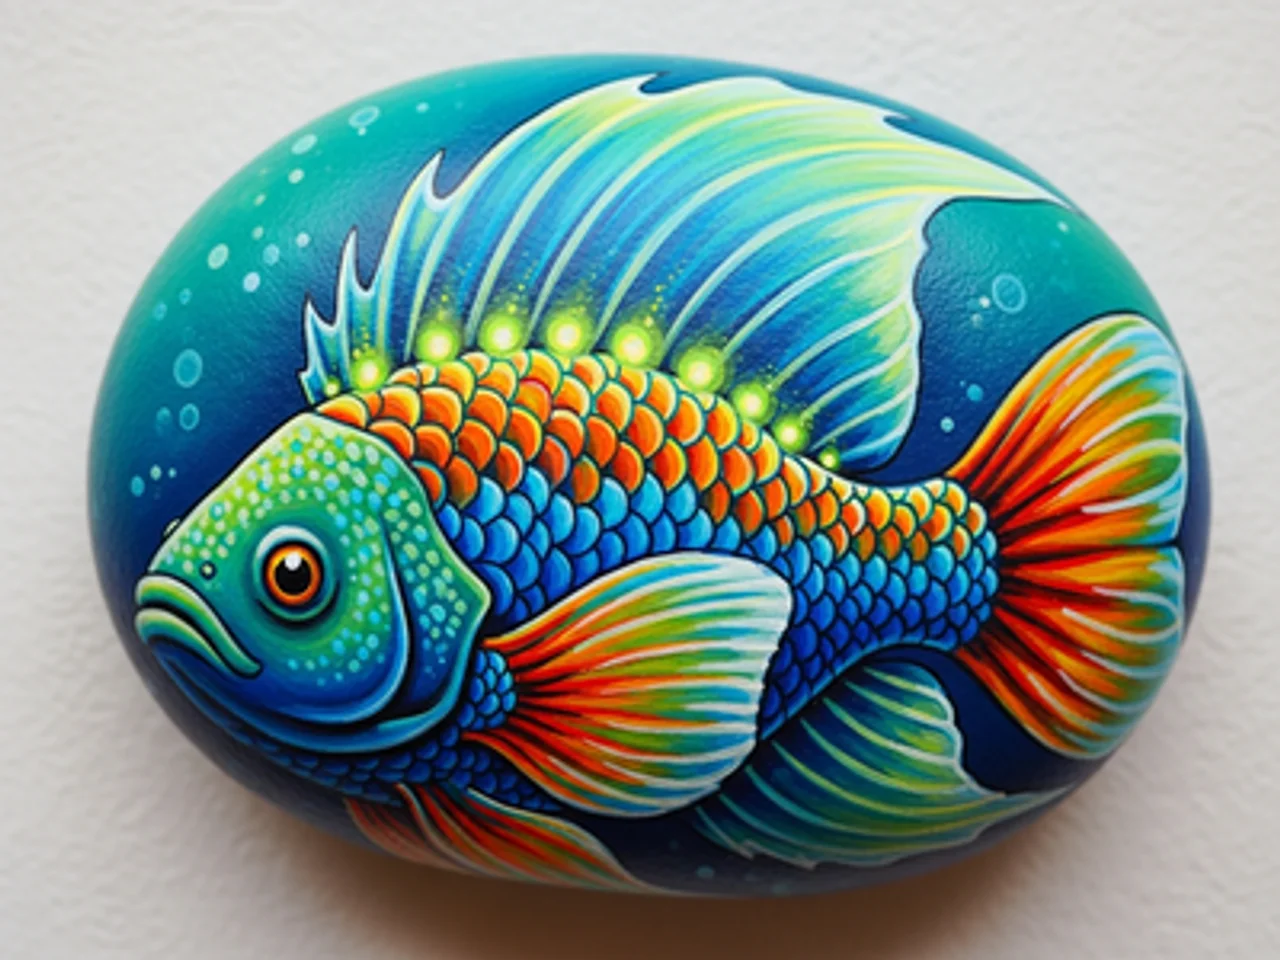
Diepzevis Steenschildering
Benodigde materialen
- Lange, platte steen
- Zwarte acrylverf
- Donkerblauwe acrylverf
- Witte acrylverf
- Gele acrylverf
- Blauwe acrylverf
- Plat penseel (middelgroot)
- Fijn detailpenseel
- Transparante vernisspray
Stap-voor-stap instructies
1
Stap 1: Paint the pitch-dark abyss
Wash and dry your rock. Paint the entire surface with near-black. While still wet, blend in deep navy blue in the upper areas to suggest the water column — darker at the bottom (deepest water) and slightly less dark higher up. The abyssal zone has no sunlight at all. Add a few scattered pinpoints of light for bioluminescent particles in the water column.
2
Stap 2: Sketch and paint the angler fish body
Sketch an anglerfish (deep sea fish) body — a wide, rounded head taking up most of the body, with a tapering tail. The anglerfish is the most recognizable deep sea creature. Paint the body in deep teal or dark gray-blue. Add a large, gaping mouth with massive jagged teeth in white — the teeth are a hallmark feature.
3
Stap 3: Paint the bioluminescent lure
On the top of the anglerfish's head, paint a long spine (illicium) extending forward and curving down in front of the mouth. At the tip, paint a small glowing bulb in bright cyan or neon blue-green with a white core. This is the esca — the bioluminescent lure the anglerfish uses to attract prey in the darkness.
4
Stap 4: Add bioluminescent body markings
Using neon green or bright cyan paint and a fine brush, add a series of glowing spots and curving line patterns along the body and fins of the anglerfish. These bioluminescent patterns suggest the photophores (light-producing organs) that many deep sea creatures use for communication and camouflage.
5
Stap 5: Add the glowing eye and seal
Paint a large, haunting deep-sea eye on the side of the anglerfish head — a wide greenish iris surrounding a large black pupil with a tiny white highlight. Add a glow halo around the entire fish using very diluted cyan paint. Apply gloss sealant. The wet, shiny finish makes the fish look submerged in water.
Stap 6: Voeg RoxGeo-code toe
Schrijf op de onderkant of achterkant van je steen ROXGEO.COM gevolgd door een schuine streep en de unieke code van je steen (bijv. ROXGEO.COM/ABC123). Hiermee kan de vinder direct naar de profielpagina van je steen gaan.
Handige tips
- Kies een steenvorm die bij je motief past.
- Schets het ontwerp eerst met potlood voor je begint te schilderen.
- Laat elke laag volledig drogen voordat je de volgende aanbrengt.
- Verzegel met transparante spray om je steen ook buiten te beschermen.
- Gebruik voor de RoxGeo-code een waterbestendige permanente stift (zoals Sharpie) of een acrylverfpen. Breng 2-3 lagen heldere lak over de code aan.
- Het schrijven van #ROXCODE (bijv. #ROXABC123) op je steen maakt het makkelijk te vinden via Google.
- Het volledige adres ROXGEO.COM/CODE brengt de vinder direct naar de kaart van je steen met volledige reisgeschiedenis.
Schilder deze steen en volg de reis met RoxGeo!
Download RoxGeo gratis