Terug naar sjablonen
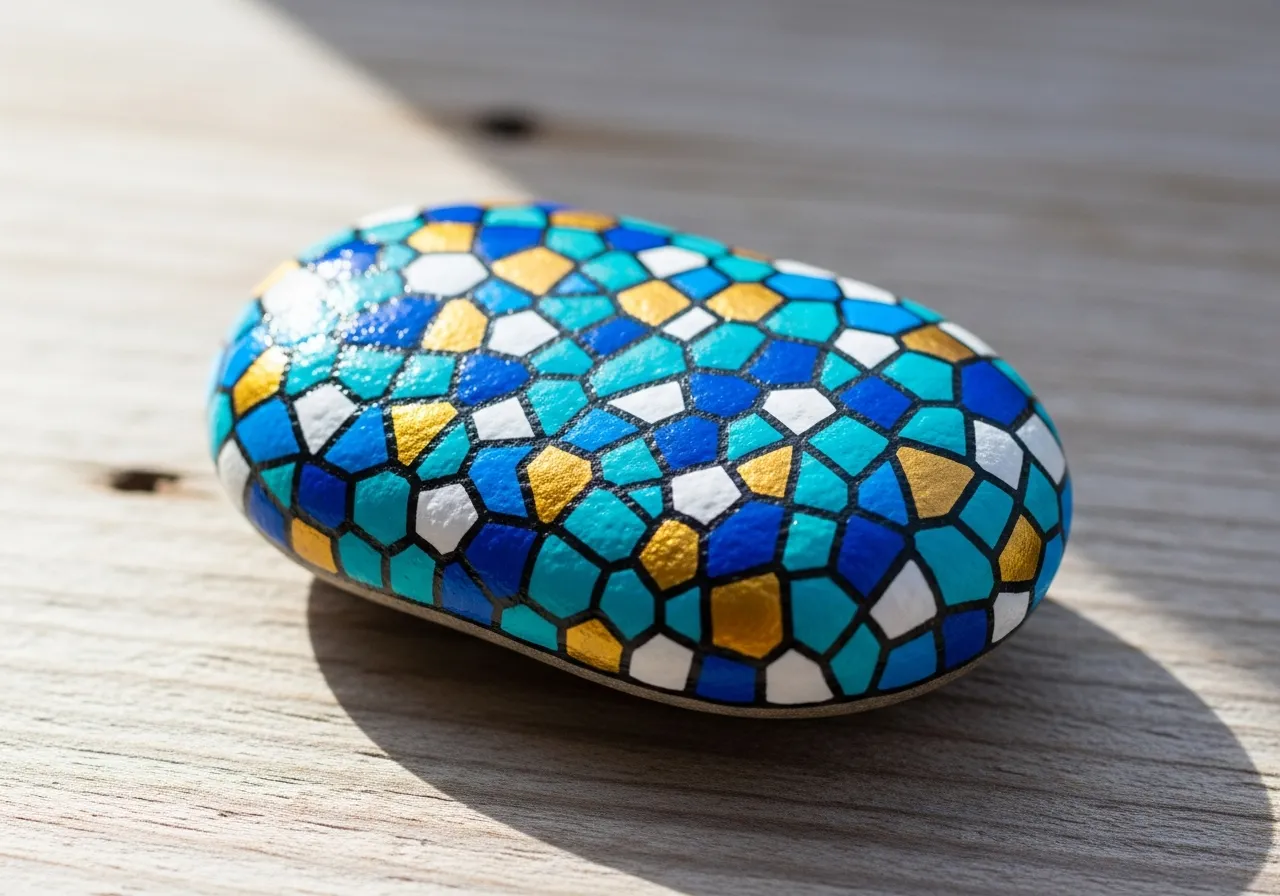
Mandala Steenschildering
Benodigde materialen
- Gladde, ronde steen (handvulling)
- Zwarte acrylverf
- Witte acrylverf
- Diverse heldere acrylverven
- Wattenstokjes of ronde penselen (voor stippen)
- Fijn detailpenseel
- Transparante vernisspray
- Potlood
Stap-voor-stap instructies
1
Stap 1: Prepare the base
Wash and dry your rock. Paint the entire surface black or dark blue. This dark background will make your mandala colors pop beautifully. Apply two coats and let dry completely.
2
Stap 2: Mark the center and guidelines
Find the center of your rock and mark it with a small chalk dot. Draw light cross lines through the center to divide the rock into quarters. These guidelines help keep your mandala symmetrical.
3
Stap 3: Create the center dot and first ring
Place a large dot in the center using your brightest color. Around it, create a ring of evenly spaced medium dots using a second color. Then add a ring of smaller dots between the medium ones using a third color.
4
Stap 4: Build outward rings
Continue adding rings of dots, each one farther from the center. Alternate between dot sizes and colors to create contrast. Try teardrop shapes, petal forms, or tiny clusters between the main dots for complexity.
5
Stap 5: Add outer details and highlights
Fill the outer edge with a final ring of dots. Add white highlight dots on top of some colored dots for a 3D effect. Check symmetry and fill any gaps. Once dry, seal with clear spray.
6
Stap 6: Final inspection and sealing
Rotate the rock slowly and check for any uneven areas or gaps. Touch up where needed. Apply 2-3 coats of clear sealant, letting each coat dry. The sealant gives a beautiful glossy finish to your mandala.
Stap 7: Voeg RoxGeo-code toe
Schrijf op de onderkant of achterkant van je steen ROXGEO.COM gevolgd door een schuine streep en de unieke code van je steen (bijv. ROXGEO.COM/ABC123). Hiermee kan de vinder direct naar de profielpagina van je steen gaan.
Handige tips
- Kies een steenvorm die bij je motief past.
- Schets het ontwerp eerst met potlood voor je begint te schilderen.
- Laat elke laag volledig drogen voordat je de volgende aanbrengt.
- Verzegel met transparante spray om je steen ook buiten te beschermen.
- Gebruik voor de RoxGeo-code een waterbestendige permanente stift (zoals Sharpie) of een acrylverfpen. Breng 2-3 lagen heldere lak over de code aan.
- Het schrijven van #ROXCODE (bijv. #ROXABC123) op je steen maakt het makkelijk te vinden via Google.
- Het volledige adres ROXGEO.COM/CODE brengt de vinder direct naar de kaart van je steen met volledige reisgeschiedenis.
Schilder deze steen en volg de reis met RoxGeo!
Download RoxGeo gratis