Terug naar sjablonen
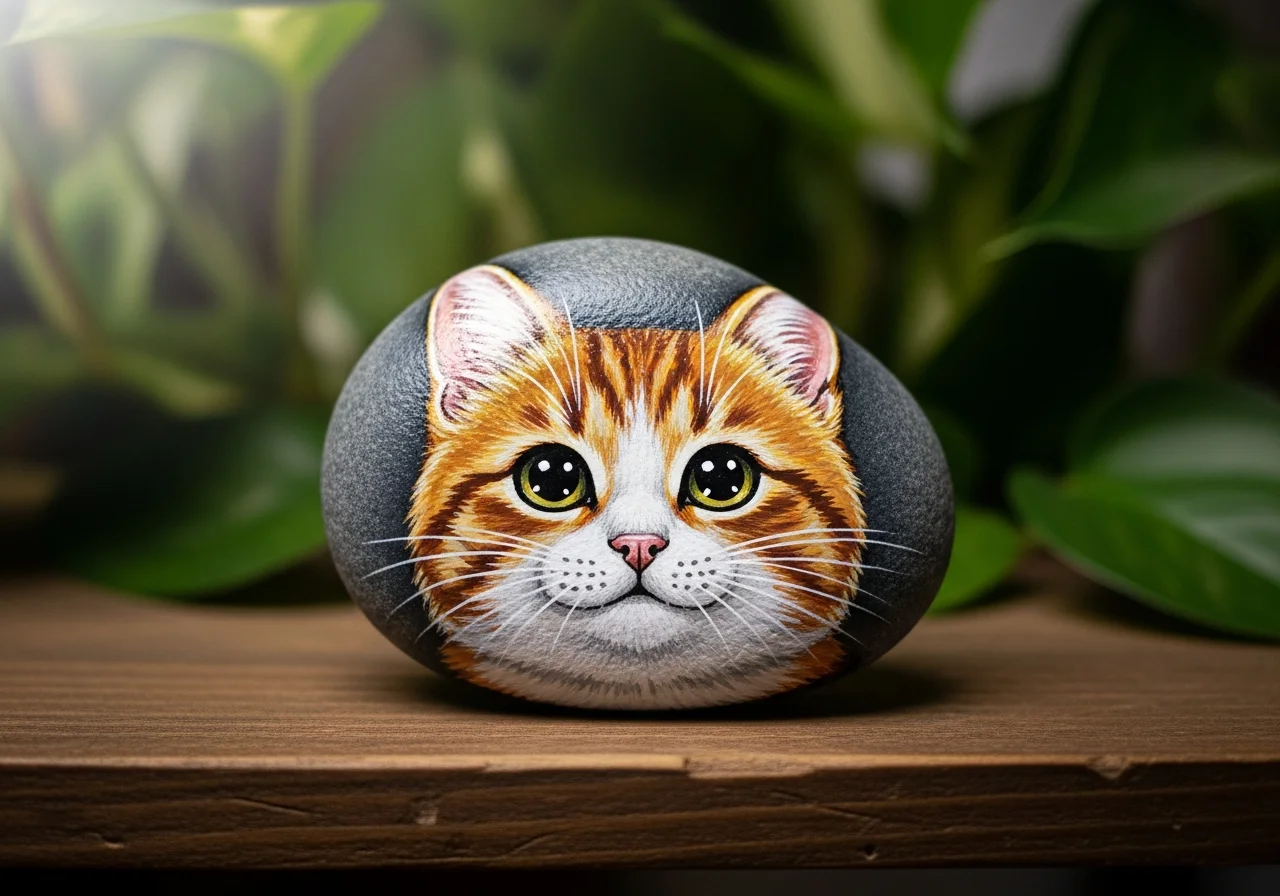
Uil Steenschildering
Benodigde materialen
- Gladde, ronde steen (handvulling)
- Bruine acrylverf
- Grijze acrylverf
- Gele acrylverf
- Zwarte acrylverf
- Witte acrylverf
- Plat penseel (middelgroot)
- Fijn detailpenseel
- Transparante vernisspray
Stap-voor-stap instructies
1
Stap 1: Prepare and sketch the owl face
Wash and dry your rock. Use a pencil to lightly sketch two large overlapping circles for the facial disc - these are the distinctive rounded facial features of an owl. Draw a small triangle beak in the center where the circles meet.
2
Stap 2: Paint the body and facial disc
Paint the area outside the facial disc circles with brown paint for the body. Fill the two facial disc circles with a lighter beige or tan color. Apply two coats for solid coverage. Let dry completely.
3
Stap 3: Add the large round eyes
Paint two large white circles for eyes, one inside each facial disc. Once dry, add golden yellow or amber irises inside the white circles. Add large black pupils in the center of each iris. Finish with tiny white highlight dots in each pupil for a lifelike sparkle.
4
Stap 4: Create feather texture with stippling
Using a toothpick or the tip of your detail brush, stipple (dab) darker brown and lighter beige dots all over the brown body area. Work in rows, angling each tiny dab slightly downward to mimic overlapping feathers. Add small V-shaped or curved lines with a fine brush for individual feather tips.
5
Stap 5: Paint the beak, ear tufts, and seal
Paint the small beak triangle with yellow or orange. Add two small pointed ear tufts at the top of the head using dark brown paint. Outline the facial disc edge with a fine line of dark brown for definition. Once fully dry, apply clear sealant spray.
Stap 6: Voeg RoxGeo-code toe
Schrijf op de onderkant of achterkant van je steen ROXGEO.COM gevolgd door een schuine streep en de unieke code van je steen (bijv. ROXGEO.COM/ABC123). Hiermee kan de vinder direct naar de profielpagina van je steen gaan.
Handige tips
- Kies een steenvorm die bij je motief past.
- Schets het ontwerp eerst met potlood voor je begint te schilderen.
- Laat elke laag volledig drogen voordat je de volgende aanbrengt.
- Verzegel met transparante spray om je steen ook buiten te beschermen.
- Gebruik voor de RoxGeo-code een waterbestendige permanente stift (zoals Sharpie) of een acrylverfpen. Breng 2-3 lagen heldere lak over de code aan.
- Het schrijven van #ROXCODE (bijv. #ROXABC123) op je steen maakt het makkelijk te vinden via Google.
- Het volledige adres ROXGEO.COM/CODE brengt de vinder direct naar de kaart van je steen met volledige reisgeschiedenis.
Schilder deze steen en volg de reis met RoxGeo!
Download RoxGeo gratis