Voltar aos modelos
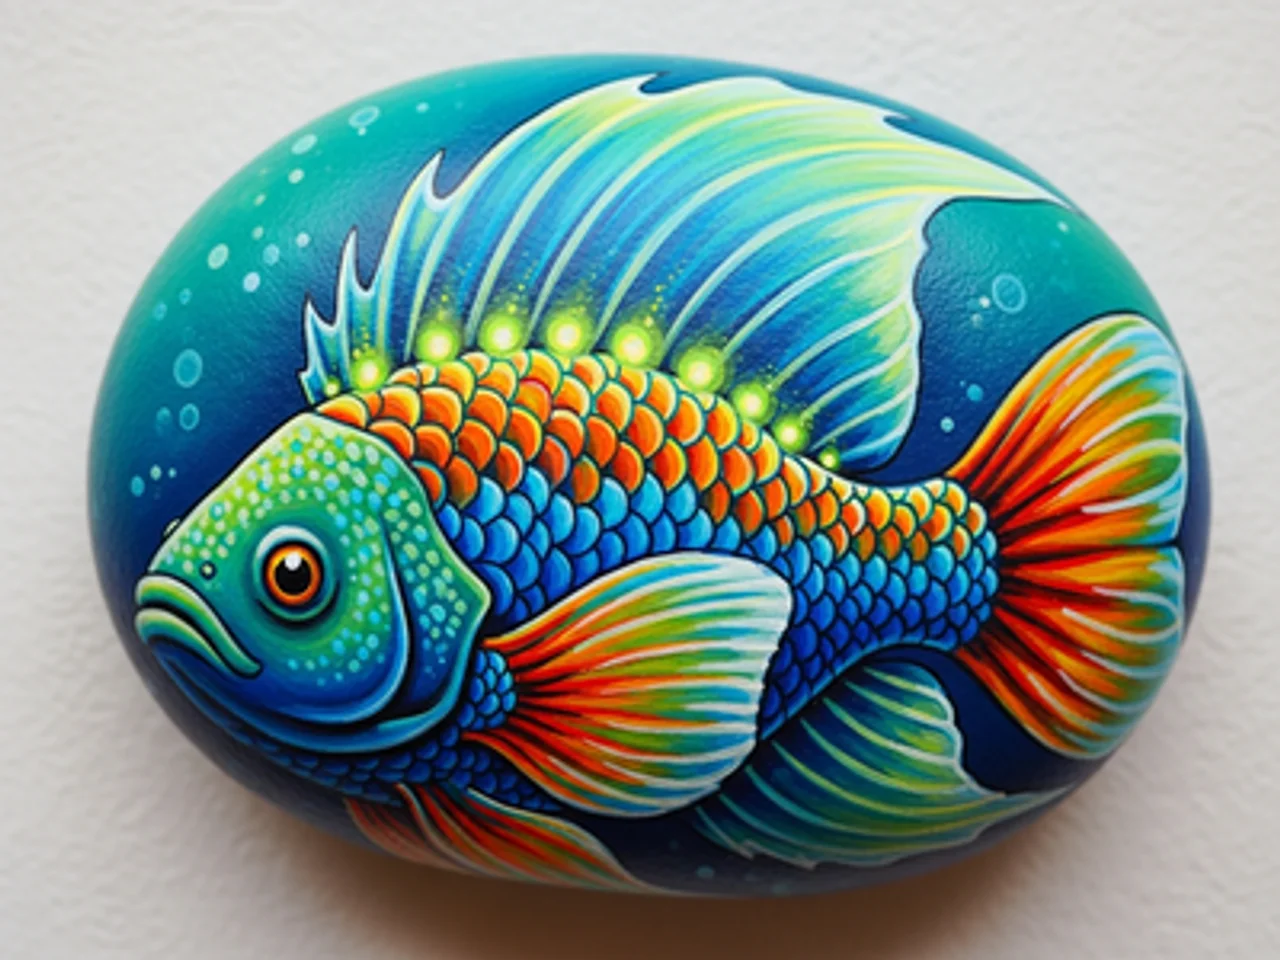
Pintura de Peixe das Profundezas em Pedra
Materiais necessários
- Pedra comprida e plana
- Tinta acrílica preta
- Tinta acrílica azul escuro
- Tinta acrílica branca
- Tinta acrílica amarela
- Tinta acrílica azul
- Pincel chato médio
- Pincel fino para detalhes
- Spray selante transparente
Guia passo a passo
1
Passo 1: Paint the pitch-dark abyss
Wash and dry your rock. Paint the entire surface with near-black. While still wet, blend in deep navy blue in the upper areas to suggest the water column — darker at the bottom (deepest water) and slightly less dark higher up. The abyssal zone has no sunlight at all. Add a few scattered pinpoints of light for bioluminescent particles in the water column.
2
Passo 2: Sketch and paint the angler fish body
Sketch an anglerfish (deep sea fish) body — a wide, rounded head taking up most of the body, with a tapering tail. The anglerfish is the most recognizable deep sea creature. Paint the body in deep teal or dark gray-blue. Add a large, gaping mouth with massive jagged teeth in white — the teeth are a hallmark feature.
3
Passo 3: Paint the bioluminescent lure
On the top of the anglerfish's head, paint a long spine (illicium) extending forward and curving down in front of the mouth. At the tip, paint a small glowing bulb in bright cyan or neon blue-green with a white core. This is the esca — the bioluminescent lure the anglerfish uses to attract prey in the darkness.
4
Passo 4: Add bioluminescent body markings
Using neon green or bright cyan paint and a fine brush, add a series of glowing spots and curving line patterns along the body and fins of the anglerfish. These bioluminescent patterns suggest the photophores (light-producing organs) that many deep sea creatures use for communication and camouflage.
5
Passo 5: Add the glowing eye and seal
Paint a large, haunting deep-sea eye on the side of the anglerfish head — a wide greenish iris surrounding a large black pupil with a tiny white highlight. Add a glow halo around the entire fish using very diluted cyan paint. Apply gloss sealant. The wet, shiny finish makes the fish look submerged in water.
Passo 6: Adicionar código RoxGeo
Escreva ROXGEO.COM seguido de uma barra e o código único da sua pedra (ex. ROXGEO.COM/ABC123) na parte inferior ou verso.
Dicas úteis
- Escolhe uma pedra cujo formato se adeque ao teu tema.
- Esboça o design a lápis antes de começar a pintar.
- Deixe cada camada secar completamente antes de adicionar a seguinte.
- Sele com spray transparente para proteger a pedra no exterior.
- Para o código no verso, use marcador permanente à prova d'água. Aplique 2-3 camadas de verniz.
- #ROXCODE (ex. #ROXABC123) na pedra facilita a busca no Google.
- O endereço completo ROXGEO.COM/CODE leva o descobridor diretamente ao mapa da pedra.
Pinte esta pedra e rastreie sua viagem com RoxGeo!
Baixar RoxGeo grátis