Voltar aos modelos
Pintura de Pinguim em Pedra
Materiais necessários
- Pedra oval e lisa (tamanho da palma da mão)
- Tinta acrílica preta
- Tinta acrílica branca
- Tinta acrílica laranja
- Pincel chato médio
- Pincel fino para detalhes
- Spray selante transparente
- Jornal ou plástico (para proteger a área de trabalho)
Guia passo a passo
1
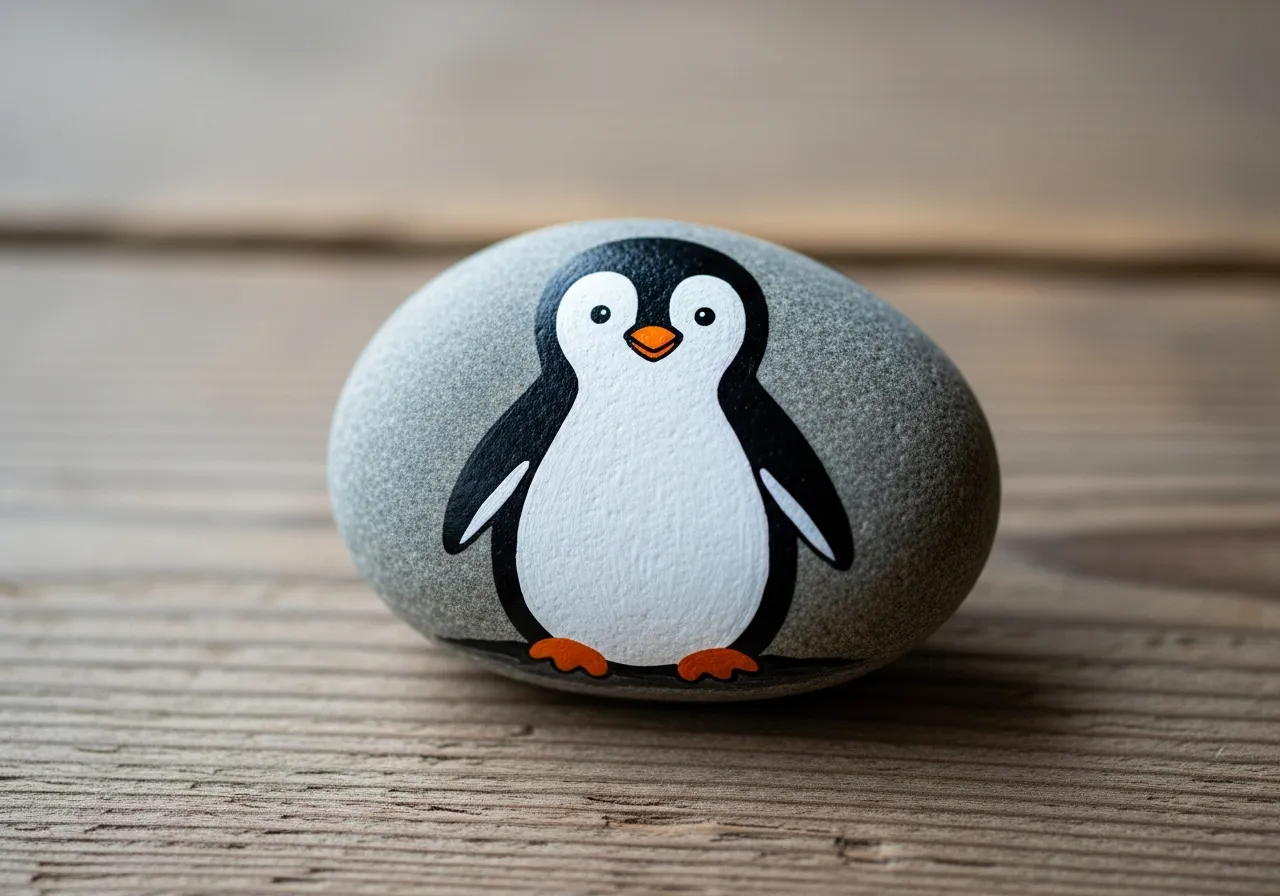
Passo 1: Prepare and sketch
Wash and dry your oval rock. Use a pencil to draw an oval shape on the front for the white belly area. The belly should cover about two-thirds of the front.
2
Passo 2: Paint black and white
Paint the entire rock black first and let it dry. Then paint the belly area white with two coats. The contrast between black and white is what makes your penguin recognizable.
3
Passo 3: Add the face
Paint two white circles for eyes near the top of the rock. Add black dots in the center of each eye. Paint a small orange triangle below the eyes for the beak.
4
Passo 4: Add feet and details
Paint two small orange feet at the bottom of the rock. Add tiny wing shapes on the sides by painting curved black lines on the white belly edge.
5
Passo 5: Finish and seal
Add white highlight dots to the eyes for a cute sparkle. Let everything dry completely, then spray with clear sealant to protect your penguin rock.
Passo 6: Adicionar código RoxGeo
Escreva ROXGEO.COM seguido de uma barra e o código único da sua pedra (ex. ROXGEO.COM/ABC123) na parte inferior ou verso.
Dicas úteis
- Escolhe uma pedra cujo formato se adeque ao teu tema.
- Uma camada base branca realça todas as cores.
- Deixe cada camada secar completamente antes de adicionar a seguinte.
- Sele com spray transparente para proteger a pedra no exterior.
- Para o código no verso, use marcador permanente à prova d'água. Aplique 2-3 camadas de verniz.
- #ROXCODE (ex. #ROXABC123) na pedra facilita a busca no Google.
- O endereço completo ROXGEO.COM/CODE leva o descobridor diretamente ao mapa da pedra.
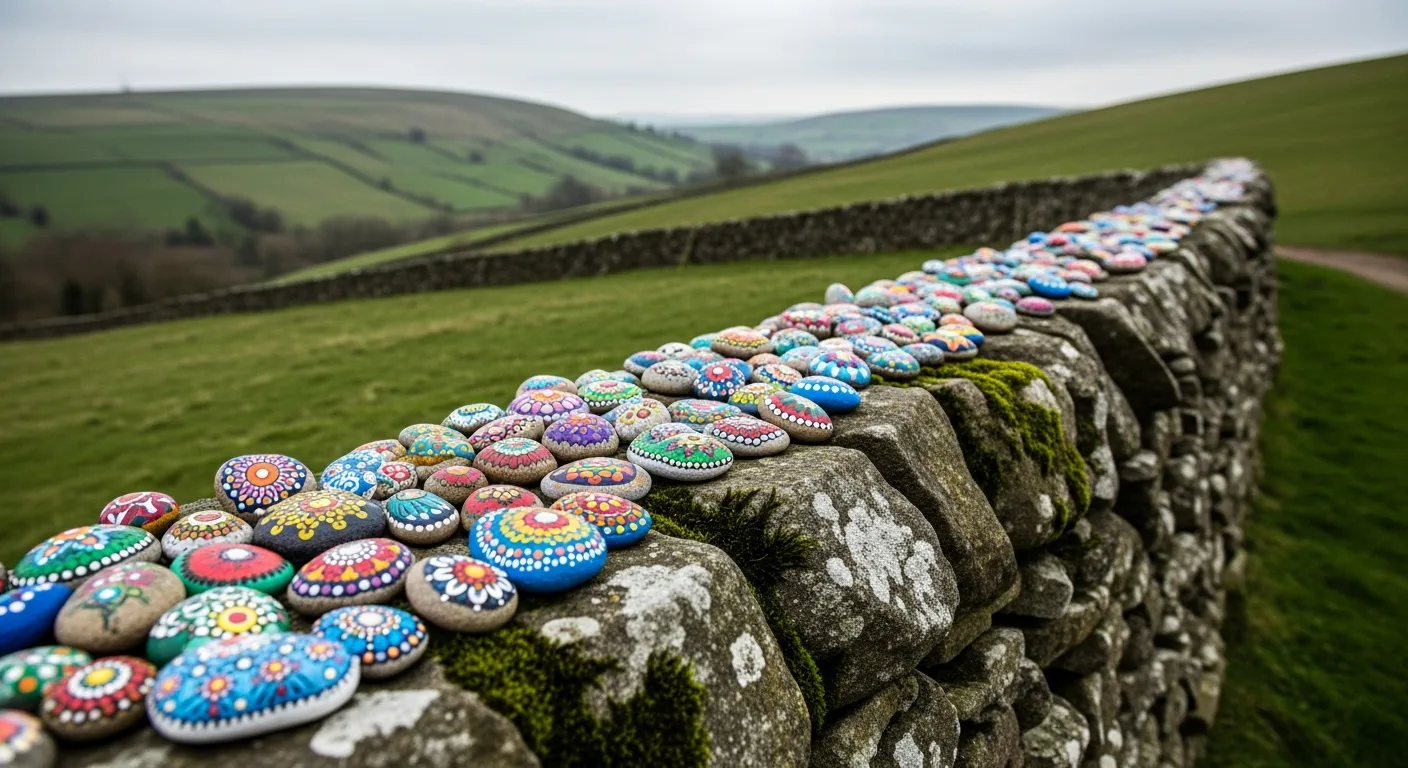
Pinte esta pedra e rastreie sua viagem com RoxGeo!
Baixar RoxGeo grátis