Voltar aos modelos
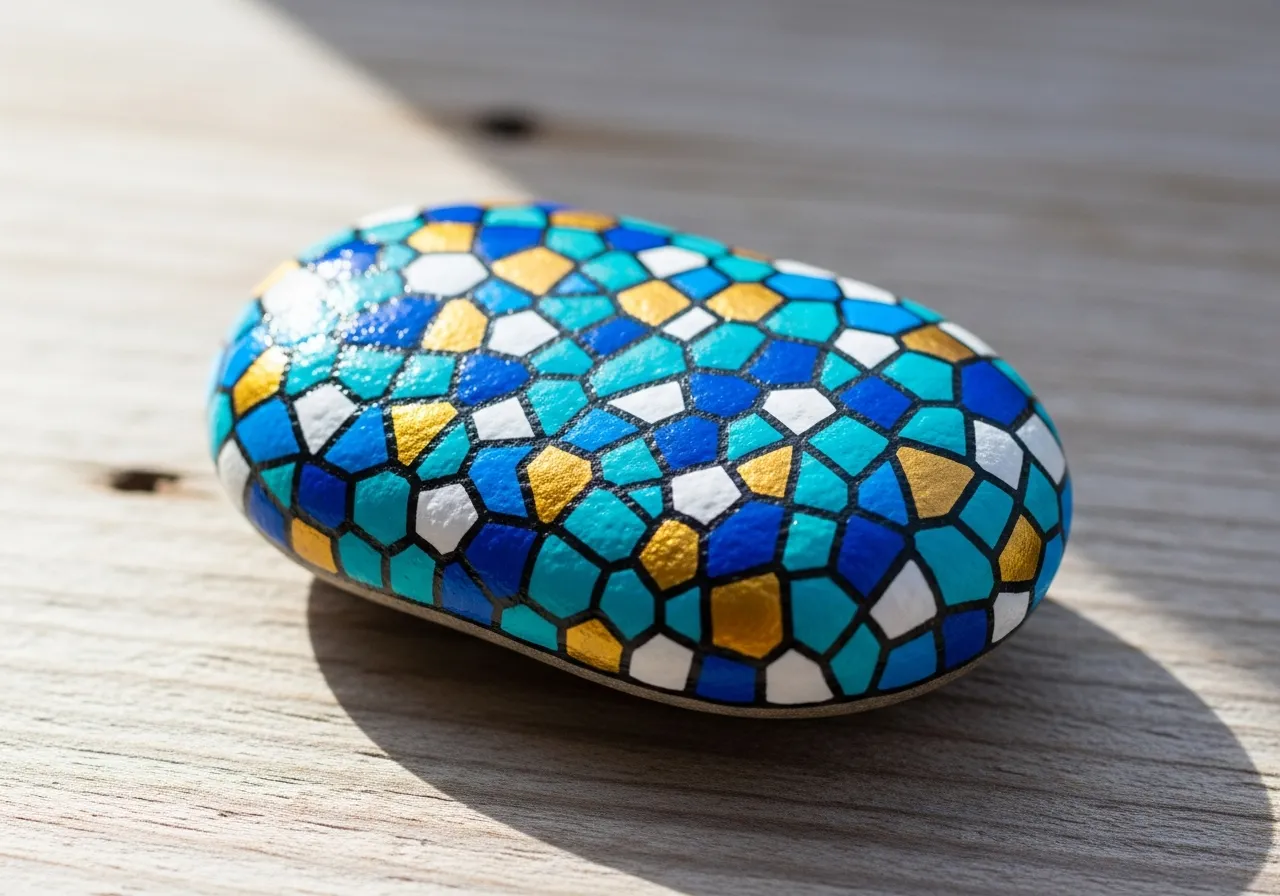
Pintura de Bolinhas em Pedra
Materiais necessários
- Pedra lisa e redonda (tamanho da palma da mão)
- Tintas acrílicas variadas brilhantes
- Tinta acrílica branca
- Cotonetes ou pincéis redondos (para pontos)
- Pincel chato médio
- Spray selante transparente
- Prato de papel (como paleta)
- Jornal ou plástico (para proteger a área de trabalho)
Guia passo a passo
1
Passo 1: Prepare the rock
Wash your rock with soap and water and let it dry completely. Paint the entire surface with white acrylic paint as a base coat. Let it dry fully before moving on.
2
Passo 2: Choose your colors
Pick 4 to 6 bright colors for your dots. Squeeze a small amount of each color onto your paper plate palette. Arrange them so they are easy to reach.
3
Passo 3: Start dotting
Dip a cotton swab or the round end of a brush into paint and press it firmly onto the rock to create a perfect circle. Start with the largest dots first, spacing them evenly across the rock.
4
Passo 4: Fill in the gaps
Add smaller dots in different colors between the larger dots. Use a thinner tool for tiny dots. Mix and match colors for a fun, playful pattern. Cover as much of the white background as you like.
5
Passo 5: Seal and display
Let all the dots dry completely. Spray with clear sealant to protect your colorful creation. Your polka dot rock is ready to brighten up any garden or shelf!
Passo 6: Adicionar código RoxGeo
Escreva ROXGEO.COM seguido de uma barra e o código único da sua pedra (ex. ROXGEO.COM/ABC123) na parte inferior ou verso.
Dicas úteis
- Uma camada base branca realça todas as cores.
- Deixe cada camada secar completamente antes de adicionar a seguinte.
- Escolhe uma pedra cujo formato se adeque ao teu tema.
- Sele com spray transparente para proteger a pedra no exterior.
- Para o código no verso, use marcador permanente à prova d'água. Aplique 2-3 camadas de verniz.
- #ROXCODE (ex. #ROXABC123) na pedra facilita a busca no Google.
- O endereço completo ROXGEO.COM/CODE leva o descobridor diretamente ao mapa da pedra.
Pinte esta pedra e rastreie sua viagem com RoxGeo!
Baixar RoxGeo grátis