Voltar aos modelos
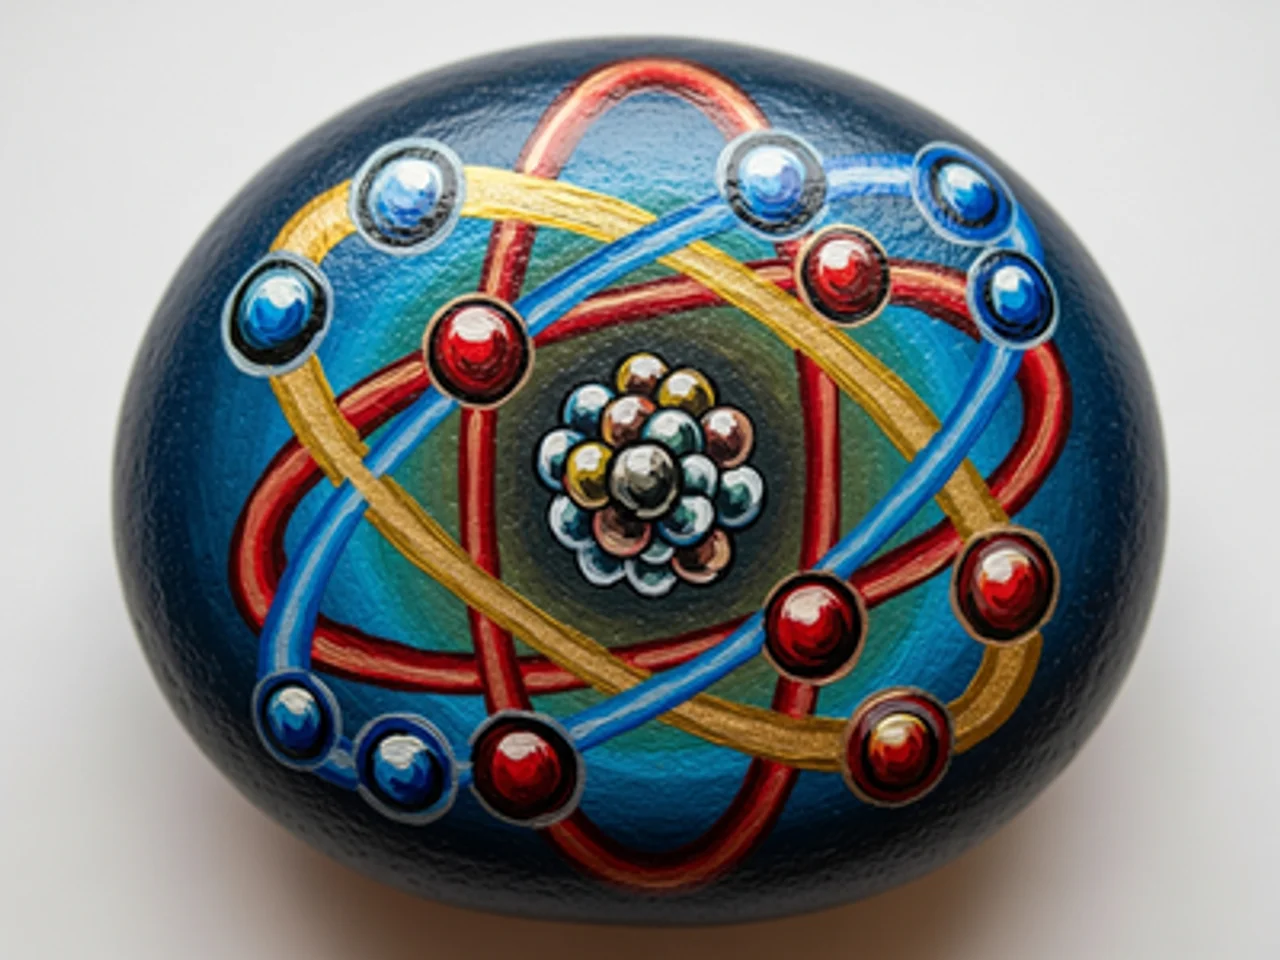
Pintura Modelo Átomo em Pedra
Materiais necessários
- Pedra lisa e redonda (tamanho da palma)
- Tinta acrílica preta
- Tinta acrílica azul escuro
- Tinta acrílica branca
- Tinta acrílica vermelha
- Pincel chato médio
- Pincel fino para detalhes
- Spray selante transparente
- Lápis
Guia passo a passo
1
Passo 1: Paint the dark background
Wash and dry your rock. Paint the entire surface with deep navy blue or black. Tiny white dot stars can be added for a scientific-meets-cosmic feel. The dark background makes the glowing orbital lines and electrons stand out dramatically.
2
Passo 2: Draw and paint the nucleus
In the center of the rock, paint a cluster of tightly packed dots for the nucleus: some red (protons) and some white or gray (neutrons). The nucleus should be a dense, compact cluster suggesting the tight packing of nuclear particles. It should be notably smaller than the orbital rings around it.
3
Passo 3: Paint the electron orbital rings
Using teal or turquoise paint and a fine brush, paint two or three elliptical orbital rings around the nucleus at different angles. Each ring is a thin, complete ellipse. Like a gyroscope, the rings should be oriented differently — one horizontal, one tilted left, one tilted right — to create a three-dimensional spherical appearance.
4
Passo 4: Add the electrons
Paint one small bright yellow or gold dot on each orbital ring to represent an electron. Position them at different points along each ring — not all at the same angle. Each electron should glow slightly by adding a tiny white highlight dot inside the yellow dot.
5
Passo 5: Add glow effects and seal
Using very diluted white paint, add a soft glow halo around the nucleus. Add thin light-colored trailing lines behind each electron to suggest orbital movement. Apply clear sealant when fully dry for a polished finish on your atom model rock.
Passo 6: Adicionar código RoxGeo
Escreva ROXGEO.COM seguido de uma barra e o código único da sua pedra (ex. ROXGEO.COM/ABC123) na parte inferior ou verso.
Dicas úteis
- Uma camada base branca realça todas as cores.
- Esboça o design a lápis antes de começar a pintar.
- Deixa cada camada secar completamente antes de adicionar a seguinte.
- Aplica spray selante transparente para proteger a pedra no exterior.
- Para o código no verso, use marcador permanente à prova d'água. Aplique 2-3 camadas de verniz.
- #ROXCODE (ex. #ROXABC123) na pedra facilita a busca no Google.
- O endereço completo ROXGEO.COM/CODE leva o descobridor diretamente ao mapa da pedra.
Pinte esta pedra e rastreie sua viagem com RoxGeo!
Baixar RoxGeo grátis