Tillbaka till mallar
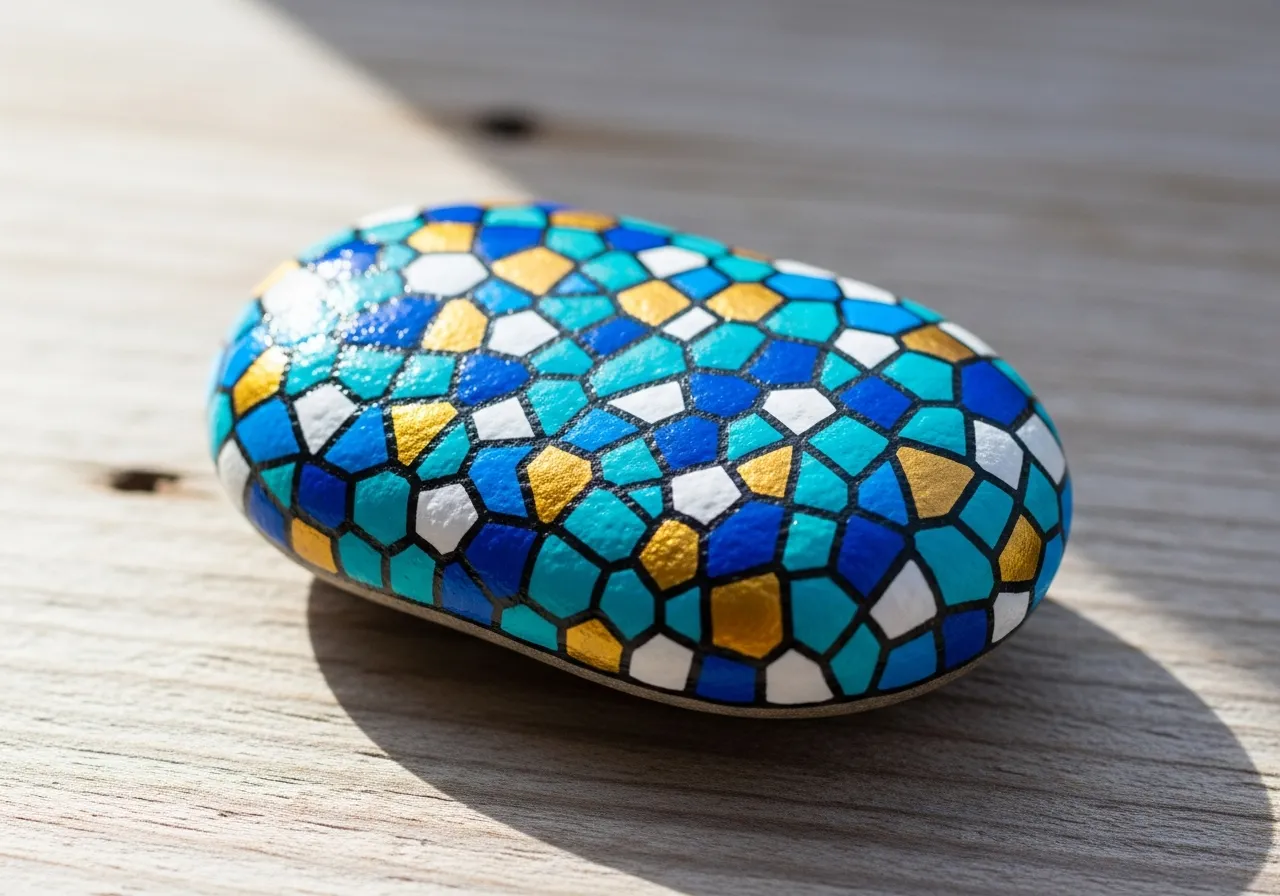
Prickstenmålning
Material som behövs
- Slät, rund sten (handstorlek)
- Diverse ljusa akrylfärger
- Vit akrylfärg
- Bomullspinnar eller runda penslar (för prickar)
- Platt pensel (medelstor)
- Klarlacksspray
- Papperstallrik (som palett)
- Tidning eller plastfolie (skyddar arbetsytan)
Steg-för-steg-instruktioner
1
Steg 1: Prepare the rock
Wash your rock with soap and water and let it dry completely. Paint the entire surface with white acrylic paint as a base coat. Let it dry fully before moving on.
2
Steg 2: Choose your colors
Pick 4 to 6 bright colors for your dots. Squeeze a small amount of each color onto your paper plate palette. Arrange them so they are easy to reach.
3
Steg 3: Start dotting
Dip a cotton swab or the round end of a brush into paint and press it firmly onto the rock to create a perfect circle. Start with the largest dots first, spacing them evenly across the rock.
4
Steg 4: Fill in the gaps
Add smaller dots in different colors between the larger dots. Use a thinner tool for tiny dots. Mix and match colors for a fun, playful pattern. Cover as much of the white background as you like.
5
Steg 5: Seal and display
Let all the dots dry completely. Spray with clear sealant to protect your colorful creation. Your polka dot rock is ready to brighten up any garden or shelf!
Steg 6: Lägg till RoxGeo Code
På botten eller baksidan av din sten, skriv ROXGEO.COM följt av ett snedstreck och din stens unika kod (t.ex. ROXGEO.COM/ABC123). Detta låter hittaren gå direkt till din stens profilsida och logga sin upptäckt. Om stenen är för liten för den fullständiga adressen, skriv #ROX följt av koden utan mellanslag (t.ex. #ROXABC123) – den är kort, lätt att söka på Google och leder direkt till din stens ressida. Använd en finspets permanent markör eller akrylfärgspenna och försegla den med klarlack så att koden förblir läsbar genom regn, sol och äventyr.
Användbara tips
- En vit grundlack gör att alla färger syns tydligare.
- Låt varje lager torka helt innan du lägger till nästa.
- Välj en stenform som passar till ditt motiv.
- Försegla med klarlacksspray för att skydda stenen utomhus.
- För RoxGeo-koden på botten, använd en vattentät permanent markör (som Sharpie) eller en akrylfärgspenna. Applicera 2–3 lager av genomskinligt tätningsmedel över koden – detta håller den läsbar genom regn, sol och hantering i månader.
- Att skriva #ROXCODE (t.ex. #ROXABC123) på din sten gör det enkelt att hitta via Google-sökning. Vi optimerar aktivt för denna hashtag, så alla som söker efter den hittar din stenar profilsida snabbt.
- Den fullständiga adressen ROXGEO.COM/CODE tar hittaren direkt till ditt stenkort, där de kan se hela resehistoriken, tidigare hittare och foton från varje stopp på resan.
Måla den här stenen och spåra dess resa med RoxGeo!
Ladda ner RoxGeo gratis