Retour aux modèles
Peinture Poisson des Grands Fonds sur Pierre
Matériaux nécessaires
- Pierre allongée et plate
- Peinture acrylique noire
- Peinture acrylique bleu foncé
- Peinture acrylique blanche
- Peinture acrylique jaune
- Peinture acrylique bleue
- Pinceau plat moyen
- Pinceau fin pour les détails
- Spray vernis transparent
Guide étape par étape
1
Étape 1: Paint the pitch-dark abyss
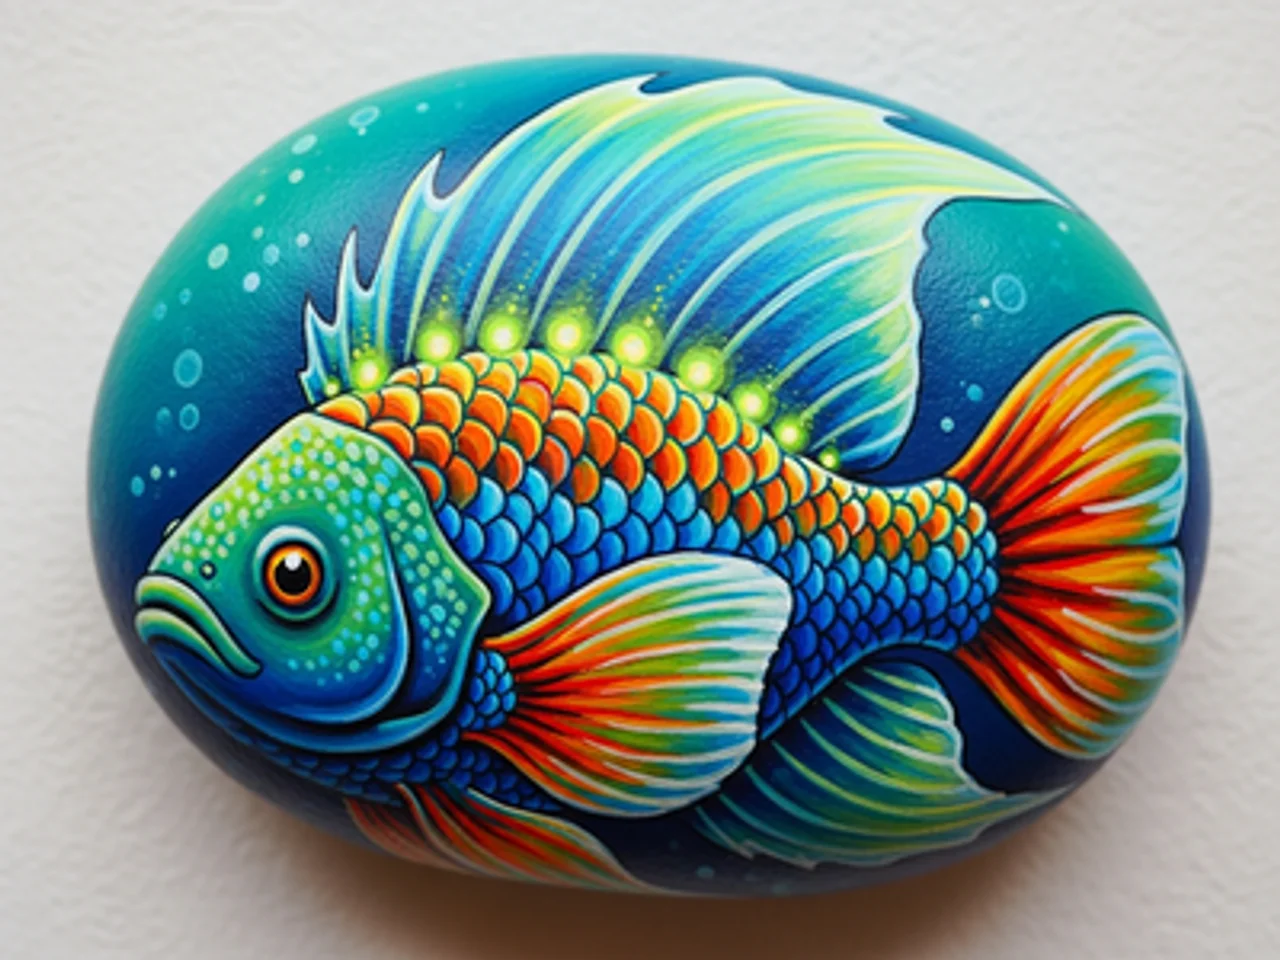
Wash and dry your rock. Paint the entire surface with near-black. While still wet, blend in deep navy blue in the upper areas to suggest the water column — darker at the bottom (deepest water) and slightly less dark higher up. The abyssal zone has no sunlight at all. Add a few scattered pinpoints of light for bioluminescent particles in the water column.
2
Étape 2: Sketch and paint the angler fish body
Sketch an anglerfish (deep sea fish) body — a wide, rounded head taking up most of the body, with a tapering tail. The anglerfish is the most recognizable deep sea creature. Paint the body in deep teal or dark gray-blue. Add a large, gaping mouth with massive jagged teeth in white — the teeth are a hallmark feature.
3
Étape 3: Paint the bioluminescent lure
On the top of the anglerfish's head, paint a long spine (illicium) extending forward and curving down in front of the mouth. At the tip, paint a small glowing bulb in bright cyan or neon blue-green with a white core. This is the esca — the bioluminescent lure the anglerfish uses to attract prey in the darkness.
4
Étape 4: Add bioluminescent body markings
Using neon green or bright cyan paint and a fine brush, add a series of glowing spots and curving line patterns along the body and fins of the anglerfish. These bioluminescent patterns suggest the photophores (light-producing organs) that many deep sea creatures use for communication and camouflage.
5
Étape 5: Add the glowing eye and seal
Paint a large, haunting deep-sea eye on the side of the anglerfish head — a wide greenish iris surrounding a large black pupil with a tiny white highlight. Add a glow halo around the entire fish using very diluted cyan paint. Apply gloss sealant. The wet, shiny finish makes the fish look submerged in water.
Étape 6: Ajouter le code RoxGeo
Écrivez ROXGEO.COM suivi d'une barre oblique et du code unique de votre pierre (ex. ROXGEO.COM/ABC123) sur le dessous ou le dos de votre pierre.
Conseils utiles
- Choisis une forme de pierre qui correspond à ton sujet.
- Esquisse le motif au crayon avant de commencer à peindre.
- Laisse bien sécher chaque couche avant d'en appliquer une autre.
- Protège avec un spray vernis transparent pour que ta pierre reste belle dehors.
- Pour le code RoxGeo au dos, utilisez un marqueur permanent résistant à l'eau. Appliquez 2-3 couches de vernis transparent par-dessus.
- Écrire #ROXCODE (ex. #ROXABC123) sur votre pierre le rend facile à trouver via Google.
- L'adresse complète ROXGEO.COM/CODE amène le trouveur directement à la carte de votre pierre.
Peignez cette pierre et suivez son voyage avec RoxGeo !
Télécharger RoxGeo gratuitement