Torna ai modelli
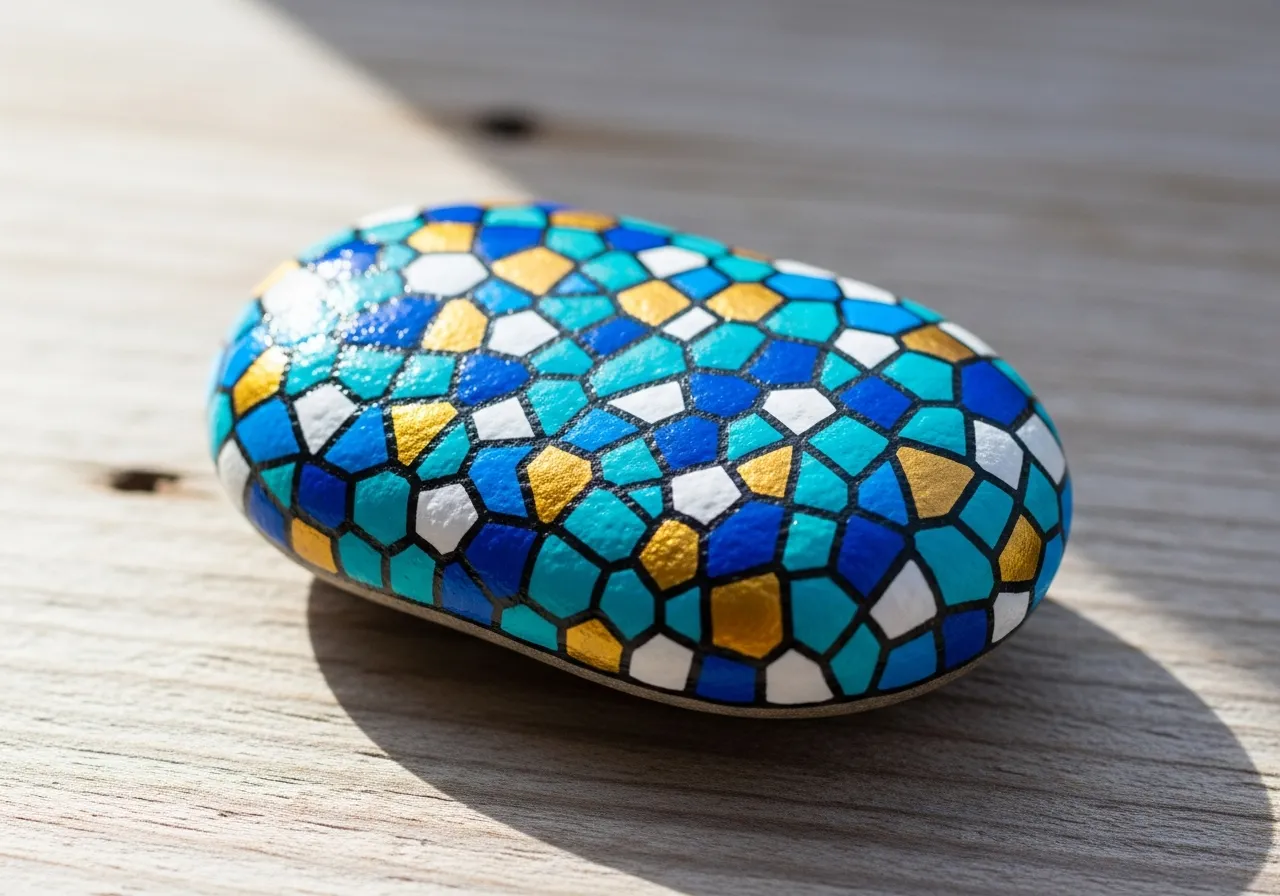
Pittura Mandala su Sasso
Materiali necessari
- Sasso liscio e tondo (grande come un palmo)
- Colore acrilico nero
- Colore acrilico bianco
- Colori acrilici assortiti vivaci
- Cotton fioc o pennelli rotondi (per i punti)
- Pennello fine per i dettagli
- Spray sigillante trasparente
- Matita
Guida passo passo
1
Passo 1: Prepare the base
Wash and dry your rock. Paint the entire surface black or dark blue. This dark background will make your mandala colors pop beautifully. Apply two coats and let dry completely.
2
Passo 2: Mark the center and guidelines
Find the center of your rock and mark it with a small chalk dot. Draw light cross lines through the center to divide the rock into quarters. These guidelines help keep your mandala symmetrical.
3
Passo 3: Create the center dot and first ring
Place a large dot in the center using your brightest color. Around it, create a ring of evenly spaced medium dots using a second color. Then add a ring of smaller dots between the medium ones using a third color.
4
Passo 4: Build outward rings
Continue adding rings of dots, each one farther from the center. Alternate between dot sizes and colors to create contrast. Try teardrop shapes, petal forms, or tiny clusters between the main dots for complexity.
5
Passo 5: Add outer details and highlights
Fill the outer edge with a final ring of dots. Add white highlight dots on top of some colored dots for a 3D effect. Check symmetry and fill any gaps. Once dry, seal with clear spray.
6
Passo 6: Final inspection and sealing
Rotate the rock slowly and check for any uneven areas or gaps. Touch up where needed. Apply 2-3 coats of clear sealant, letting each coat dry. The sealant gives a beautiful glossy finish to your mandala.
Passo 7: Aggiungi codice RoxGeo
Scrivi ROXGEO.COM seguito da una barra e il codice unico del tuo sasso (es. ROXGEO.COM/ABC123) sul fondo o sul retro del sasso.
Consigli utili
- Scegli una forma di sasso che si adatti al tuo soggetto.
- Abbozza il disegno a matita prima di iniziare a dipingere.
- Lascia asciugare completamente ogni strato prima di aggiungere il successivo.
- Applica il sigillante spray per proteggere il tuo sasso anche all'esterno.
- Per il codice RoxGeo sul retro, usa un pennarello permanente resistente all'acqua. Applica 2-3 strati di vernice trasparente sopra.
- Scrivere #ROXCODE (es. #ROXABC123) sul tuo sasso lo rende facile da trovare su Google.
- L'indirizzo completo ROXGEO.COM/CODE porta lo scopritore direttamente alla mappa del tuo sasso.
Dipingi questo sasso e traccia il suo viaggio con RoxGeo!
Scarica RoxGeo gratis