Tillbaka till mallar
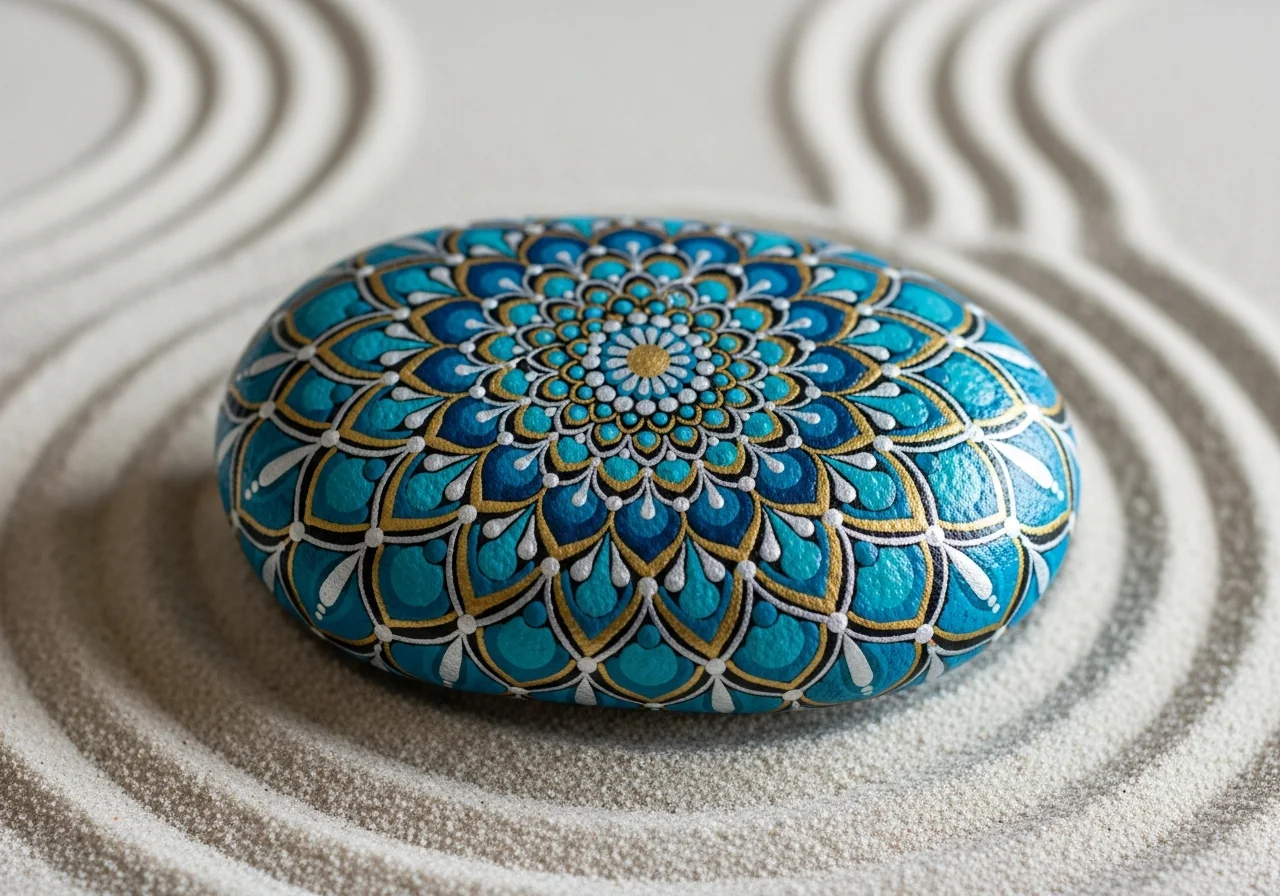
Lotus Mandala Stenmålning
Material som behövs
- Large, flat round rock (at least 10 cm diameter)
- Pearly pink and rose acrylic paint
- Lavender and soft purple acrylic paint
- White acrylic paint (for base coat and highlights)
- Fine detail brush (size 0 or 00)
- Medium round brush
- Compass and pencil (for grid lines)
- Dotting tools or toothpicks
- Clear sealant spray
Steg-för-steg-instruktioner
1
Steg 1: Clean and base coat
Wash the rock with soap and water and let it dry fully. Apply two coats of white acrylic paint as a base layer, allowing each coat to dry completely. White provides the most luminous foundation for the soft pearl-pink lotus palette you will build on top.
2
Steg 2: Draw the symmetry grid
Use a compass to draw a small center dot and then four to six concentric circles spaced evenly across the rock surface. Divide the area into 8 or 12 equal sectors with radiating pencil lines. This grid is your roadmap for perfectly symmetrical lotus petals.
3
Steg 3: Paint the background wash
Blend soft lavender and pale pink into the outer sections of the rock, keeping the very center white. Use a slightly damp brush for smooth blending. This gradated background creates a dreamy, ethereal glow that makes the lotus design appear to float on the stone.
4
Steg 4: Paint the inner lotus petals
Using soft pink paint and a fine brush, paint the innermost ring of narrow, pointed lotus petals following your grid sector lines. Make each petal slightly lighter at the tip by adding a touch of white. Keep the petals thin and graceful - lotus elegance is in the restraint.
5
Steg 5: Add middle and outer petal rings
Build larger, broader petal shapes in the second and third rings, staggering them between the inner petals for a natural, layered lotus appearance. Shade the base of each petal slightly darker with a touch of rose paint to add realistic petal depth and dimension.
6
Steg 6: Create the geometric outer border
Around the outermost petal ring, add a decorative geometric border using fine lines and small triangular or diamond shapes. Alternate white and lavender to create visual rhythm. Fine dot rows along the outermost edge tie the entire composition together elegantly.
7
Steg 7: Add white highlights and centre dot
Use a fine dotting tool or toothpick loaded with bright white paint to add a highlight streak near the tip of every petal, creating a pearlescent sheen. Finish with a cluster of three to five small dots at the absolute center of the mandala as a focal jewel.
8
Steg 8: Seal and display
Allow the entire painting to cure for at least 24 hours. Apply two coats of clear sealant spray in light, sweeping passes, letting each coat dry thoroughly. Your pearl-pink lotus mandala rock is now ready to be displayed, gifted, or placed in a quiet meditation space.
Steg 9: Lägg till RoxGeo Code
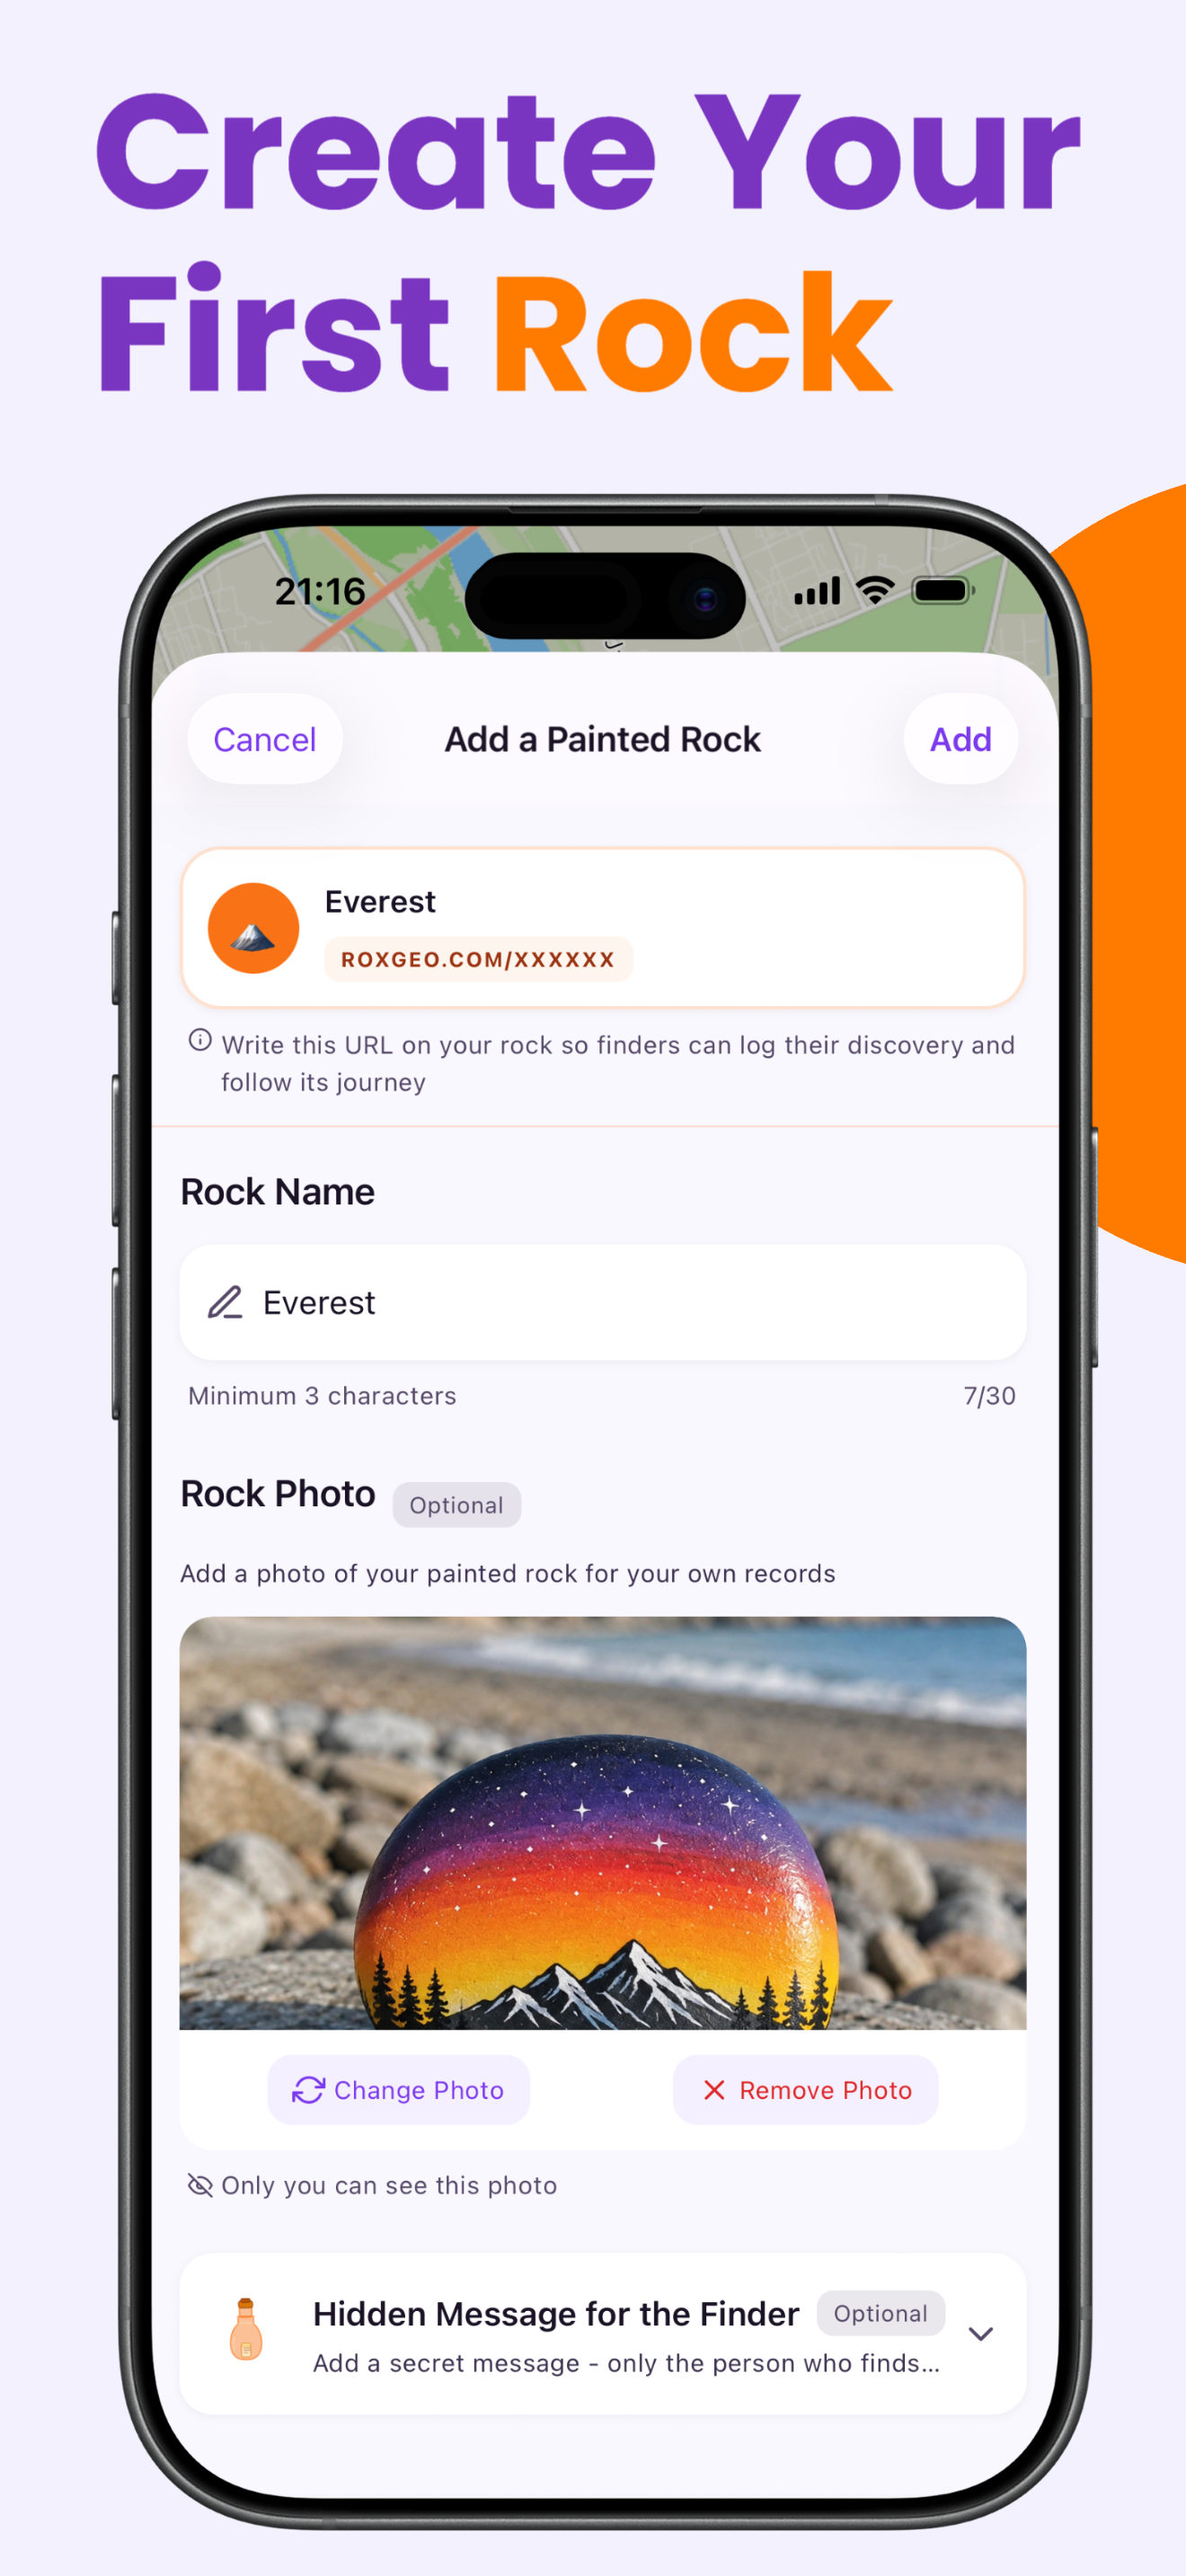
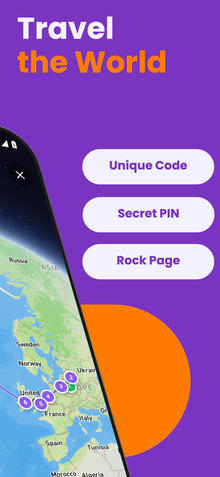
På botten eller baksidan av din sten, skriv ROXGEO.COM följt av ett snedstreck och din stens unika kod (t.ex. ROXGEO.COM/ABC123). Detta låter hittaren gå direkt till din stens profilsida och logga sin upptäckt. Om stenen är för liten för den fullständiga adressen, skriv #ROX följt av koden utan mellanslag (t.ex. #ROXABC123) – den är kort, lätt att söka på Google och leder direkt till din stens ressida. Använd en finspets permanent markör eller akrylfärgspenna och försegla den med klarlack så att koden förblir läsbar genom regn, sol och äventyr.
Användbara tips
- Pearl or metallic pink paint gives the lotus petals a beautiful natural sheen reminiscent of real petals.
- Stagger petals between rings the way a real lotus flower grows for the most authentic look.
- Lavender blended with the background adds depth and prevents the design from looking flat.
- Work from the center out and let each ring dry before starting the next to avoid smudging.
- A lotus mandala rock makes a beautiful gift for a yoga or meditation enthusiast.
- För RoxGeo-koden på botten, använd en vattentät permanent markör (som Sharpie) eller en akrylfärgspenna. Applicera 2–3 lager av genomskinligt tätningsmedel över koden – detta håller den läsbar genom regn, sol och hantering i månader.
- Att skriva #ROXCODE (t.ex. #ROXABC123) på din sten gör det enkelt att hitta via Google-sökning. Vi optimerar aktivt för denna hashtag, så alla som söker efter den hittar din stenar profilsida snabbt.
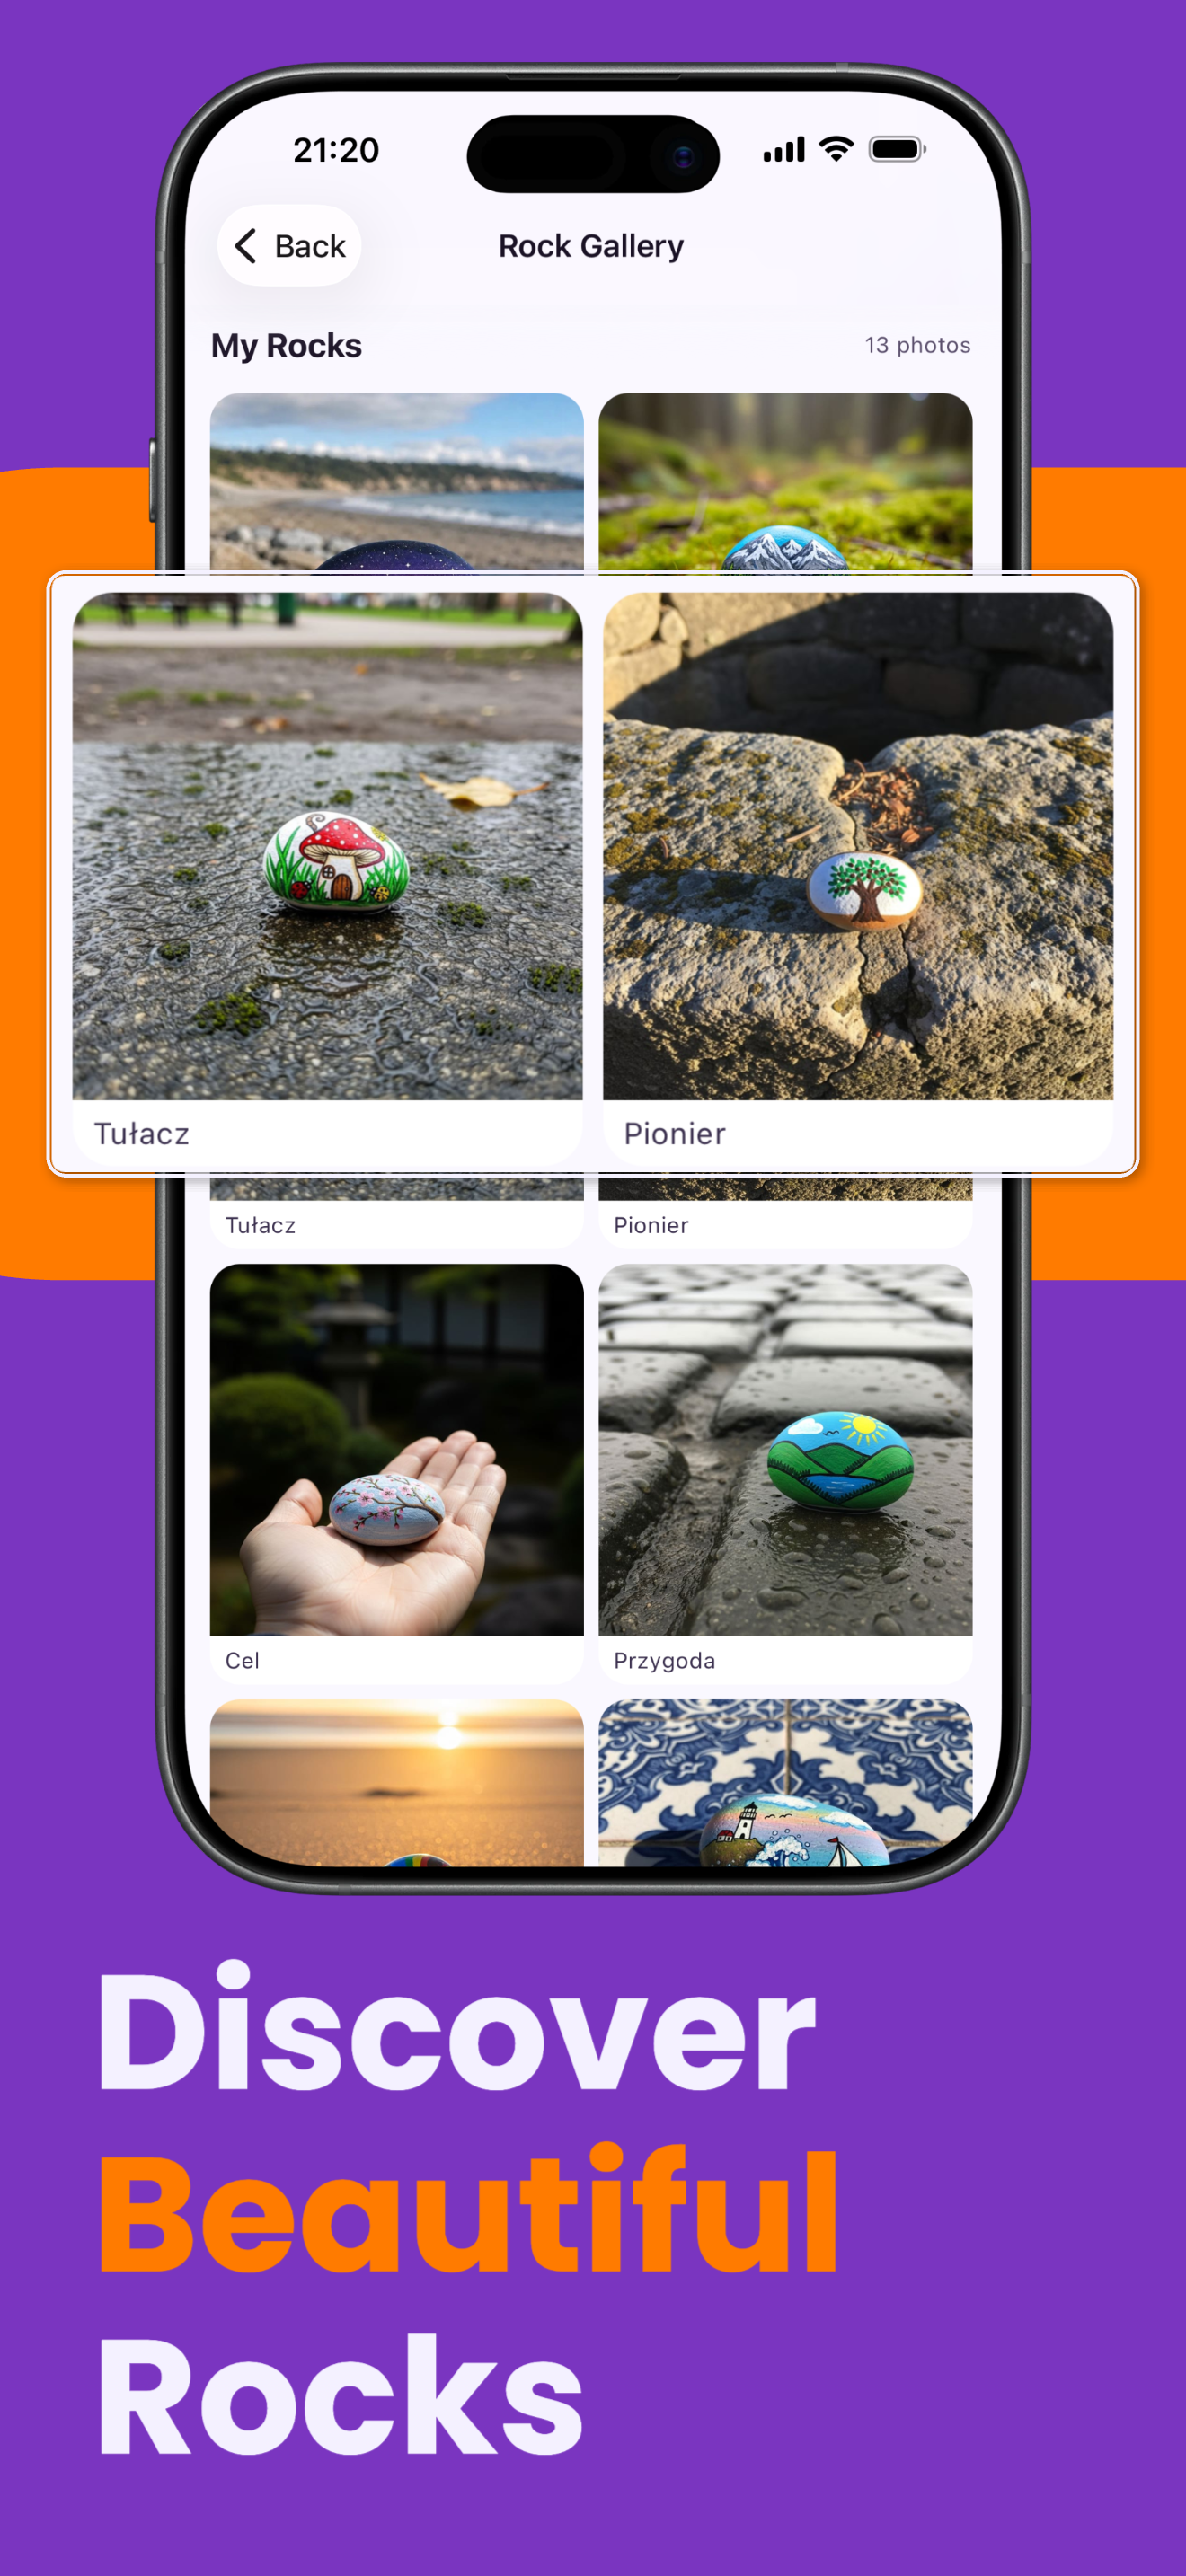
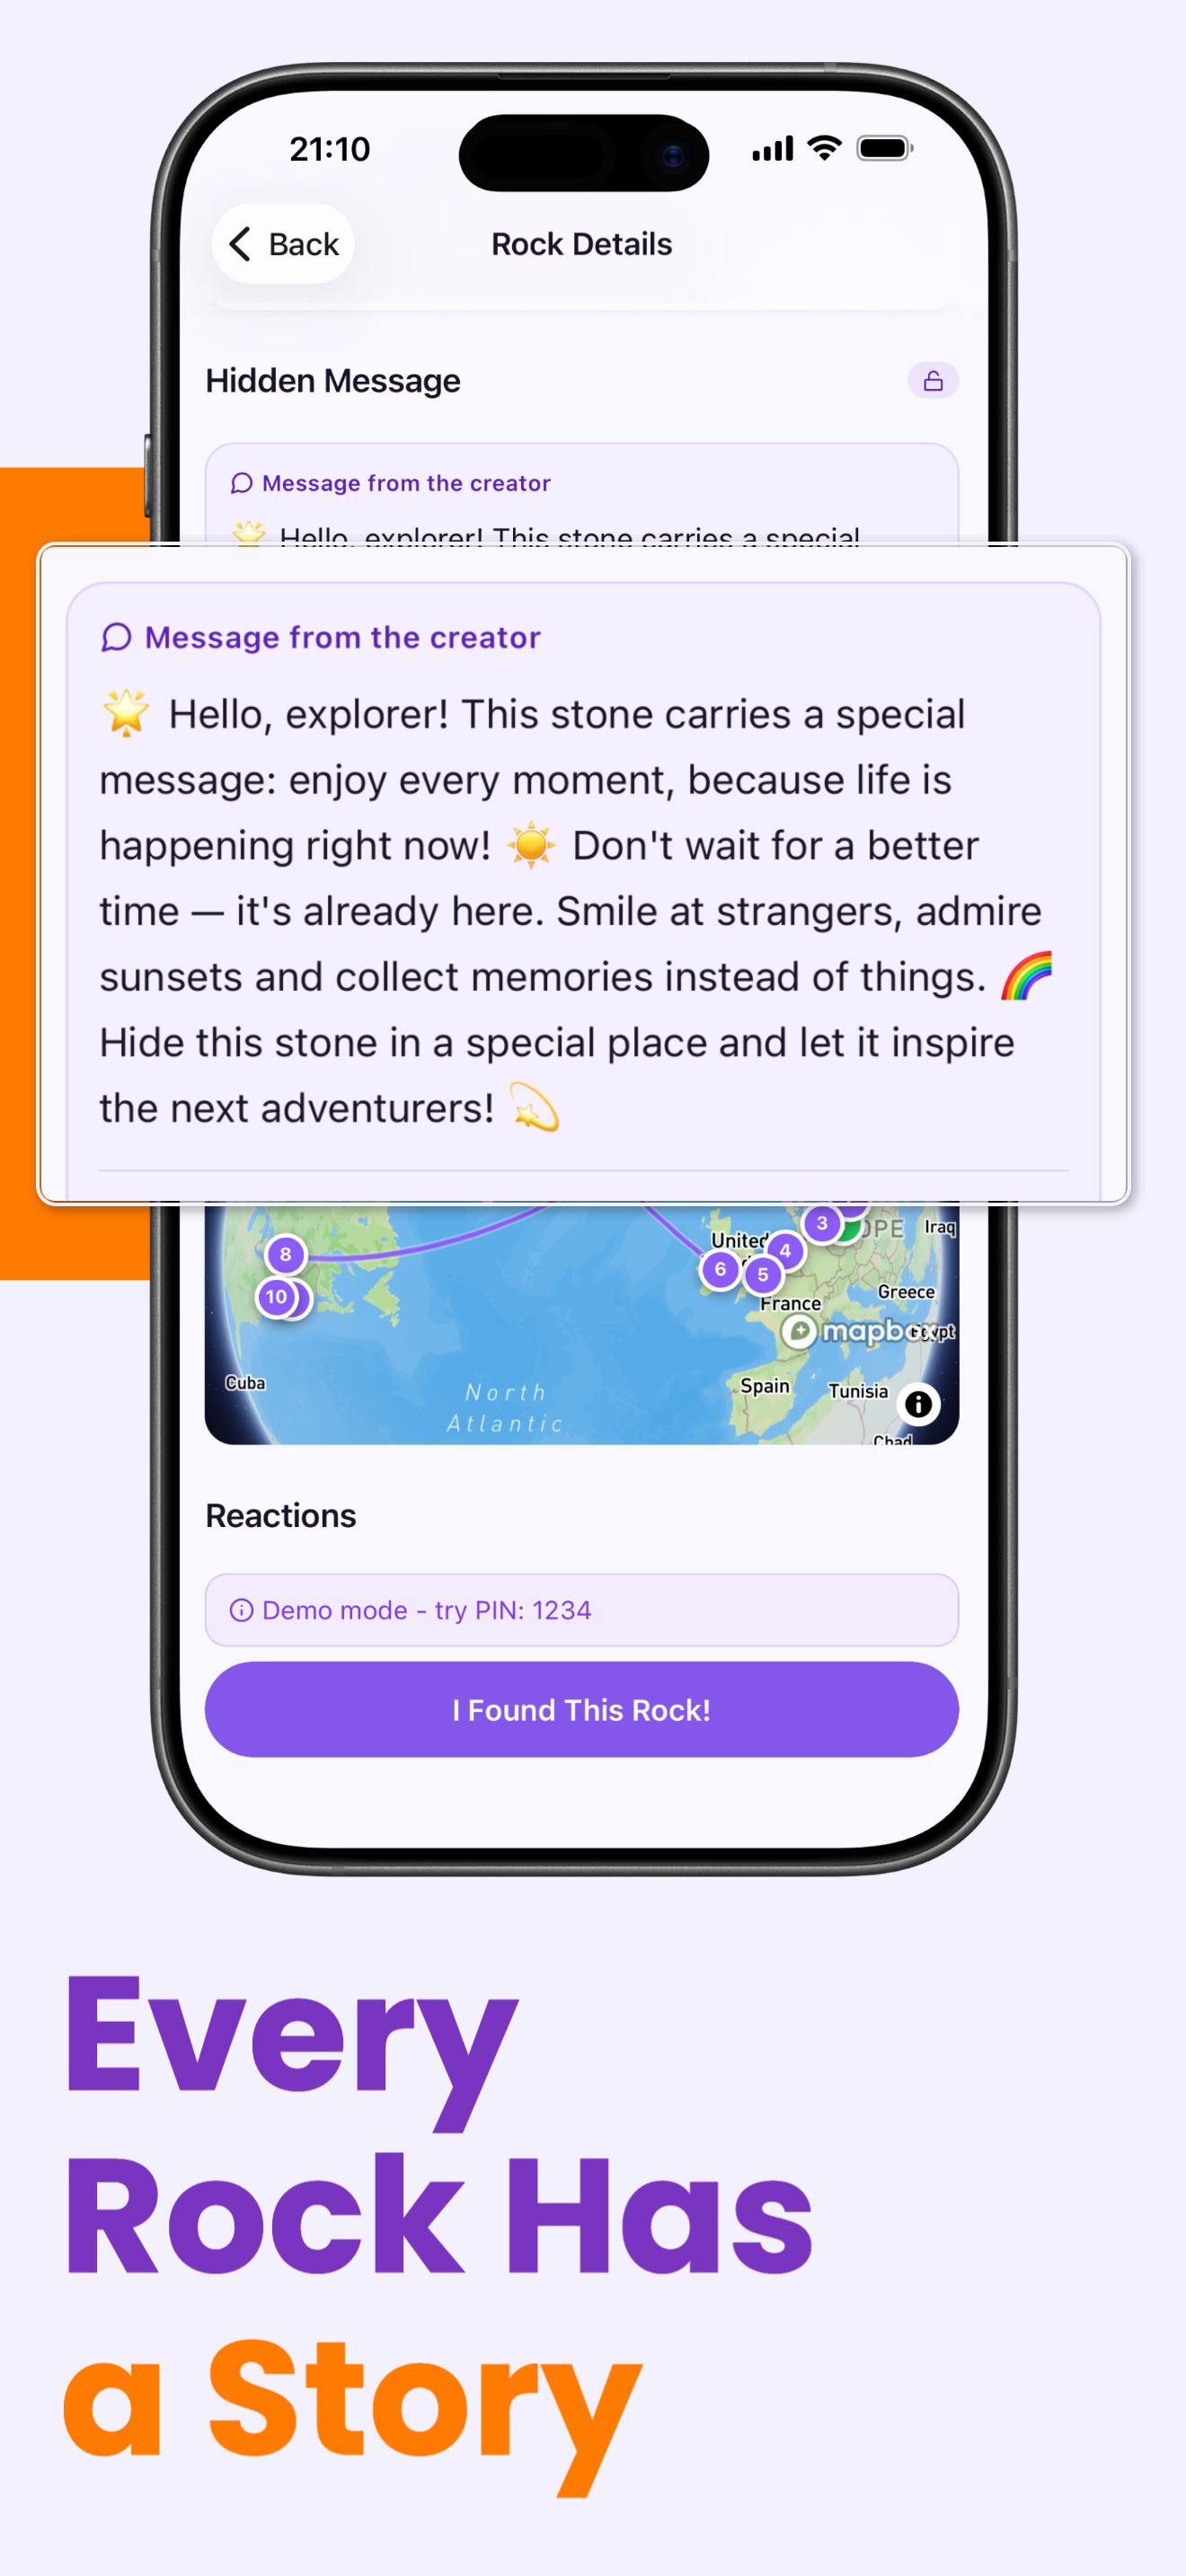
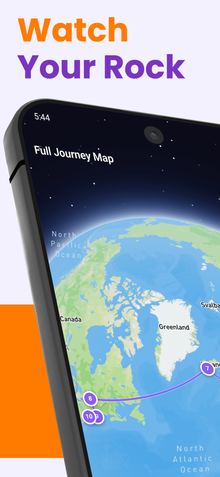
- Den fullständiga adressen ROXGEO.COM/CODE tar hittaren direkt till ditt stenkort, där de kan se hela resehistoriken, tidigare hittare och foton från varje stopp på resan.
Måla den här stenen och spåra dess resa med RoxGeo!
Ladda ner RoxGeo gratis