กลับไปที่แม่แบบ
วาดปลาน้ำลึกบนหิน
วัสดุที่ต้องการ
- หินทรงยาวและแบน
- สีอะคริลิกสีดำ
- สีอะคริลิกสีน้ำเงินเข้ม
- สีอะคริลิกสีขาว
- สีอะคริลิกสีเหลือง
- สีอะคริลิกสีน้ำเงิน
- แปรงแบนขนาดกลาง
- แปรงเล็กสำหรับรายละเอียด
- สเปรย์เคลือบใส
คำแนะนำทีละขั้นตอน
1
ขั้นตอน 1: Paint the pitch-dark abyss
Wash and dry your rock. Paint the entire surface with near-black. While still wet, blend in deep navy blue in the upper areas to suggest the water column — darker at the bottom (deepest water) and slightly less dark higher up. The abyssal zone has no sunlight at all. Add a few scattered pinpoints of light for bioluminescent particles in the water column.
2
ขั้นตอน 2: Sketch and paint the angler fish body
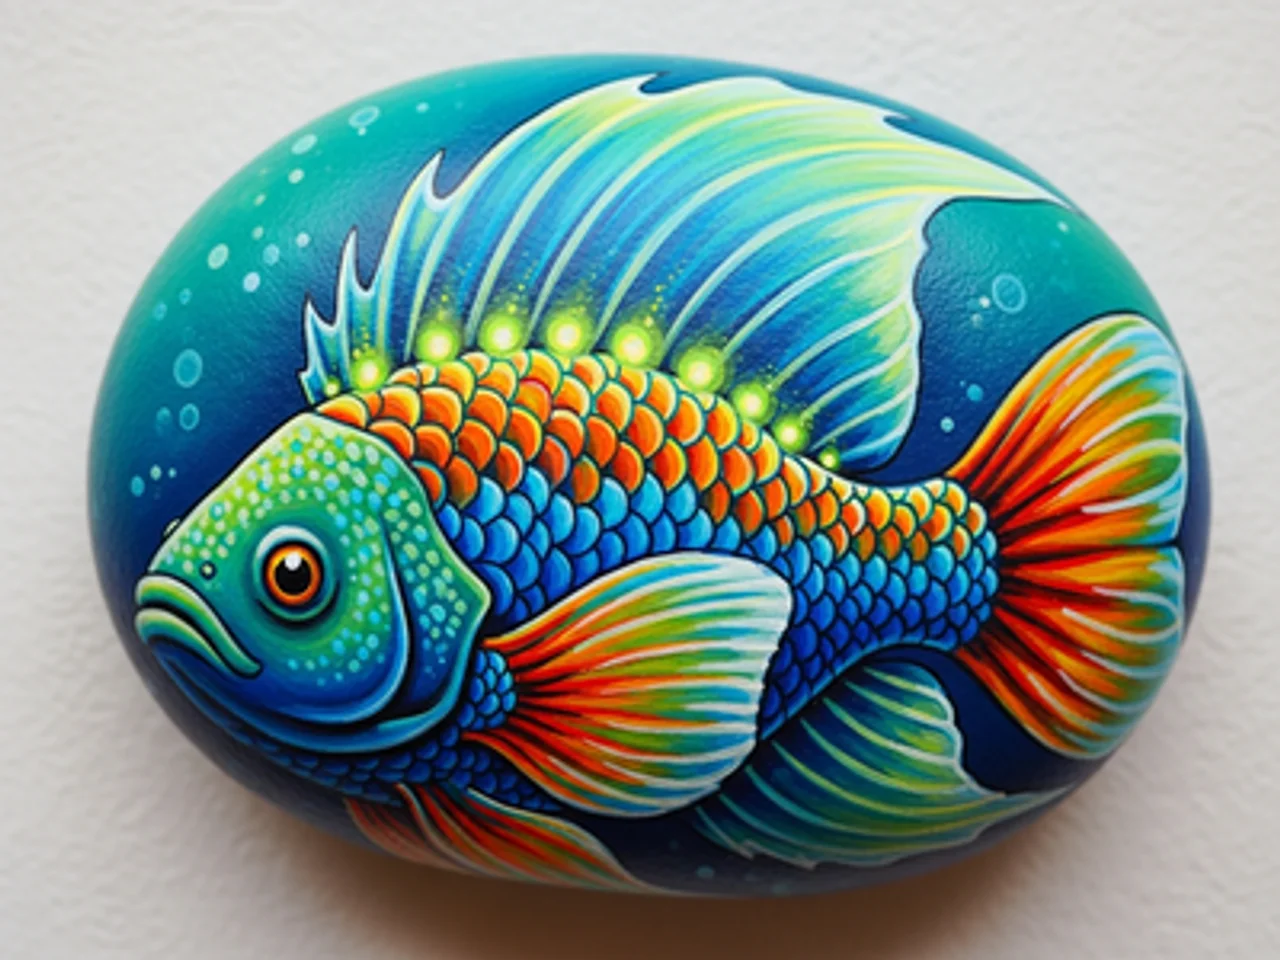
Sketch an anglerfish (deep sea fish) body — a wide, rounded head taking up most of the body, with a tapering tail. The anglerfish is the most recognizable deep sea creature. Paint the body in deep teal or dark gray-blue. Add a large, gaping mouth with massive jagged teeth in white — the teeth are a hallmark feature.
3
ขั้นตอน 3: Paint the bioluminescent lure
On the top of the anglerfish's head, paint a long spine (illicium) extending forward and curving down in front of the mouth. At the tip, paint a small glowing bulb in bright cyan or neon blue-green with a white core. This is the esca — the bioluminescent lure the anglerfish uses to attract prey in the darkness.
4
ขั้นตอน 4: Add bioluminescent body markings
Using neon green or bright cyan paint and a fine brush, add a series of glowing spots and curving line patterns along the body and fins of the anglerfish. These bioluminescent patterns suggest the photophores (light-producing organs) that many deep sea creatures use for communication and camouflage.
5
ขั้นตอน 5: Add the glowing eye and seal
Paint a large, haunting deep-sea eye on the side of the anglerfish head — a wide greenish iris surrounding a large black pupil with a tiny white highlight. Add a glow halo around the entire fish using very diluted cyan paint. Apply gloss sealant. The wet, shiny finish makes the fish look submerged in water.
ขั้นตอน 6: เพิ่มรหัส RoxGeo
ที่ด้านล่างหรือด้านหลังของหินของคุณ เขียน ROXGEO.COM ตามด้วยเครื่องหมายทับและรหัสเฉพาะของหินของคุณ (เช่น ROXGEO.COM/ABC123) สิ่งนี้จะทำให้ผู้ที่พบสามารถไปยังหน้าประวัติของหินของคุณและบันทึกการค้นพบของพวกเขาได้โดยตรง หากหินมีขนาดเล็กเกินไปสำหรับที่อยู่ทั้งหมด ให้เขียน #ROX ตามด้วยรหัสโดยไม่มีช่องว่าง (เช่น #ROXABC123) — มันสั้น ง่ายต่อการค้นหาบน Google และนำไปยังหน้าการเดินทางของหินของคุณโดยตรง ใช้ปากกาแบบถาวรที่มีปลายเล็กหรือปากกาสีอะคริลิก และเคลือบด้วยน้ำยาล้างเงาใสเพื่อให้รหัสอ่านได้แม้ในฝน แดด และการผจญภัย
เคล็ดลับที่เป็นประโยชน์
- เลือกหินที่มีรูปร่างเหมาะสมกับธีมของคุณ
- ร่างดีไซน์ด้วยดินสอก่อนเริ่มระบายสี
- ให้แต่ละชั้นแห้งสนิทก่อนเพิ่มชั้นถัดไป
- เคลือบด้วยสเปรย์ใสเพื่อปกป้องหินเมื่อใช้งานกลางแจ้ง
- สำหรับรหัส RoxGeo ที่ด้านล่าง ใช้ปากกาถาวรที่กันน้ำ (เช่น Sharpie) หรือปากกาสีอะคริลิก ทาเคลือบใส 2–3 ชั้นเหนือรหัส — สิ่งนี้จะช่วยให้รหัสอ่านได้แม้ในฝน แดด และการสัมผัสเป็นเวลาหลายเดือน
- การเขียน #ROXCODE (เช่น #ROXABC123) บนหินของคุณทำให้ค้นหาได้ง่ายผ่านการค้นหาบน Google เราได้ทำการปรับแต่งสำหรับแฮชแท็กนี้อย่างต่อเนื่อง ดังนั้นใครก็ตามที่ค้นหาจะพบหน้าประวัติของหินของคุณได้อย่างรวดเร็ว
- ที่อยู่เต็ม ROXGEO.COM/CODE จะนำผู้ที่พบไปยังการ์ดของหินของคุณโดยตรง ที่ซึ่งพวกเขาสามารถดูประวัติการเดินทางทั้งหมด ผู้ที่พบก่อนหน้า และภาพถ่ายจากทุกจุดที่หินของคุณไปถึง
เพ้นท์หินนี้และติดตามการเดินทางของมันด้วย RoxGeo!
ดาวน์โหลด RoxGeo ฟรี