Volver a plantillas
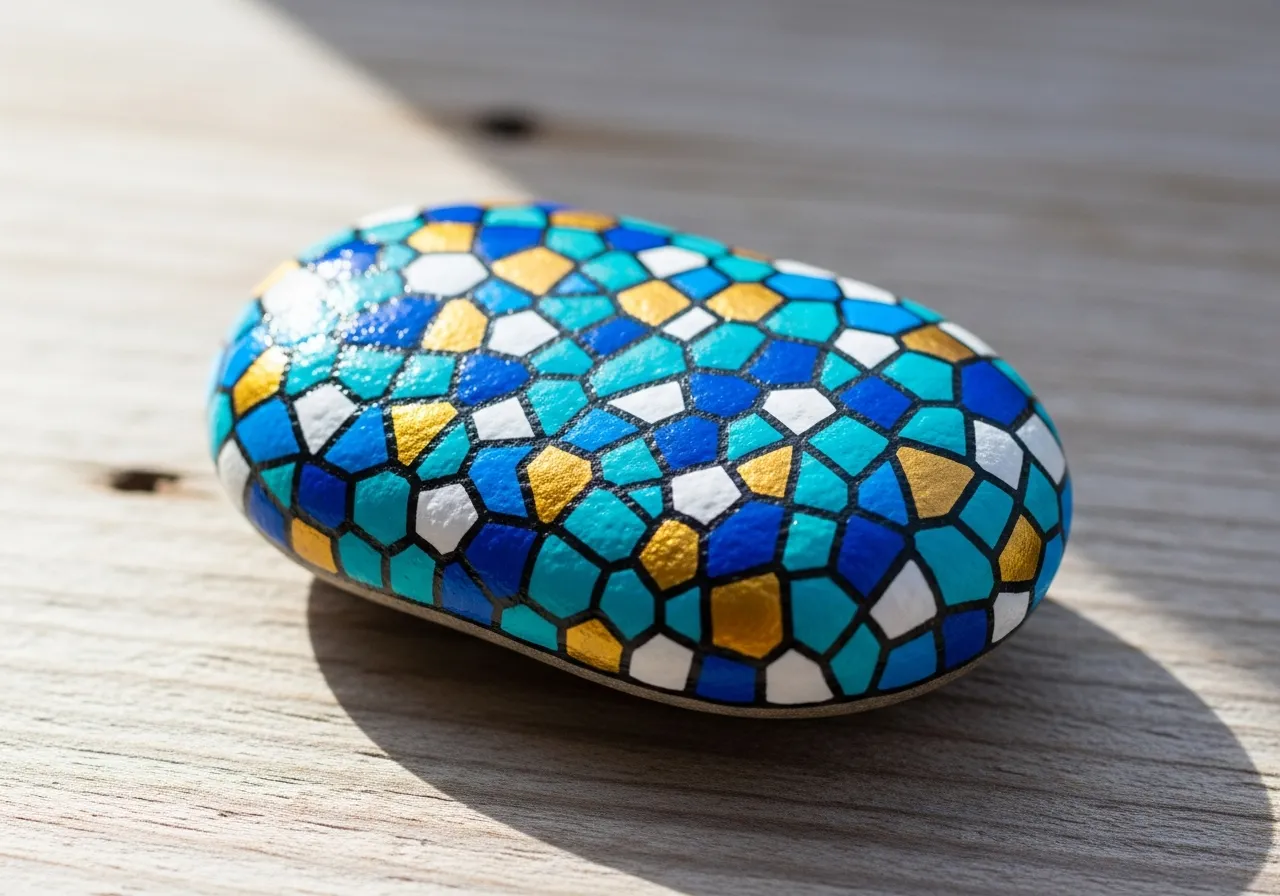
Pintura de Mandala en Piedra
Materiales necesarios
- Piedra lisa y redonda (tamaño palma)
- Pintura acrílica negra
- Pintura acrílica blanca
- Pinturas acrílicas variadas y brillantes
- Bastoncillos de algodón o pinceles redondos (para puntos)
- Pincel fino para detalles
- Spray sellador transparente
- Lápiz
Guía paso a paso
1
Paso 1: Prepare the base
Wash and dry your rock. Paint the entire surface black or dark blue. This dark background will make your mandala colors pop beautifully. Apply two coats and let dry completely.
2
Paso 2: Mark the center and guidelines
Find the center of your rock and mark it with a small chalk dot. Draw light cross lines through the center to divide the rock into quarters. These guidelines help keep your mandala symmetrical.
3
Paso 3: Create the center dot and first ring
Place a large dot in the center using your brightest color. Around it, create a ring of evenly spaced medium dots using a second color. Then add a ring of smaller dots between the medium ones using a third color.
4
Paso 4: Build outward rings
Continue adding rings of dots, each one farther from the center. Alternate between dot sizes and colors to create contrast. Try teardrop shapes, petal forms, or tiny clusters between the main dots for complexity.
5
Paso 5: Add outer details and highlights
Fill the outer edge with a final ring of dots. Add white highlight dots on top of some colored dots for a 3D effect. Check symmetry and fill any gaps. Once dry, seal with clear spray.
6
Paso 6: Final inspection and sealing
Rotate the rock slowly and check for any uneven areas or gaps. Touch up where needed. Apply 2-3 coats of clear sealant, letting each coat dry. The sealant gives a beautiful glossy finish to your mandala.
Paso 7: Agregar código RoxGeo
Escribe ROXGEO.COM seguido de una barra y el código único de tu piedra (ej. ROXGEO.COM/ABC123) en la parte inferior o trasera de tu piedra.
Consejos útiles
- Elige una forma de piedra que se ajuste a tu diseño.
- Esboza el diseño a lápiz antes de empezar a pintar.
- Deja secar completamente cada capa antes de añadir la siguiente.
- Sella con spray transparente para proteger tu piedra en exteriores.
- Para el código RoxGeo en la parte trasera, usa un marcador permanente resistente al agua. Aplica 2-3 capas de barniz transparente encima.
- Escribir #ROXCODE (ej. #ROXABC123) en tu piedra lo hace fácil de encontrar en Google.
- La dirección completa ROXGEO.COM/CODE lleva al descubridor directamente al mapa de tu piedra.
¡Pinta esta piedra y rastrea su viaje con RoxGeo!
Descargar RoxGeo gratis