Volver a plantillas
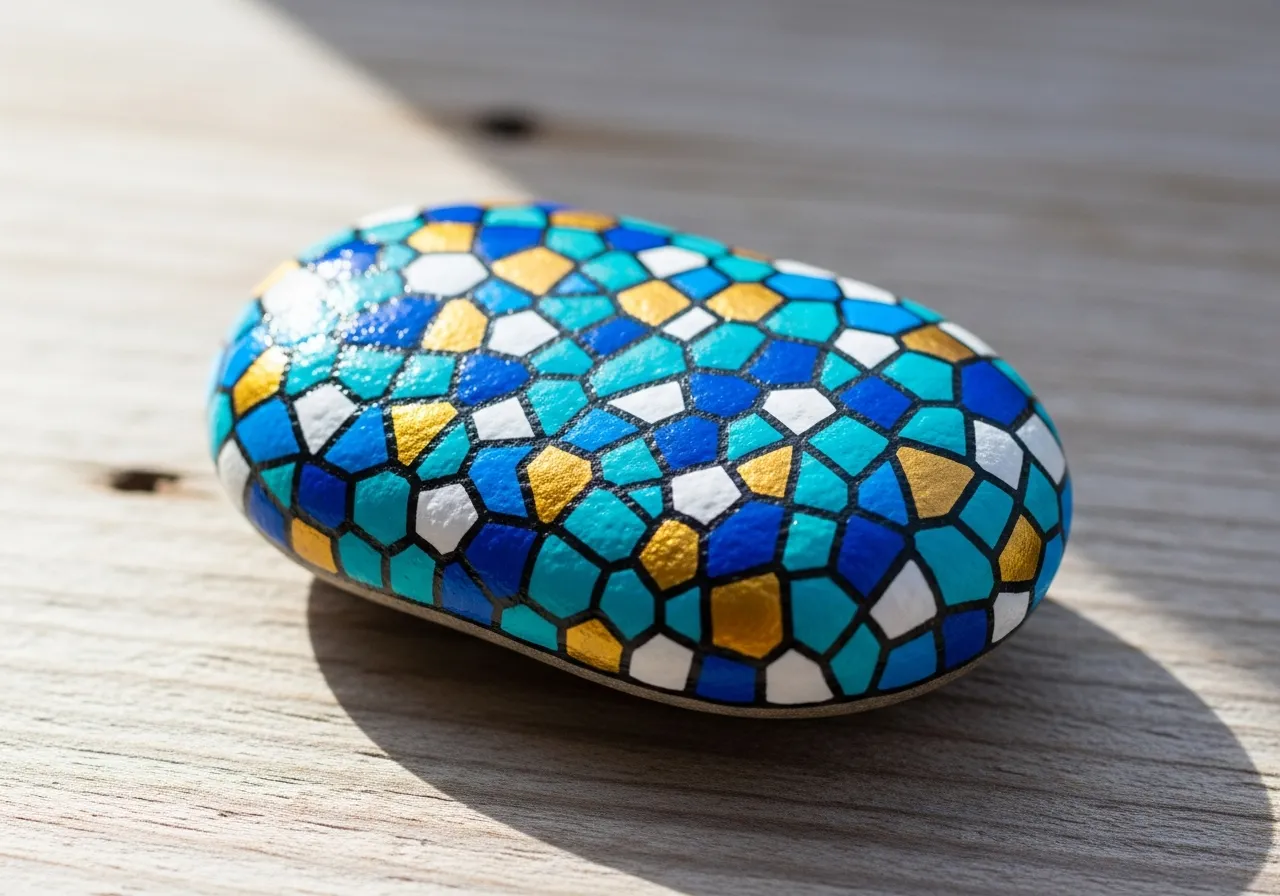
Pintura de Lunares en Piedra
Materiales necesarios
- Piedra lisa y redonda (tamaño palma)
- Pinturas acrílicas variadas y brillantes
- Pintura acrílica blanca
- Bastoncillos de algodón o pinceles redondos (para puntos)
- Pincel plano mediano
- Spray sellador transparente
- Plato de papel (como paleta)
- Periódico o lámina de plástico (protección del área de trabajo)
Guía paso a paso
1
Paso 1: Prepare the rock
Wash your rock with soap and water and let it dry completely. Paint the entire surface with white acrylic paint as a base coat. Let it dry fully before moving on.
2
Paso 2: Choose your colors
Pick 4 to 6 bright colors for your dots. Squeeze a small amount of each color onto your paper plate palette. Arrange them so they are easy to reach.
3
Paso 3: Start dotting
Dip a cotton swab or the round end of a brush into paint and press it firmly onto the rock to create a perfect circle. Start with the largest dots first, spacing them evenly across the rock.
4
Paso 4: Fill in the gaps
Add smaller dots in different colors between the larger dots. Use a thinner tool for tiny dots. Mix and match colors for a fun, playful pattern. Cover as much of the white background as you like.
5
Paso 5: Seal and display
Let all the dots dry completely. Spray with clear sealant to protect your colorful creation. Your polka dot rock is ready to brighten up any garden or shelf!
Paso 6: Agregar código RoxGeo
Escribe ROXGEO.COM seguido de una barra y el código único de tu piedra (ej. ROXGEO.COM/ABC123) en la parte inferior o trasera de tu piedra.
Consejos útiles
- Una capa base blanca hace que todos los colores se vean más vivos.
- Deja secar completamente cada capa antes de añadir la siguiente.
- Elige una forma de piedra que se ajuste a tu diseño.
- Sella con spray transparente para proteger tu piedra en exteriores.
- Para el código RoxGeo en la parte trasera, usa un marcador permanente resistente al agua. Aplica 2-3 capas de barniz transparente encima.
- Escribir #ROXCODE (ej. #ROXABC123) en tu piedra lo hace fácil de encontrar en Google.
- La dirección completa ROXGEO.COM/CODE lleva al descubridor directamente al mapa de tu piedra.
¡Pinta esta piedra y rastrea su viaje con RoxGeo!
Descargar RoxGeo gratis