
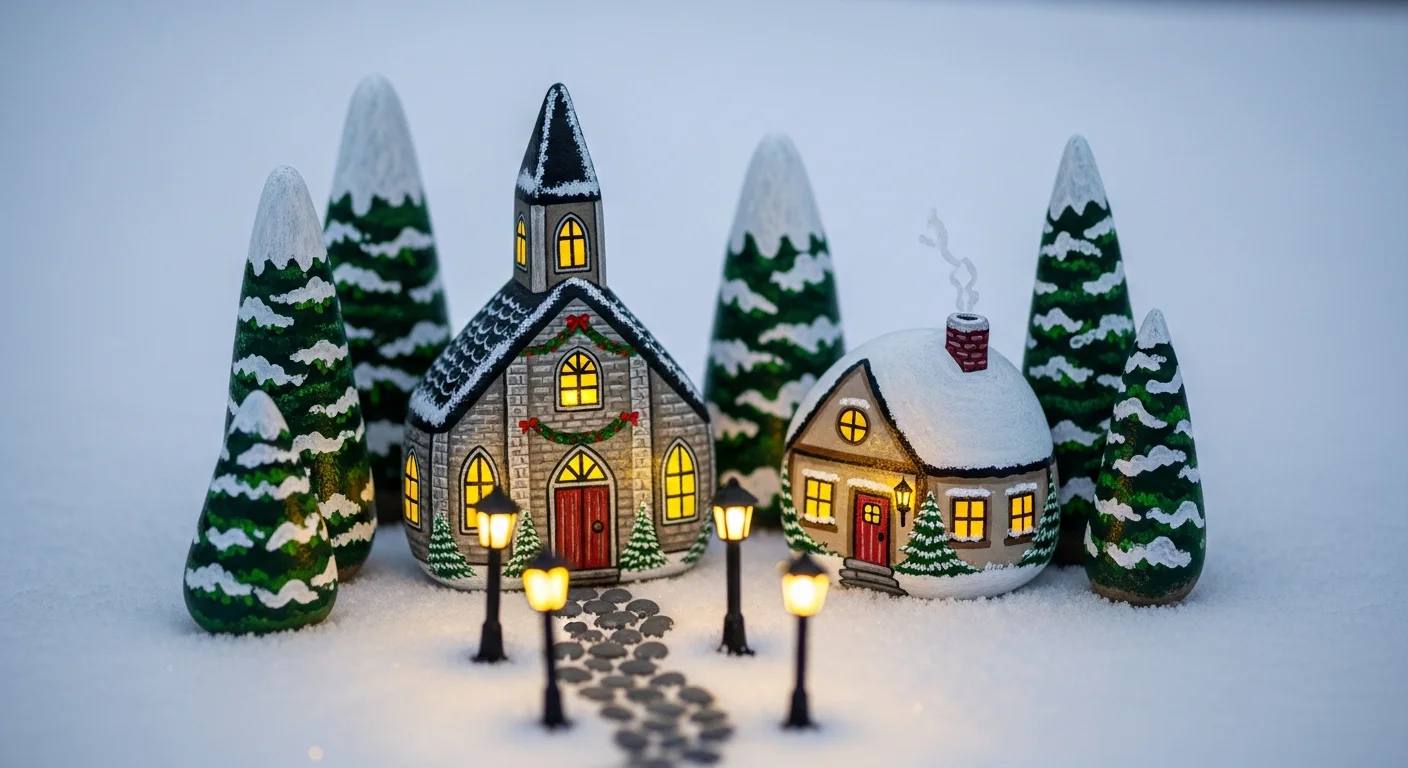
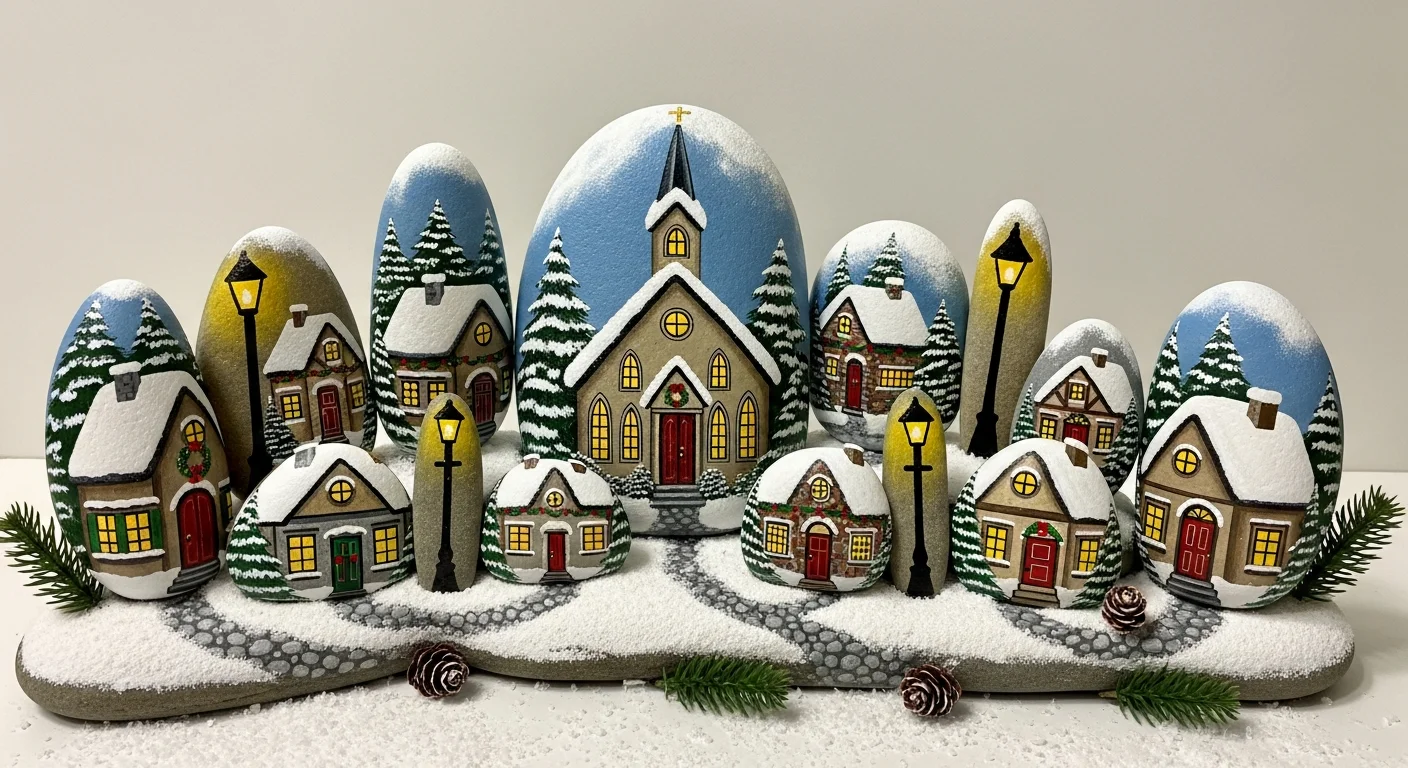
A Christmas village rock set is one of the most ambitious and rewarding seasonal rock painting projects - and one of the most impressive to display. Instead of painting individual rocks as standalone pieces, you create a coordinated series where each rock represents a building, tree, or landmark in a miniature festive village. Assembled together on a mantelpiece, shelf, or cotton wool "snow," the effect is enchanting.
This guide covers every element of the Christmas village from architectural details to landscape features, including how to design for visual coherence across all your rocks so they look like they belong in the same village. See also our Advent rock countdown guide for more December projects.
Planning Your Village Layout
Before painting a single rock, sketch a rough village map. Decide:
- How many rocks will be buildings vs. trees vs. landscape features?
- What is the scale - will a "house" rock be the same size as a "church" rock, or will the church be notably larger?
- What is the consistent colour palette? (Suggest: cream/white for snow, brown/grey for stone buildings, red for doors and roofs, deep green for evergreens, warm yellow for lit windows)
A village of 7–12 rocks is achievable in a single weekend of painting and makes a complete display. A full village of 20+ rocks becomes a family heirloom project.
The Essential Christmas Village Rocks
The Church
Use your tallest, most upright stone. Paint stone-grey walls with a pointed steeple and a small cross. Snow the roof edges with white paint. Add a warm yellow-orange glow in the arched windows to suggest candlelight within.
The Cottage
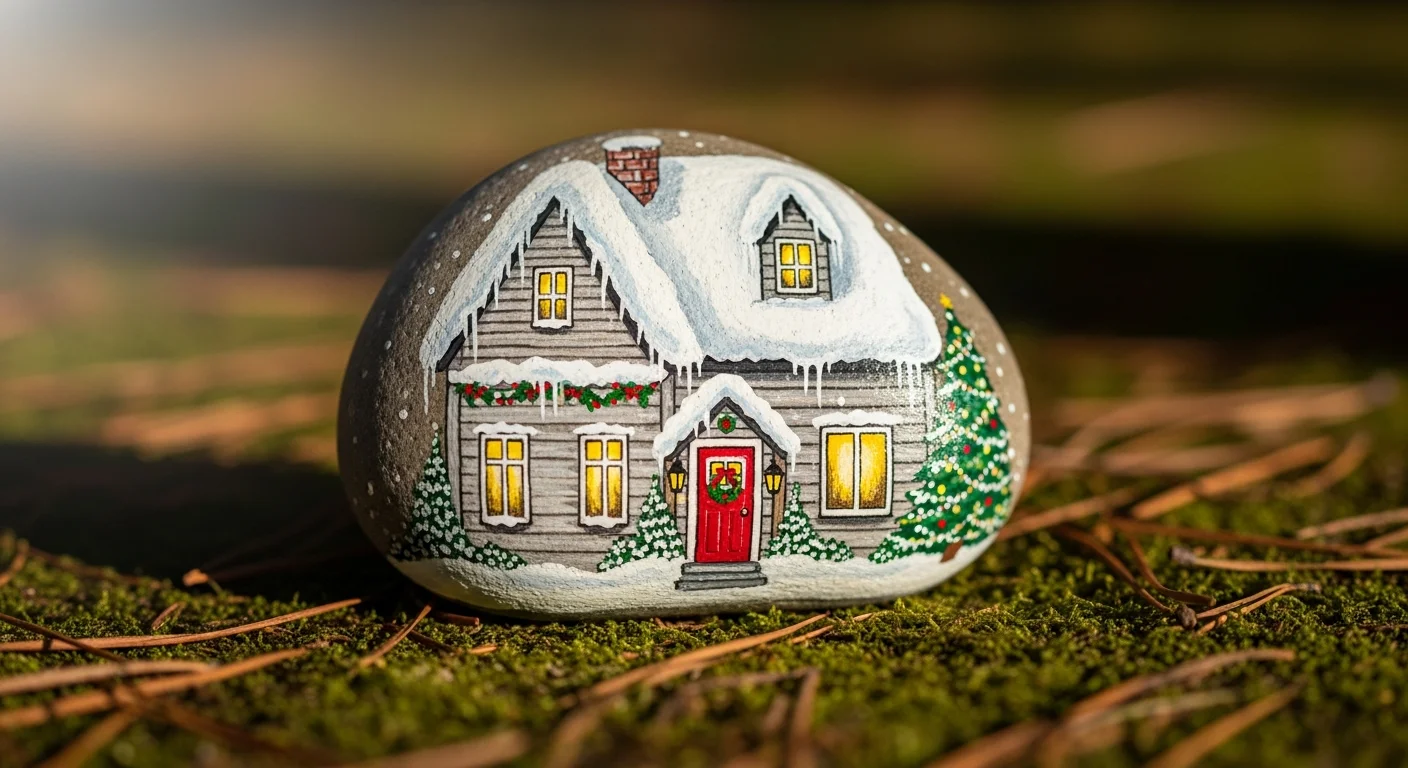
A wide, flat stone works well. Paint cream walls, a red or brown pitched roof with white snow along the ridge and eaves, a small wooden door, and 2–3 glowing yellow windows. Add a tiny chimney with a puff of white smoke if the stone shape allows.
The Shop
Similar to the cottage but with a slightly wider face. Add a striped awning in red and white above the door, and display items in the "windows" - tiny painted shapes suggesting goods for sale.
Snow-Covered Trees
Tall, narrow stones become fir trees: paint dark green with thick white snow on each branch tier. Round stones become snow-covered round-topped trees. Vary sizes for depth.
The Lamp Post
A tall, thin stone with a black post and glowing yellow lantern top. One or two lamp posts within the village scene add period authenticity and warmth.
The Frozen Pond
A very flat, wide stone painted icy blue-white with grey shadow cracks suggesting ice. Tiny silhouette figures skating add charm but are optional (advanced painting skill required).
Displaying Your Rock Village
For the most atmospheric display, arrange your village on a base of white cotton wool or crinkled white tissue paper to represent snow. Add small sprigs of real or artificial evergreen between buildings. Battery-operated fairy lights tucked beneath the rocks create a beautiful warm glow effect for evening display.
Frequently Asked Questions
What size rocks work best for the Christmas village?
Rocks between 6–15 cm work well, with different sizes playing different roles. The church should be one of your tallest stones; small round rocks become trees and bushes.
How do I keep my rock village safe between Christmases?
Store in an egg carton or a divided box with each rock wrapped individually in tissue paper. Seal rocks well with a weatherproof varnish before storage.