Back to Templates
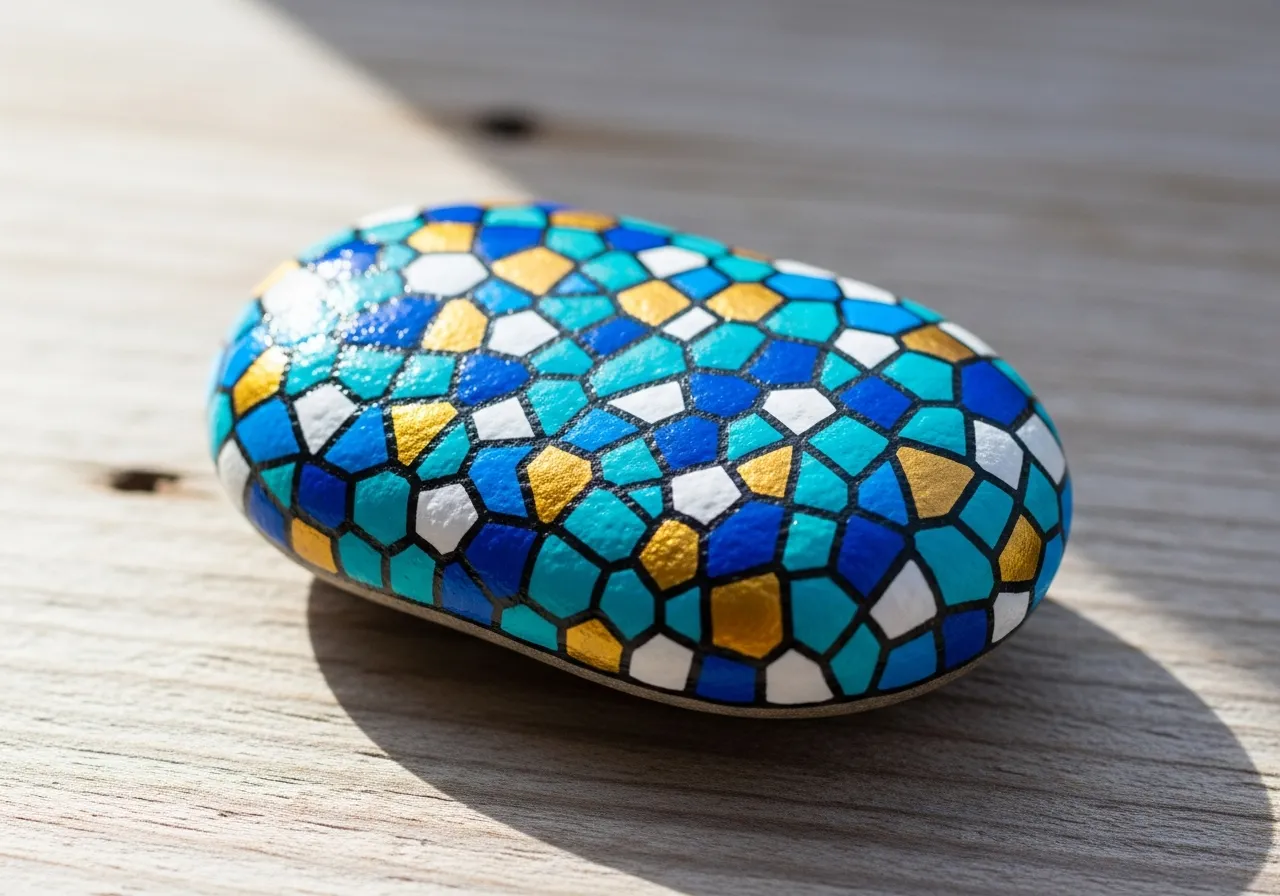
Mandala Rock Painting
Materials Needed
- Round, smooth rock (as round as possible)
- Black or dark blue acrylic paint (for base)
- White acrylic paint
- Assorted bright colors (turquoise, coral, gold, purple)
- Dotting tools or various-sized round objects (pencil eraser, toothpick, nail head)
- Fine detail brush
- Pencil or chalk for guidelines
- Clear sealant spray
Step-by-Step Instructions
1
Step 1: Prepare the base
Wash and dry your rock. Paint the entire surface black or dark blue. This dark background will make your mandala colors pop beautifully. Apply two coats and let dry completely.
2
Step 2: Mark the center and guidelines
Find the center of your rock and mark it with a small chalk dot. Draw light cross lines through the center to divide the rock into quarters. These guidelines help keep your mandala symmetrical.
3
Step 3: Create the center dot and first ring
Place a large dot in the center using your brightest color. Around it, create a ring of evenly spaced medium dots using a second color. Then add a ring of smaller dots between the medium ones using a third color.
4
Step 4: Build outward rings
Continue adding rings of dots, each one farther from the center. Alternate between dot sizes and colors to create contrast. Try teardrop shapes, petal forms, or tiny clusters between the main dots for complexity.
5
Step 5: Add outer details and highlights
Fill the outer edge with a final ring of dots. Add white highlight dots on top of some colored dots for a 3D effect. Check symmetry and fill any gaps. Once dry, seal with clear spray.
6
Step 6: Final inspection and sealing
Rotate the rock slowly and check for any uneven areas or gaps. Touch up where needed. Apply 2-3 coats of clear sealant, letting each coat dry. The sealant gives a beautiful glossy finish to your mandala.
Step 7: Add RoxGeo Code
On the bottom or back of your rock, write ROXGEO.COM followed by a slash and your rock’s unique code (e.g. ROXGEO.COM/ABC123). This lets the finder go directly to your rock’s profile page and log their discovery. If the rock is too small for the full address, write #ROX followed by the code without spaces (e.g. #ROXABC123) — it’s short, easy to search on Google, and leads straight to your rock’s journey page. Use a fine-tip permanent marker or acrylic paint pen, and seal it with clear varnish so the code stays readable through rain, sun, and adventure.
Helpful Tips
- The rounder your rock, the more symmetrical your mandala will look.
- Dotting tools make perfectly round dots - you can buy a set or use household items like pencil erasers, bobby pins, or nails.
- Work from the center outward - this helps maintain symmetry.
- Let each ring of dots dry before adding the next layer to prevent smudging.
- Mandala painting is meditative - put on calming music and take your time.
- Practice your dot sizes on paper first before committing to the rock.
- For the RoxGeo code on the bottom, use a waterproof permanent marker (like Sharpie) or an acrylic paint pen. Apply 2–3 coats of clear sealant over the code — this keeps it readable through rain, sun, and handling for months.
- Writing #ROXCODE (e.g. #ROXABC123) on your rock makes it easy to find via Google search. We actively optimize for this hashtag, so anyone who searches for it will find your rock’s profile page quickly.
- The full address ROXGEO.COM/CODE takes the finder directly to your rock’s card, where they can see its full travel history, previous finders, and photos from every stop on its journey.
Paint this rock and track its journey with RoxGeo!
Download RoxGeo Free