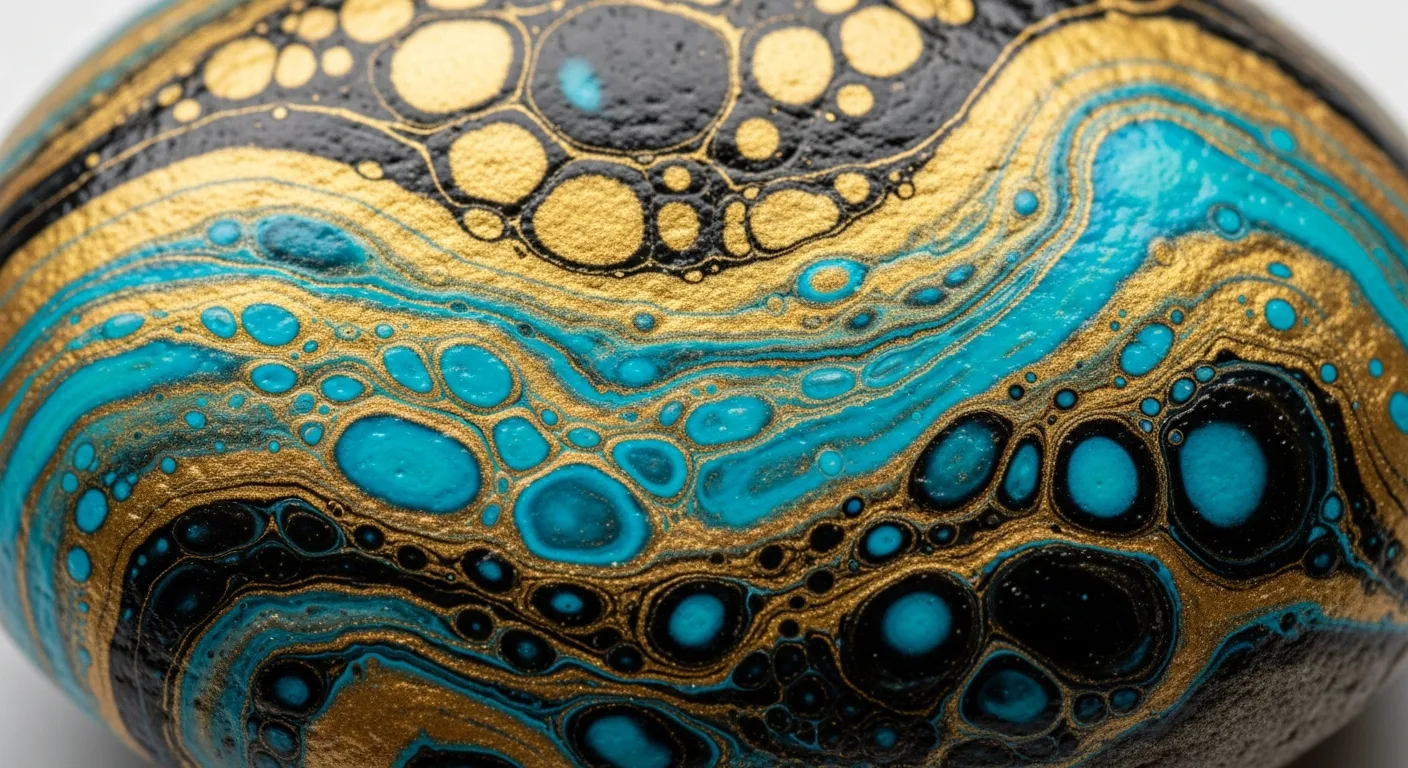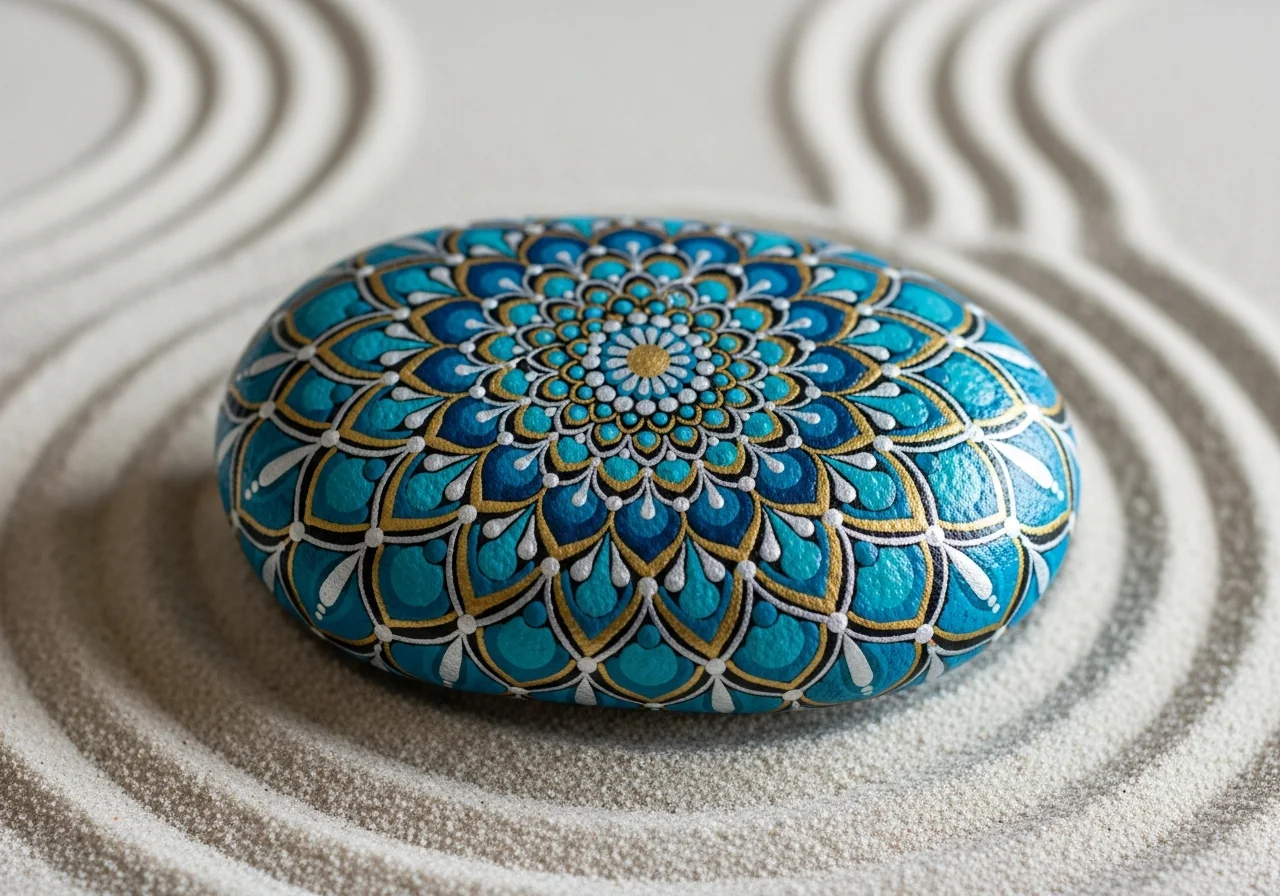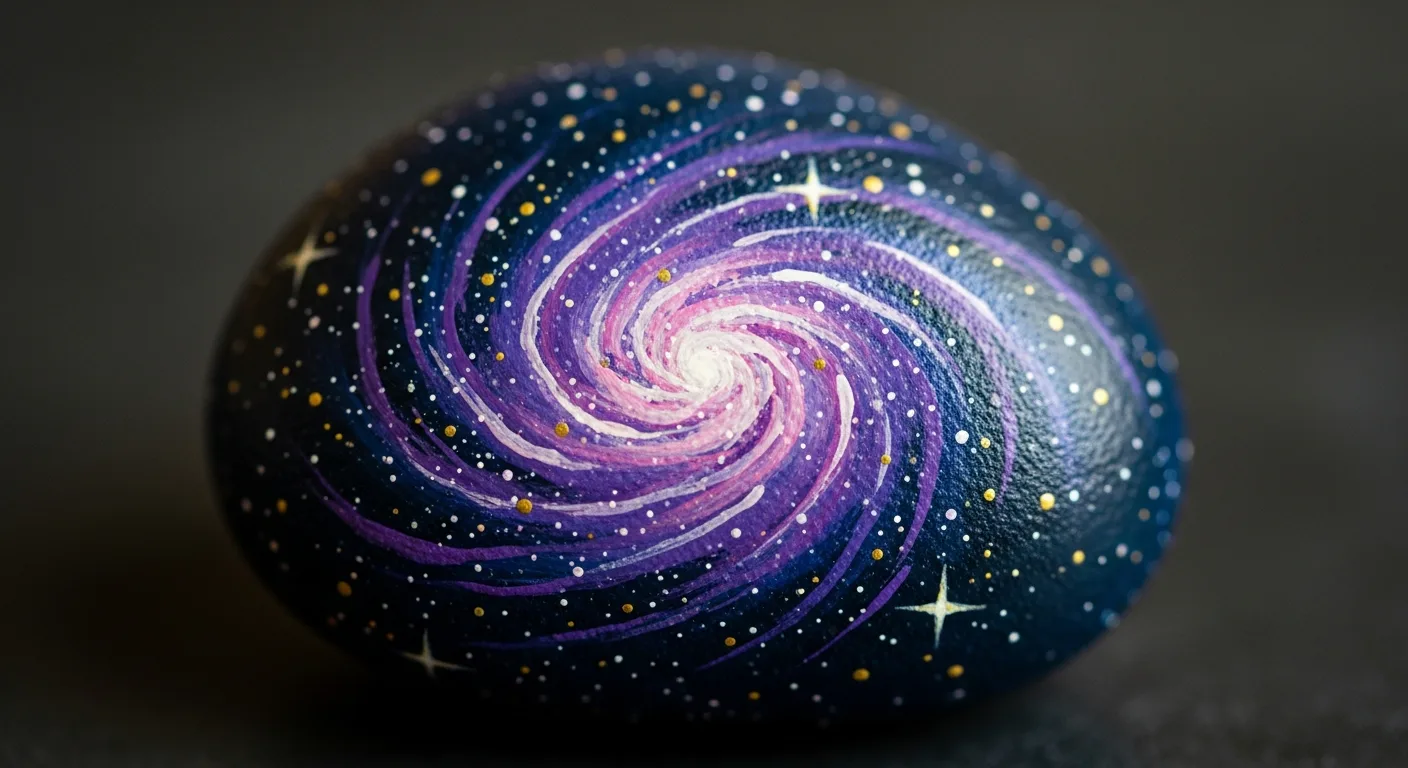
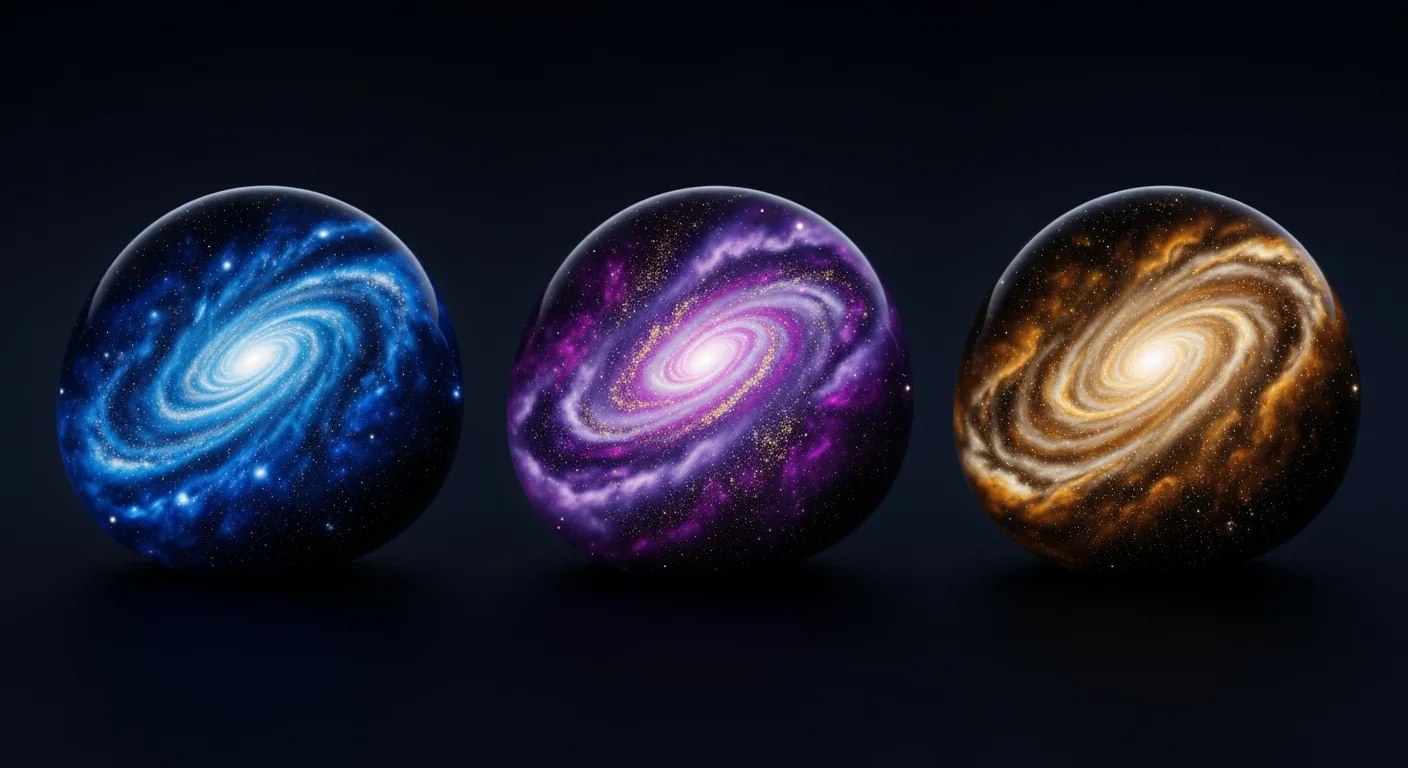
Galaxy rock painting is one of the most popular and visually dramatic styles in the painted rock world. The deep blue-black of deep space, the swirling purple and pink nebulae, and the scattered gold and white star fields combine to create rocks that look like miniature windows into the cosmos - and they are much easier to create than they appear.
What You Will Need
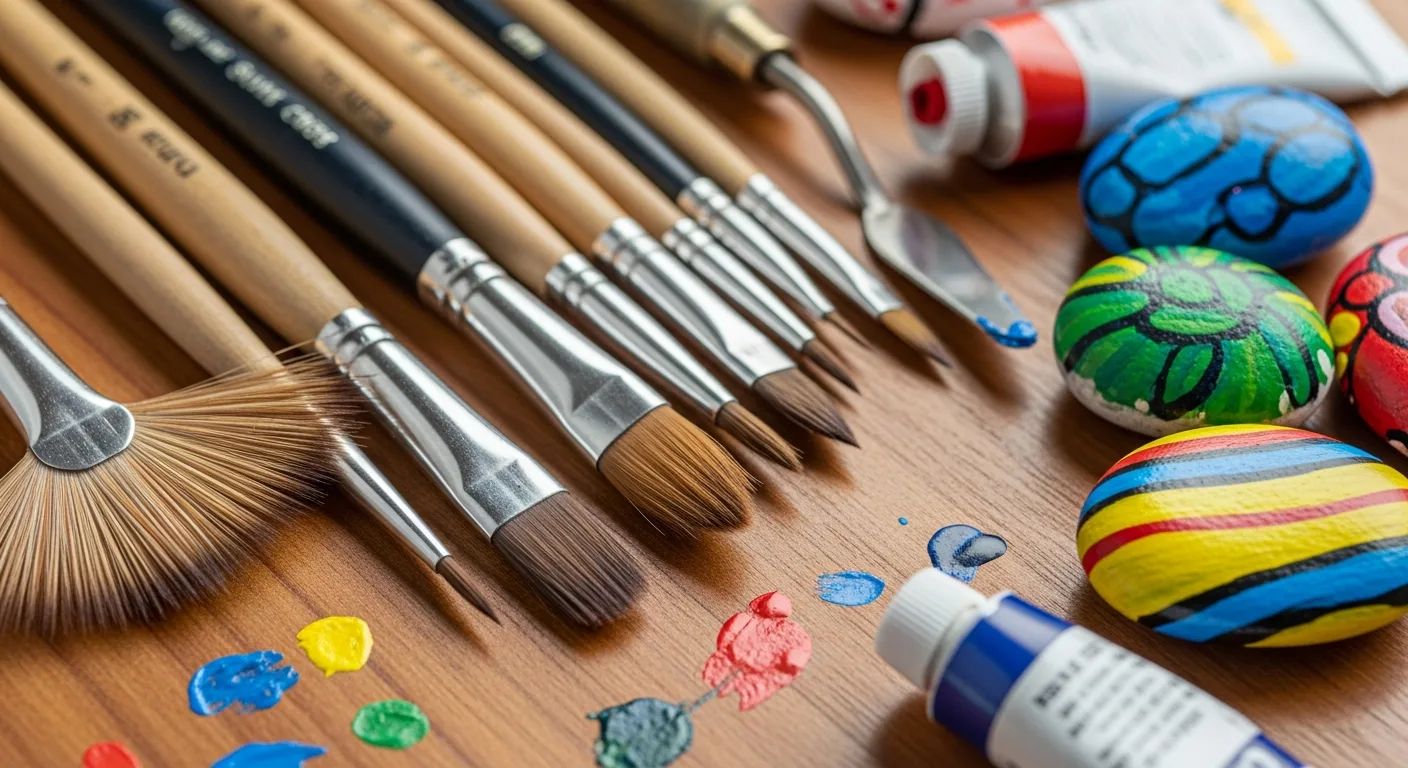
Gather your materials before starting:
- Smooth, flat stones (river pebbles or oval beach stones work best)
- Acrylic paints: black, navy blue, purple, teal, pink/magenta, and white
- A sea sponge or torn kitchen sponge
- A fine liner brush and a medium round brush
- A toothbrush (for star splattering) and a toothpick
- Gold or silver metallic paint
- UV-resistant spray varnish
Step 1: Black Base Coat
Paint the entire stone with black acrylic paint using a flat brush. Apply two coats for full, even coverage. The black base is critical - it represents the deep darkness of space that makes nebula colours pop dramatically. Allow to dry completely (15–20 minutes).
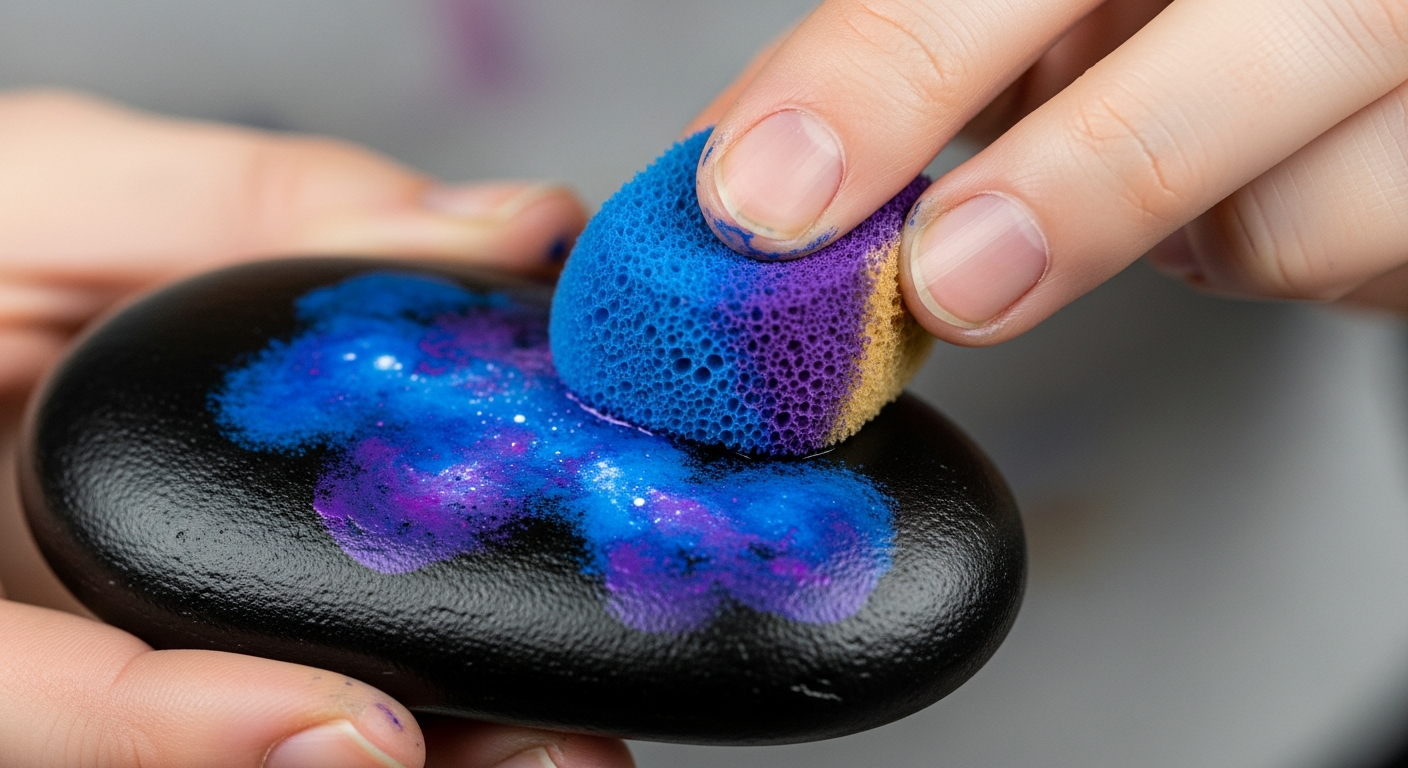
Step 2: Sponge the Nebula Colours
This is where the magic happens. Dab a small amount of navy blue onto your sponge and press it onto the dried black stone in irregular patches. Do not cover all the black - leave significant dark areas. Repeat with purple, adding overlapping patches in cloud-like shapes. Add teal for cool shadow areas, and finish with small amounts of pink or magenta for warm nebula glow at the heart of each cloud.
Key technique: Work wet-on-wet while colours are still slightly damp to create soft, blended edges that look like real nebulae. Dab - do not drag - the sponge for the most convincing cloud shapes.
Step 3: Add Light and Depth
Mix a tiny amount of white into each nebula colour and sponge lightly at the centre of each nebula to create the illusion of a glowing core. This light-to-dark gradient gives the galaxy convincing three-dimensional depth.
Step 4: Splatter the Stars
Load a toothbrush with thinned white paint. Hold it 15–20cm above the stone and run your thumb across the bristles to release a fine spray of star-like dots. For larger stars, add individual dots with the tip of a toothpick loaded with white paint. Add a few gold metallic dots for visual variation - these represent the brightest stars.
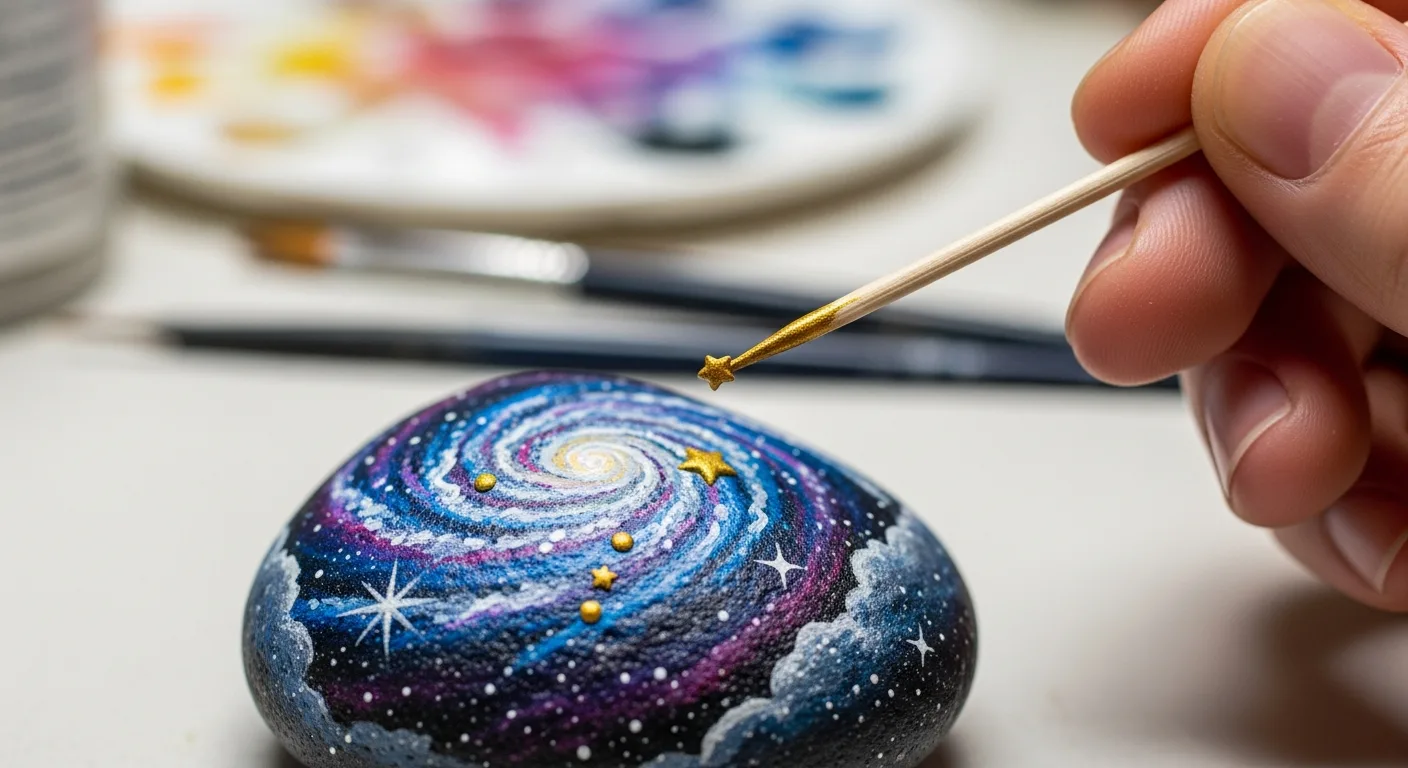
Step 5: Optional Planet Details
Add a small circle in teal or orange with a fine round brush for a planet. Add a ring around the planet at a slight angle for a Saturn-like effect. A crescent shape in white suggests a moon. Keep planet details small relative to the stone - they should feel like distant objects, not dominant features.
Step 6: Seal Your Galaxy
Apply 2–3 coats of UV-resistant spray varnish in a well-ventilated area. Each coat should be light and even. The varnish deepens the blacks slightly and gives the metallic accents a beautiful richness. Once fully sealed, your galaxy rock is weatherproof and can be hidden outdoors. Register it on RoxGeo - galaxy rocks are consistently among the most exciting finds for rock hunters. For more advanced designs see our abstract rock techniques guide.
Frequently Asked Questions
What shape of stone is best for galaxy painting?
Flat, oval, or rounded river pebbles give the best results. The smooth surface allows the sponge to create convincing nebula shapes without interference from surface texture. Larger stones (palm-sized) give more room for detail but smaller stones are equally effective with simplified nebulae.
Can I use watercolour instead of acrylic for galaxy rocks?
Acrylic paints are strongly recommended for galaxy rocks. Watercolour does not adhere well to stone surfaces and cannot achieve the deep, saturated blacks needed for convincing space backgrounds. If you want a softer, dreamy effect, experiment with acrylic inks, which are highly pigmented and flow like watercolour but bond to stone.
How do I prevent the star splatters from looking too uniform?
Vary the distance between the toothbrush and the stone as you splatter - closer gives larger, denser drops; farther gives finer, lighter ones. Rotate the angle of the toothbrush as you work. Add a few individual dots with a toothpick for large bright stars, and leave some areas of the stone with fewer stars to mimic the natural distribution of star fields.