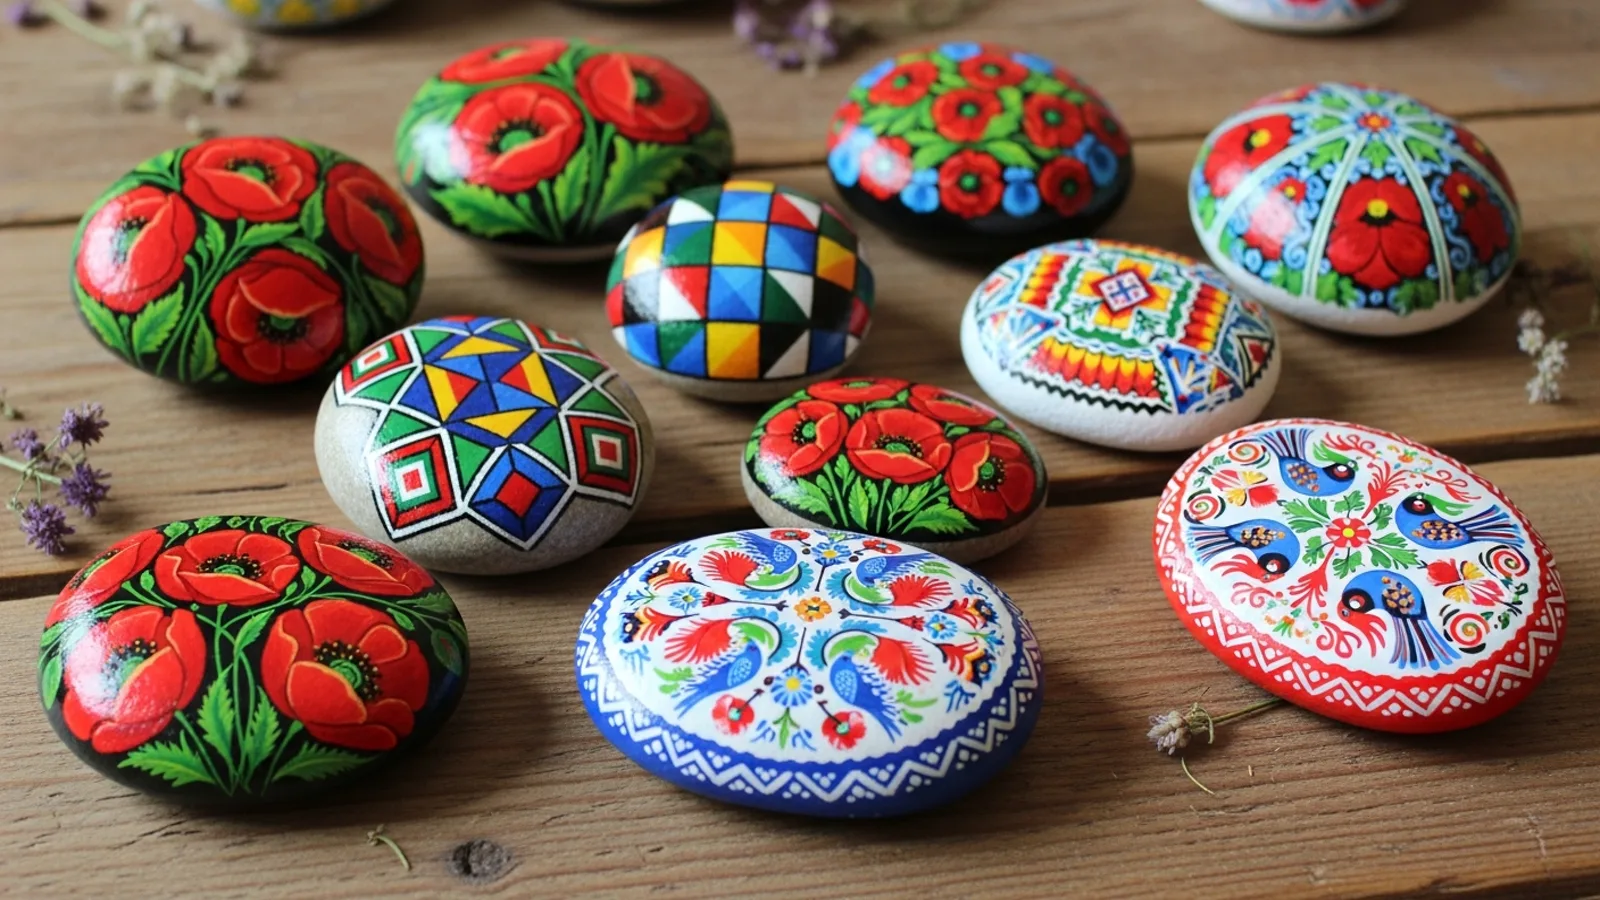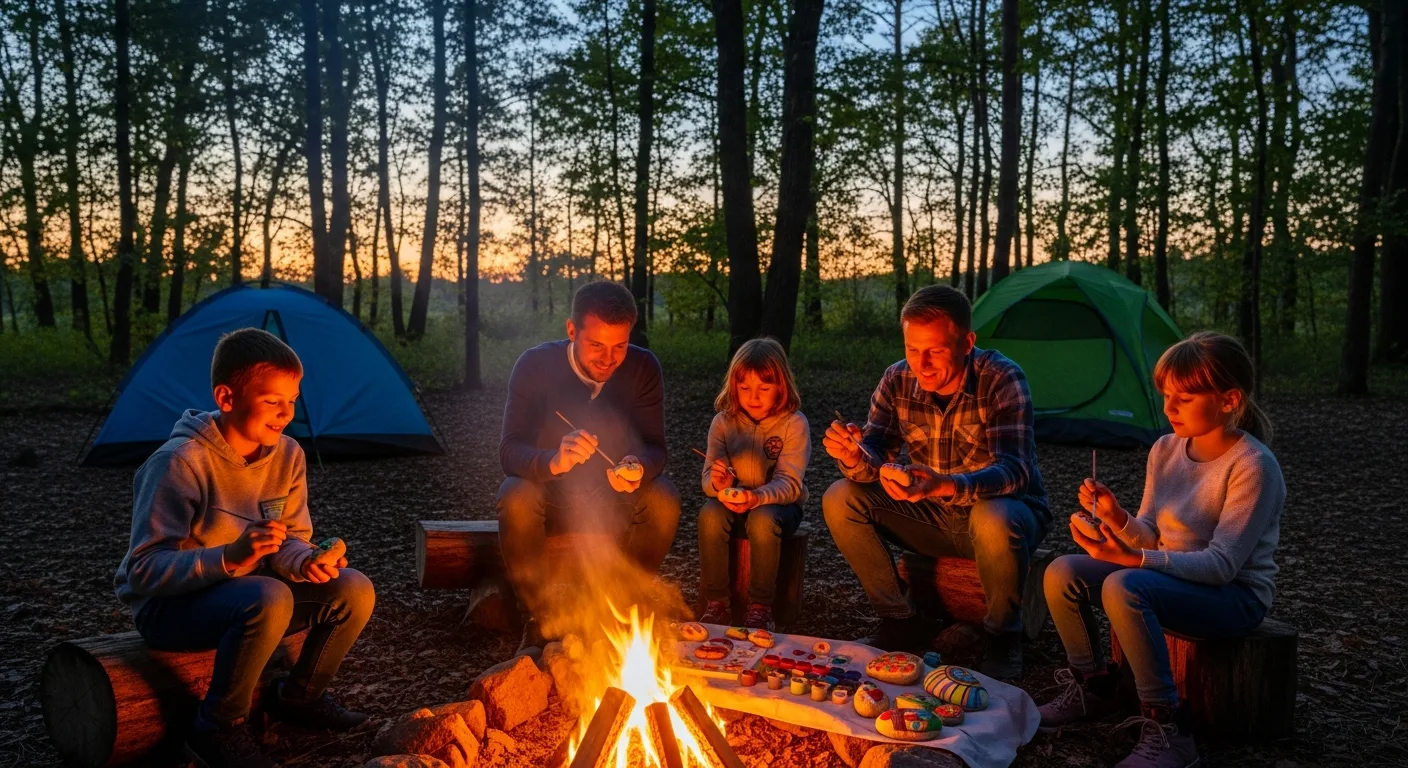
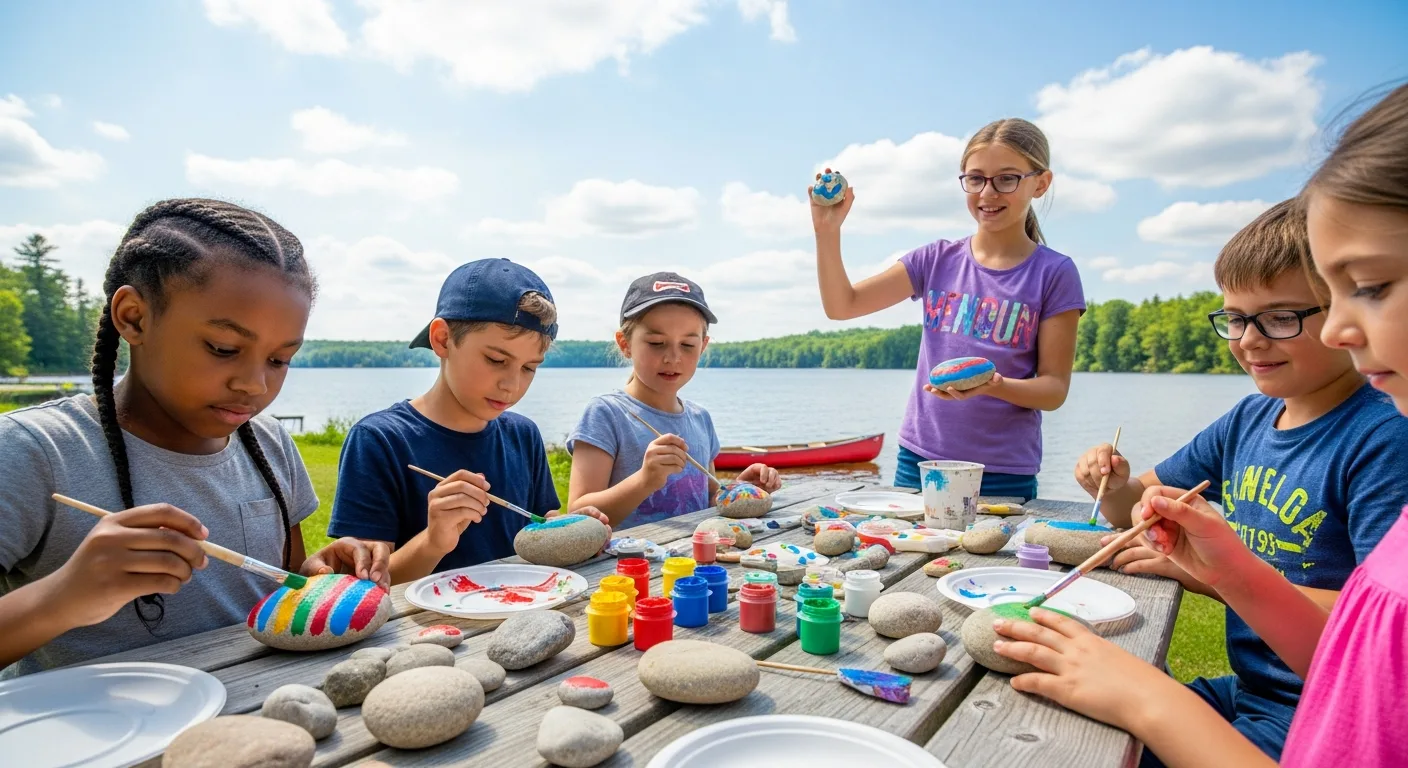
Camping rock painting is one of the most rewarding ways to connect with nature, creativity, and family during an outdoor trip. Whether you are camping in a national forest, beside a lake, or at a coastal site, painted rocks add a layer of adventure and community to the experience.
In this guide we share everything you need to know about making rock painting a core part of your camping experience — from packing a portable kit to hiding your creations for other campers and hikers to discover.
Why Rock Painting Is Perfect for Camping
Rock painting requires minimal supplies, creates no waste in nature, and suits every age from toddlers to grandparents. Unlike screen-based entertainment, it encourages observation of the natural world — choosing a stone from a riverbed, studying a leaf's veining for inspiration, or mixing the colours of a sunset seen from the campfire.
It also builds a sense of giving back: when you paint a rock and leave it on a trail, the next hiker might have their day brightened by the discovery. With RoxGeo, that rock can be tracked across its journey — creating a story that connects strangers through a shared find.
Building a Portable Painting Kit
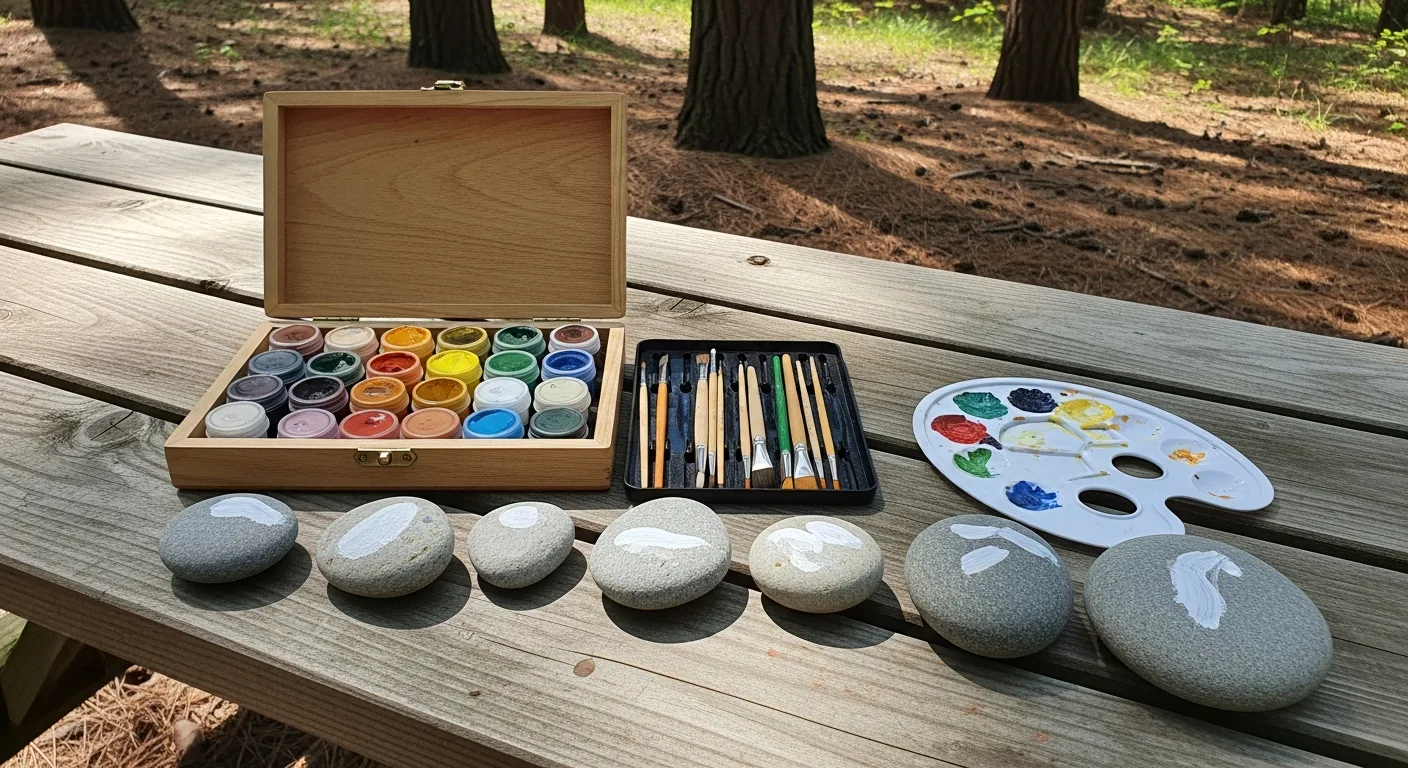
Your camping painting kit should be compact and spill-resistant. Pack these essentials in a small zip-lock bag or lightweight tin:
- Acrylic paints — six primary and secondary colours is plenty. Squeeze a small amount of each into a travel palette.
- Brushes — three sizes: a wide flat brush for base coats, a medium round for shapes, and a fine liner for details.
- Small smooth stones — collect them from gravel paths, not protected natural areas.
- A water container — a small empty jar works perfectly for rinsing brushes.
- Travel-size varnish — a spray sealant protects your work even in damp conditions.
Nature-Inspired Designs to Paint in the Wild
The outdoors provides endless inspiration. Try painting the pine trees visible from your tent, a campfire with orange and red flames, a deer silhouette, stars from the night sky, or a fox you spotted at dusk. Simple outline drawings work beautifully even if you are not a confident artist.
Hiding Rocks on the Trail
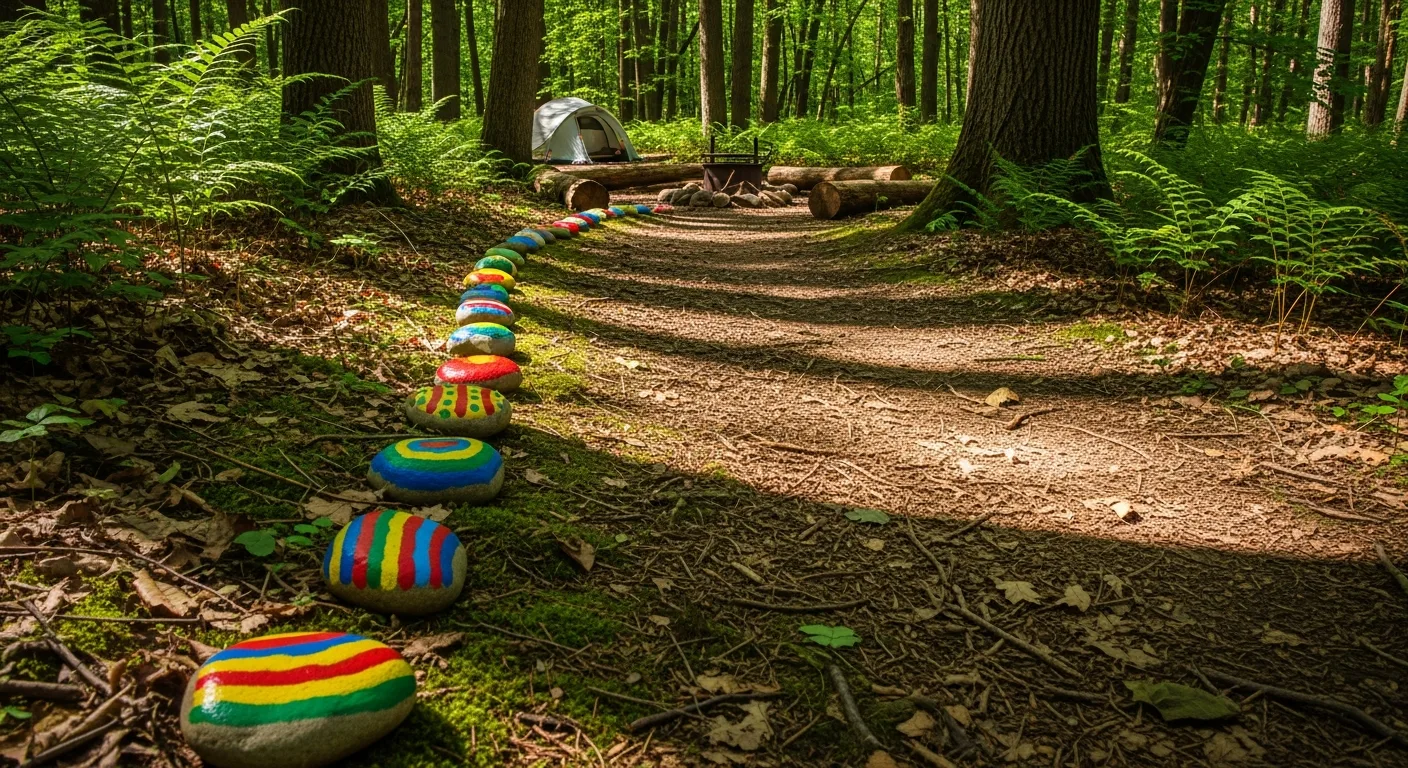
The best spots for leaving camping rocks are high-traffic yet natural-feeling: the base of a trailhead sign, a flat rock beside a picnic table, or a mossy ledge near a stream. Always leave rocks in public areas — never in protected habitats or restricted zones.
Before hiding, register your stone on the RoxGeo app and write the unique code on the back. When a future hiker finds it, they can log the discovery and you will see exactly where your campsite creation travelled next.
Leave No Trace: Eco-Friendly Camping Rock Painting
Respect the Leave No Trace principles while rock painting: use non-toxic, water-based acrylics that are safe for wildlife, rinse brushes into a bag not directly into streams, and never collect stones from riverbeds in protected parks. The aim is to add something beautiful — not disturb the ecosystem.
Frequently Asked Questions
Can I collect rocks from national parks for painting?
Most national parks prohibit the removal of natural materials. Use stones from gravel paths, private campsites, or purchase smooth rocks from craft stores. Always check local regulations before collecting.
What paint works best outdoors in damp conditions?
Outdoor-grade acrylic paints with a UV-resistant varnish top coat hold up well in rain and humidity. Apply two coats of sealant for camping rocks that will be left outdoors.
How do I track a rock I left at a campsite?
Register it on RoxGeo before you leave. Write the code on the back of the rock. Every time a finder scans or logs the code, you will receive a notification and see the rock's journey on the live map.