Learning a few core rock painting patterns transforms your work from simple designs to pieces of genuine art. This tutorial guide covers four of the most popular and versatile patterns — mandala dotting, geometric, Zentangle-inspired, and floral — with step-by-step instructions for each. Whether you are a beginner or an intermediate painter looking to expand your repertoire, these patterns form the foundation of most advanced rock art styles.
Before You Start: Supplies for Pattern Painting
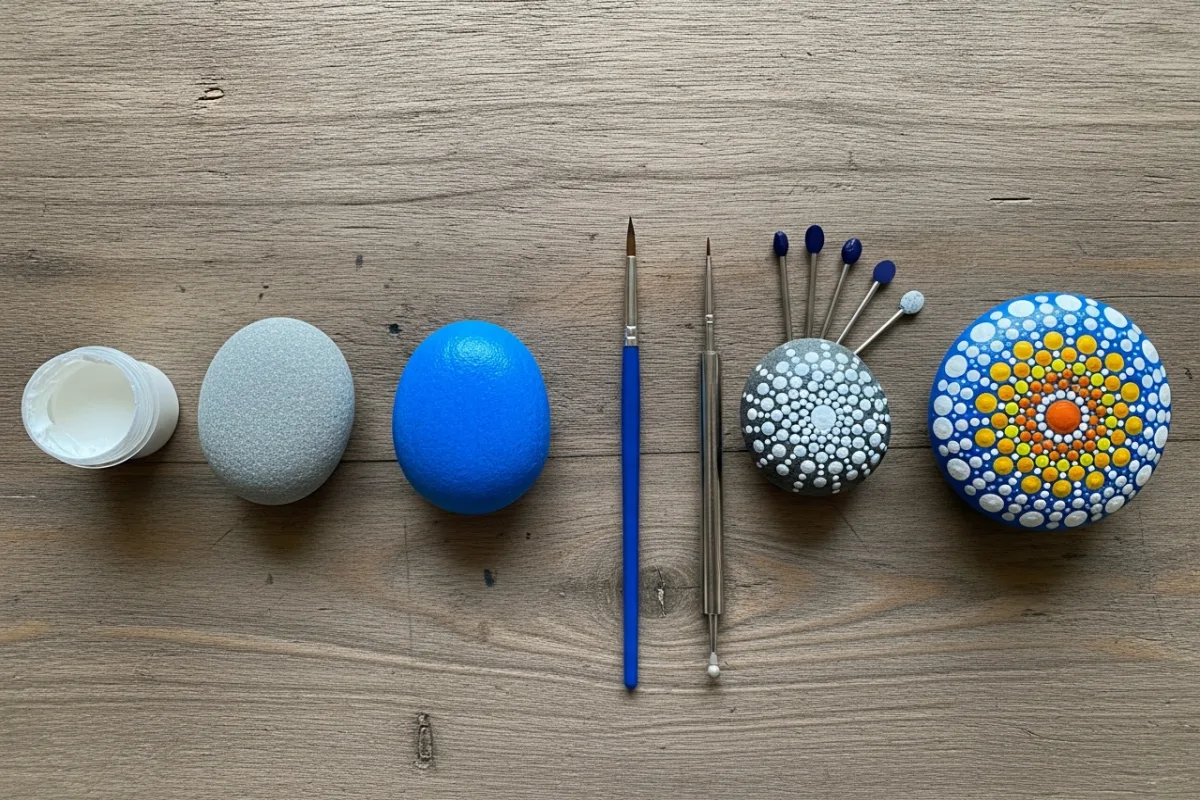
Pattern painting typically requires more precision than basic designs. Gather these supplies:
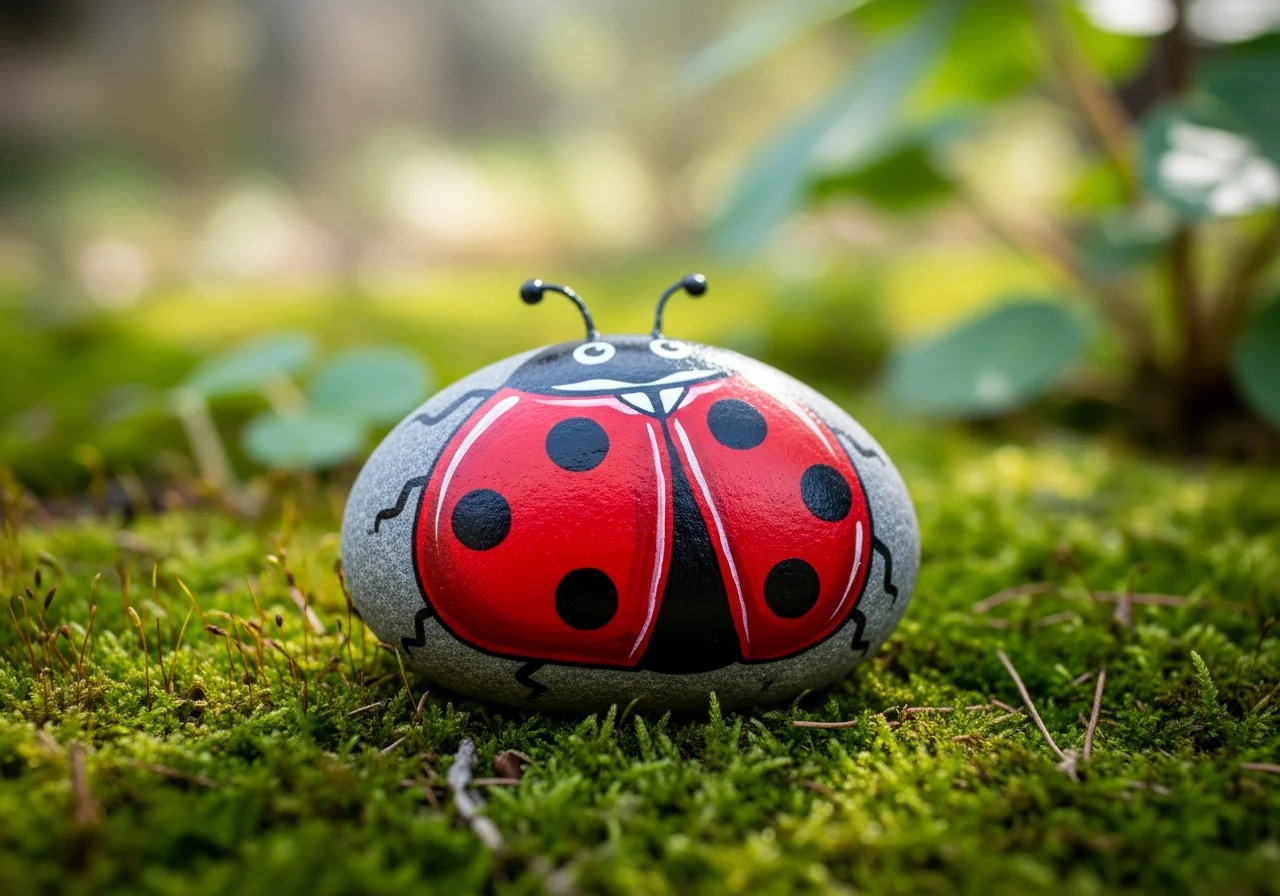
- Rocks — Round, dome-shaped rocks work best for mandala patterns. Flat oval rocks suit floral designs best.
- Black or dark gesso primer — Dark backgrounds make coloured patterns pop dramatically.
- Acrylic paints — A range of 8–12 colours including white. Artist-grade paints give richer results for pattern work. See our paint guide.
- Dotting tools — Toothpicks, stylus tips, pencil erasers, and ball-head pins give different dot sizes.
- Fine liner brush — 0 or 00 size for fine line patterns.
- Ruler or compass — For geometric patterns, a ruler ensures straight lines and a compass marks radial guides.
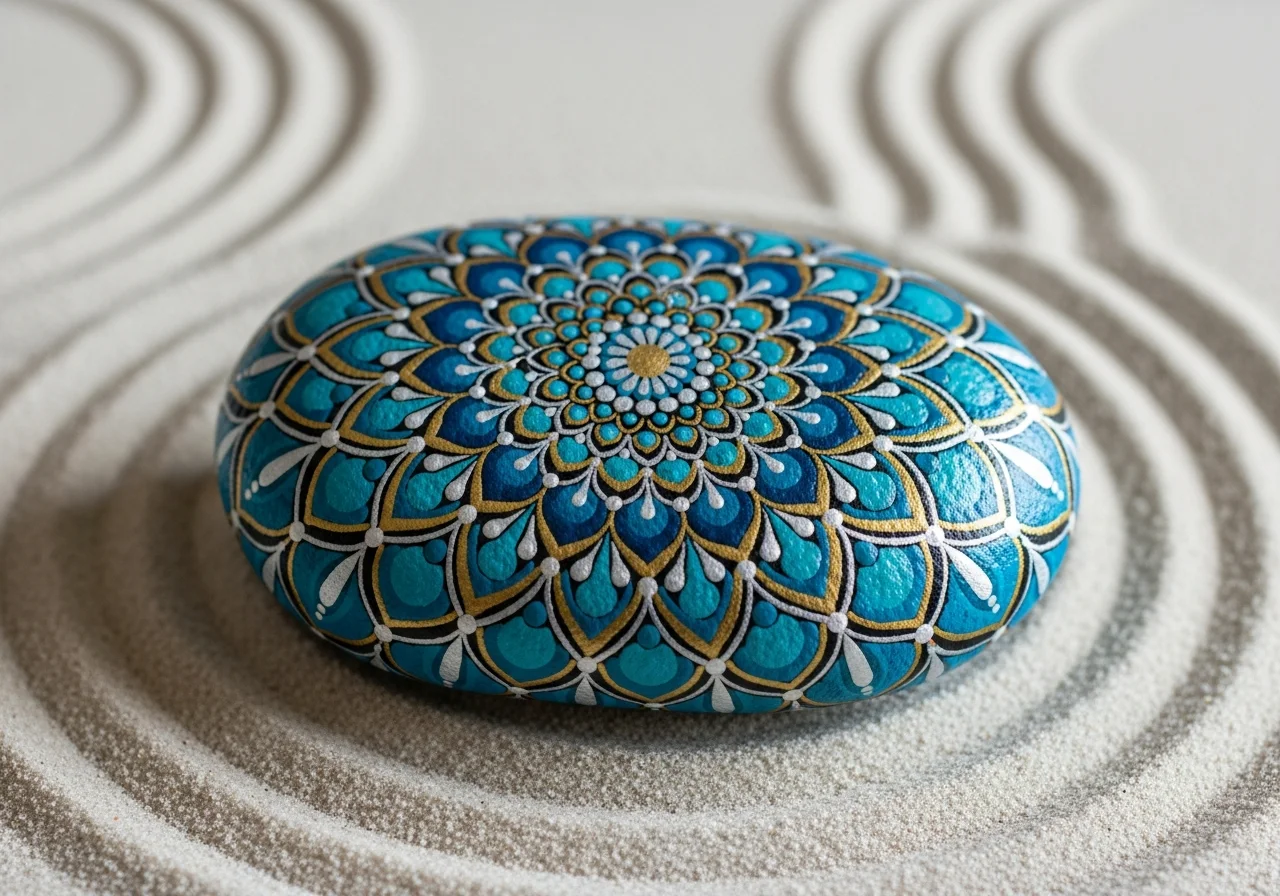
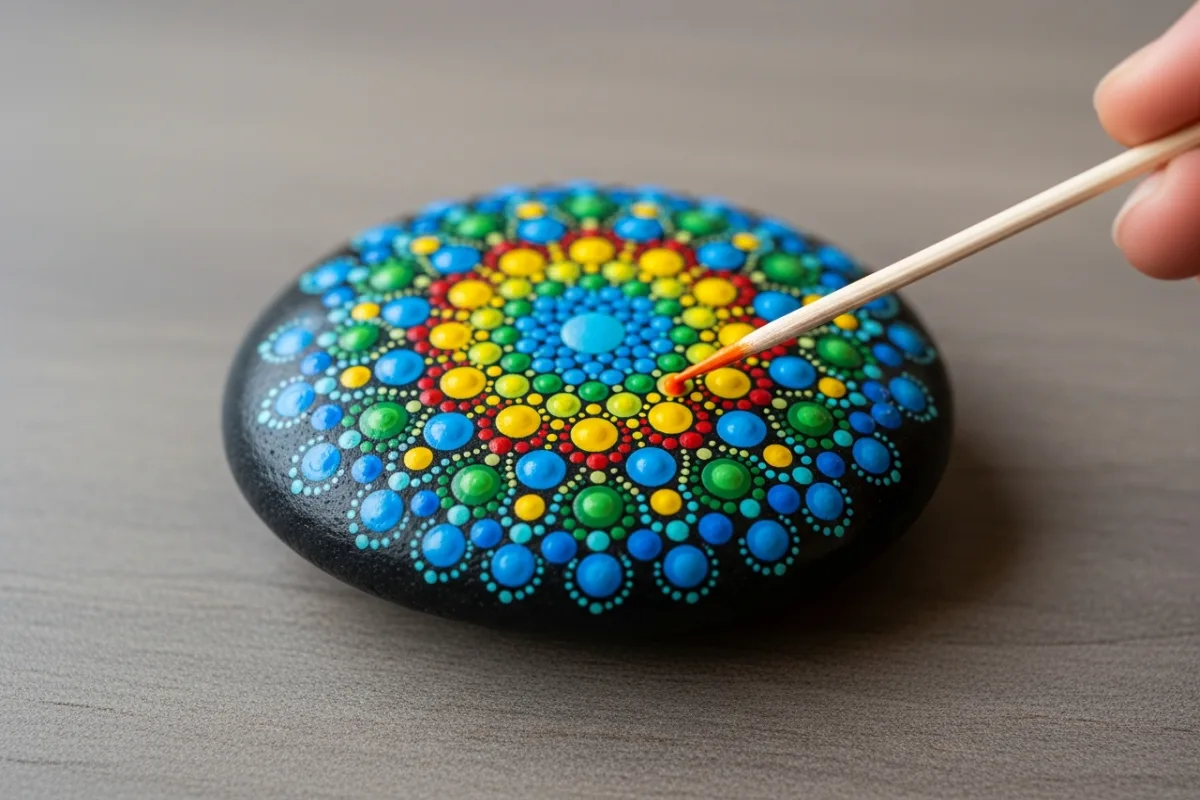
Pattern 1: Mandala Dotting (Beginner–Intermediate)
Mandala dotting is perhaps the most popular rock painting pattern worldwide. It involves placing dots in radial, symmetrical arrangements that build outward from a central point.
- Prime the rock black. Allow to dry fully.
- Mark the centre point lightly with a white pencil.
- Using your largest dotting tool, place 1 large centre dot.
- Around this, place 6–8 equally spaced dots of the same size in a small circle. Use a ruler to visualise the spacing.
- Switch to a smaller tool. In the gaps between the first ring of dots, add the second ring — slightly further out and with smaller dots.
- Continue adding rings, alternating between positioned dots (aligned with previous dots) and gap-filler dots.
- Vary colour with each ring: work outward from white to cream to gold to orange to deep red, or choose your own gradient.
- Fill the outer edge with the finest dots your smallest tool can make.
The meditative aspect of mandala dotting is explored more deeply in our mindfulness rock painting guide.
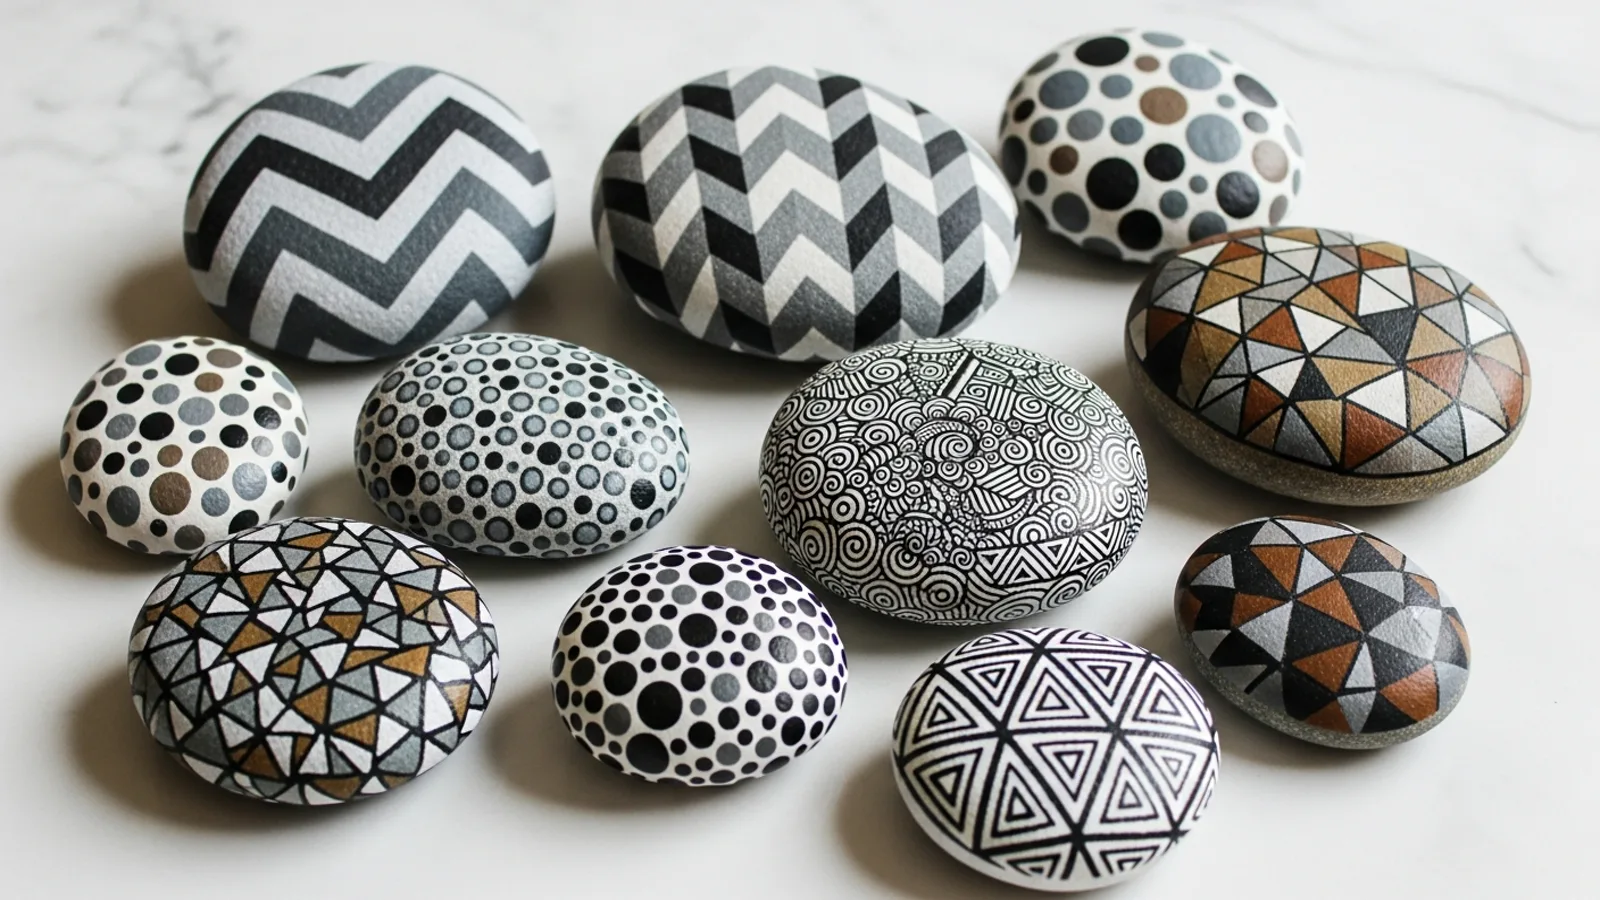
Pattern 2: Geometric Designs (Beginner–Advanced)
Geometric rock painting uses straight lines, triangles, and repeating shapes. The key is precision:
- Prime the rock. Use a pencil and ruler to lightly mark the rock into sections — quarters, thirds, or hexagonal grids.
- Choose 2–4 colours with strong contrast (black + white + gold, or navy + teal + cream).
- Fill alternate sections with flat colour. Allow to dry.
- Add secondary patterns within each section: chevrons, stripes, crosshatch.
- Outline each section boundary with fine black liner for crisp definition.
- Add accent dots at intersections for detail.
Simple versions: a triangle arrangement in 3 colours. Advanced versions: a full geodesic pattern or Islamic geometric tile pattern.
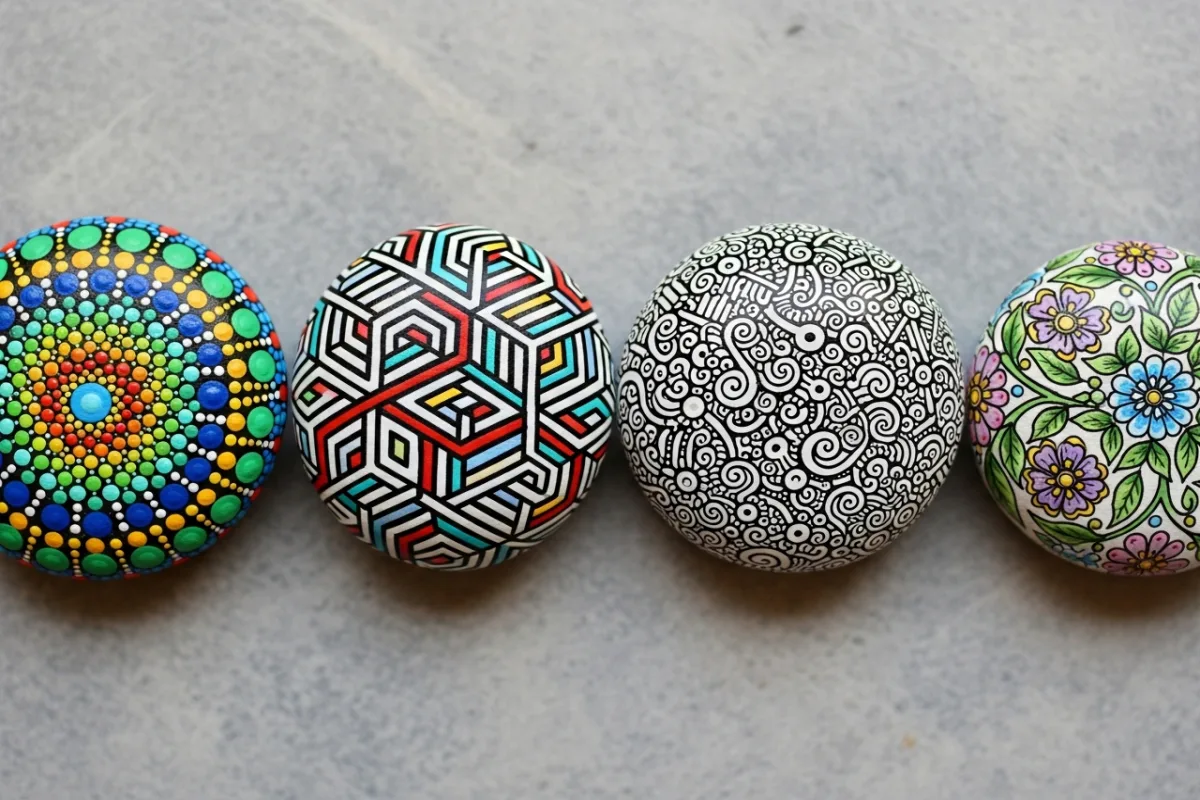
Pattern 3: Zentangle-Inspired (Beginner–Intermediate)
Zentangle is a drawing method using repetitive, structured patterns to fill sections of a composition. On rocks:
- Prime the rock white or cream.
- Using a black fine liner brush, draw 3–5 curved sections across the rock — like puzzle pieces fitting together.
- Fill each section with a different repetitive pattern: parallel wavy lines, scales (overlapping U-shapes), spirals, crosshatch, stippling (tiny dots), or brick-like rectangles.
- Work slowly and deliberately within each section. The repetitive mark-making is the meditative core of the method.
- Add shading with grey liner around the section boundaries to create depth.
- Optional: add a spot of colour with watercolour pencil to one or two sections.
Pattern 4: Floral and Botanical (Intermediate)
Floral patterns are endlessly variable — from simple 5-petal flowers to complex rose studies:
- Prime the rock with a background colour: dark forest green, deep navy, or soft sage.
- Sketch flower placement lightly in pencil. Decide where the main flowers will be.
- Paint the main flower petals in your chosen colour. Allow to dry.
- Add darker shading to the base of each petal and lighter highlight to the tip for dimension.
- Add centres (stamens) with dots in contrasting colours.
- Fill the background with leaves, stems, and smaller accent flowers.
- Use a fine liner for any outline details.
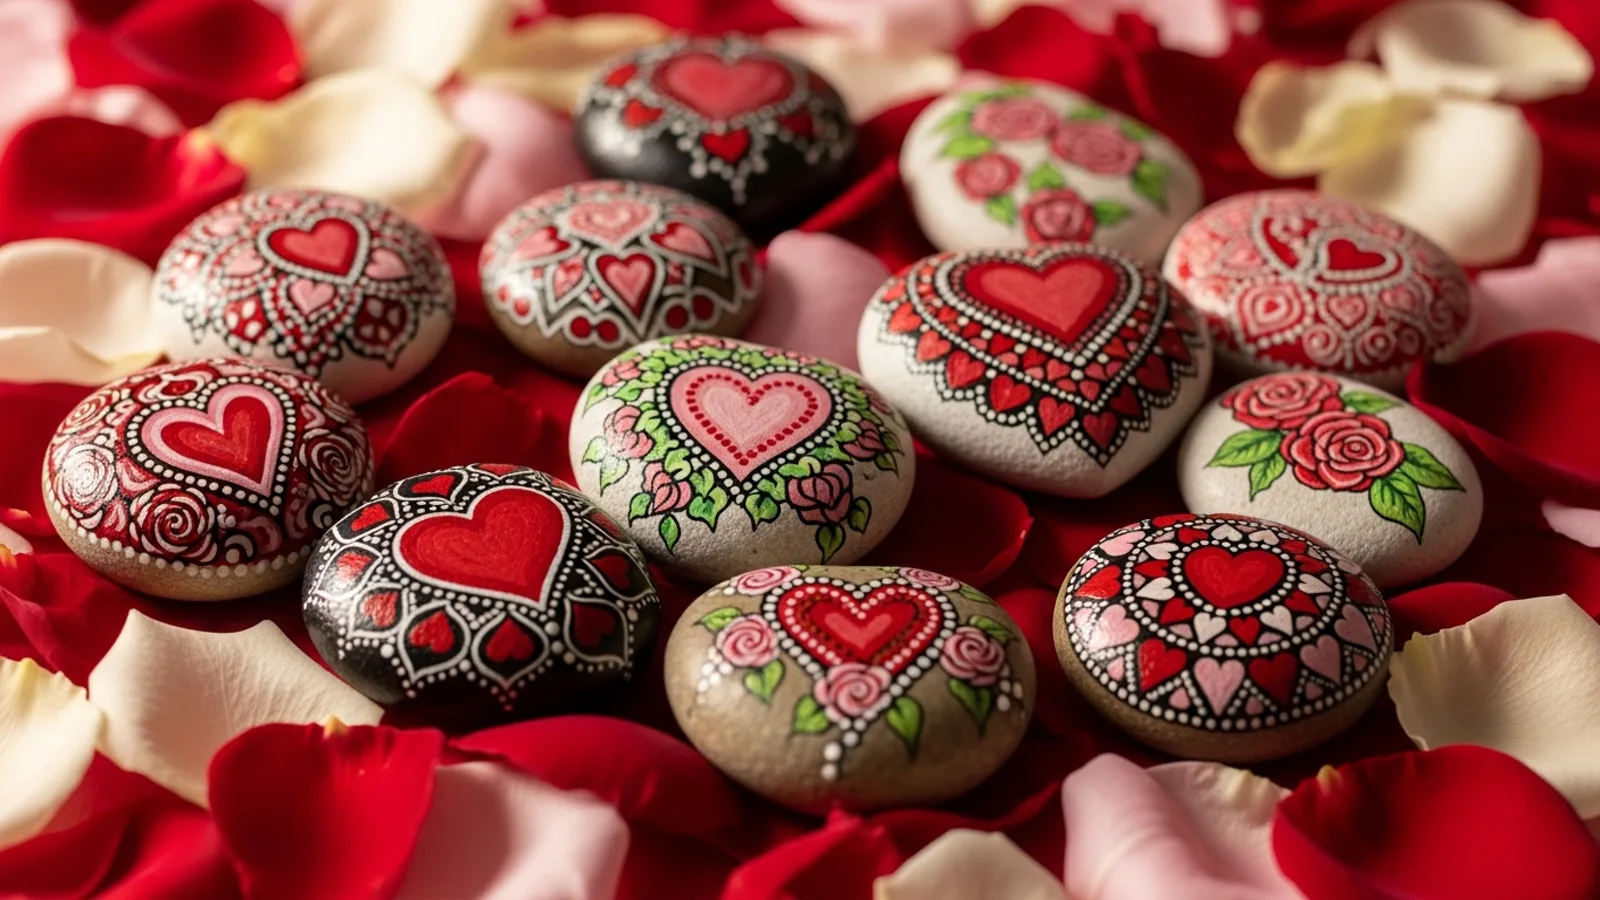
For inspiration on seasonal floral themes, see our Mother's Day rock ideas and Valentine's designs.
Frequently Asked Questions
How do I keep my mandala dots evenly spaced?
Mark guide circles in pencil around the centre point before you start dotting. A compass set to different radii makes perfectly circular guide marks. Remove any visible pencil marks after completion with a fine brush or by adding an extra dot over them. Practice the spacing on paper first until your eye is calibrated.
What is the best way to fix a mistake in a pattern?
Act quickly — acrylic paint is water-soluble when wet. Use a damp brush to lift a misplaced dot immediately. If dry, paint over with the background colour and re-do the section. With dark backgrounds, a dot of the background colour precisely covers small errors. Never try to scrape dried acrylic off a stone — it usually damages the surrounding paint.
How long does a detailed mandala rock take to paint?
A simple mandala with 5–6 rings typically takes 1–1.5 hours including drying time between rings. A complex, multi-coloured mandala with 10+ rings can take 3–4 hours. Include drying time in your planning — attempting to add a new ring before the previous one is dry smudges the dots.