Back to Templates
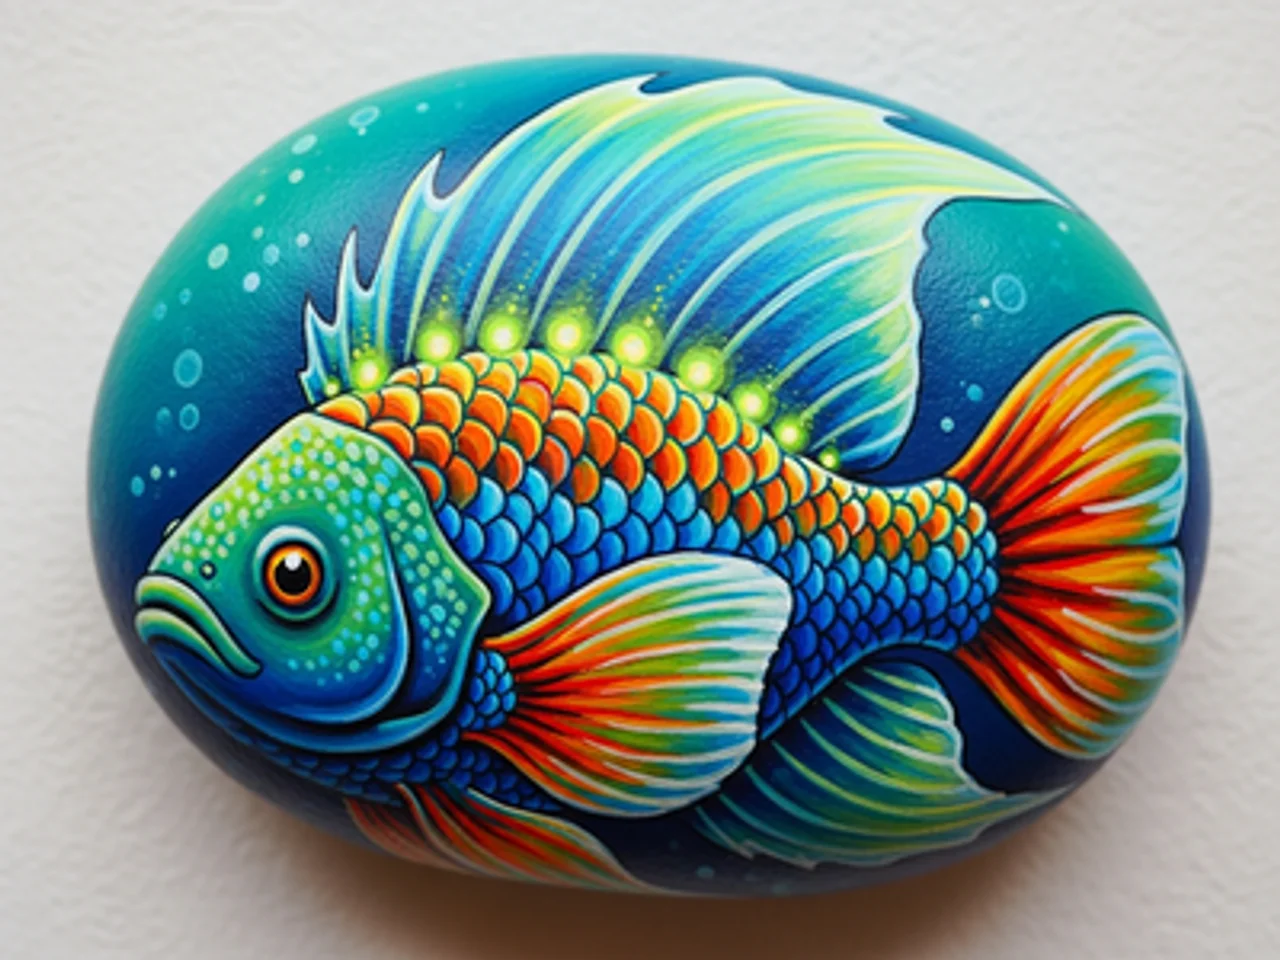
Deep Sea Fish Rock Painting
Materials Needed
- Oval or elongated rock
- Very dark navy or black acrylic paint (for deep water)
- Deep teal acrylic paint
- Bioluminescent blue or cyan acrylic paint
- Bright electric blue acrylic paint
- White acrylic paint
- Fluorescent or neon green acrylic paint (for bioluminescent markings)
- Fine detail brush
- Medium flat brush
- Glow-in-the-dark acrylic medium (optional)
- Clear gloss sealant spray
- Pencil
Step-by-Step Instructions
1
Step 1: Paint the pitch-dark abyss
Wash and dry your rock. Paint the entire surface with near-black. While still wet, blend in deep navy blue in the upper areas to suggest the water column — darker at the bottom (deepest water) and slightly less dark higher up. The abyssal zone has no sunlight at all. Add a few scattered pinpoints of light for bioluminescent particles in the water column.
2
Step 2: Sketch and paint the angler fish body
Sketch an anglerfish (deep sea fish) body — a wide, rounded head taking up most of the body, with a tapering tail. The anglerfish is the most recognizable deep sea creature. Paint the body in deep teal or dark gray-blue. Add a large, gaping mouth with massive jagged teeth in white — the teeth are a hallmark feature.
3
Step 3: Paint the bioluminescent lure
On the top of the anglerfish's head, paint a long spine (illicium) extending forward and curving down in front of the mouth. At the tip, paint a small glowing bulb in bright cyan or neon blue-green with a white core. This is the esca — the bioluminescent lure the anglerfish uses to attract prey in the darkness.
4
Step 4: Add bioluminescent body markings
Using neon green or bright cyan paint and a fine brush, add a series of glowing spots and curving line patterns along the body and fins of the anglerfish. These bioluminescent patterns suggest the photophores (light-producing organs) that many deep sea creatures use for communication and camouflage.
5
Step 5: Add the glowing eye and seal
Paint a large, haunting deep-sea eye on the side of the anglerfish head — a wide greenish iris surrounding a large black pupil with a tiny white highlight. Add a glow halo around the entire fish using very diluted cyan paint. Apply gloss sealant. The wet, shiny finish makes the fish look submerged in water.
Step 6: Add RoxGeo Code
On the bottom or back of your rock, write ROXGEO.COM followed by a slash and your rock’s unique code (e.g. ROXGEO.COM/ABC123). This lets the finder go directly to your rock’s profile page and log their discovery. If the rock is too small for the full address, write #ROX followed by the code without spaces (e.g. #ROXABC123) — it’s short, easy to search on Google, and leads straight to your rock’s journey page. Use a fine-tip permanent marker or acrylic paint pen, and seal it with clear varnish so the code stays readable through rain, sun, and adventure.
Helpful Tips
- Research anglerfish photos — the oversized teeth and glowing lure are the key features to emphasize.
- Neon or fluorescent paints for the bioluminescent markings create a striking glow effect against the black background.
- Gloss sealant is essential — it makes the dark water background look wet and deep.
- The pitch-black background is what makes the bioluminescent markings dramatic.
- Try adding glow-in-the-dark medium to the bioluminescent markings for a fun glowing effect in the dark.
- For the RoxGeo code on the bottom, use a waterproof permanent marker (like Sharpie) or an acrylic paint pen. Apply 2–3 coats of clear sealant over the code — this keeps it readable through rain, sun, and handling for months.
- Writing #ROXCODE (e.g. #ROXABC123) on your rock makes it easy to find via Google search. We actively optimize for this hashtag, so anyone who searches for it will find your rock’s profile page quickly.
- The full address ROXGEO.COM/CODE takes the finder directly to your rock’s card, where they can see its full travel history, previous finders, and photos from every stop on its journey.
Paint this rock and track its journey with RoxGeo!
Download RoxGeo Free