Ready to send your first painted rock on a tracked adventure? Setting up your first tracked rock with RoxGeo is simple and exciting. This complete guide walks you through every step - from painting your rock to watching it appear on the global journey map.
Step 1: Paint Your Rock
Choose a smooth, clean stone and paint a design that will catch someone's eye. Use acrylic paints for bright, durable colours. If this is your first rock, keep the design simple - animals, hearts, and simple patterns all work beautifully. Visit our painting ideas page for inspiration.
Step 2: Let It Dry Completely
Allow your painted rock to dry thoroughly - at least 2–4 hours, or overnight for thicker paint layers. Rushing this step can cause smudging when you apply the code and sealant.
Step 3: Open the RoxGeo App
Download the RoxGeo app if you have not already. Create a free account and navigate to the "Create Rock" section. The app will generate a unique tracking code for your rock.
Step 4: Write the Code on Your Rock
Using a fine-tip permanent marker or an acrylic paint pen, write the following on the back (unpainted side) of your rock:
- The 6-character code (e.g., ABC123) in large, clear letters.
- ROXGEO.COM below the code so finders know where to check in.
Use contrasting colours - dark text on a light surface or vice versa. Make the text as large as the rock allows while remaining neat.
Step 5: Seal Your Rock
Apply 2–3 thin coats of clear, outdoor-rated sealant over the entire rock - including the code on the back. This protects both your artwork and the tracking code from rain, sun, and handling. Let each coat dry before applying the next.

Step 6: Take a Photo
In the RoxGeo app, upload a photo of your finished rock. This becomes the rock's profile picture that finders will see when they check it in. Take the photo in good light, showing the full design clearly.
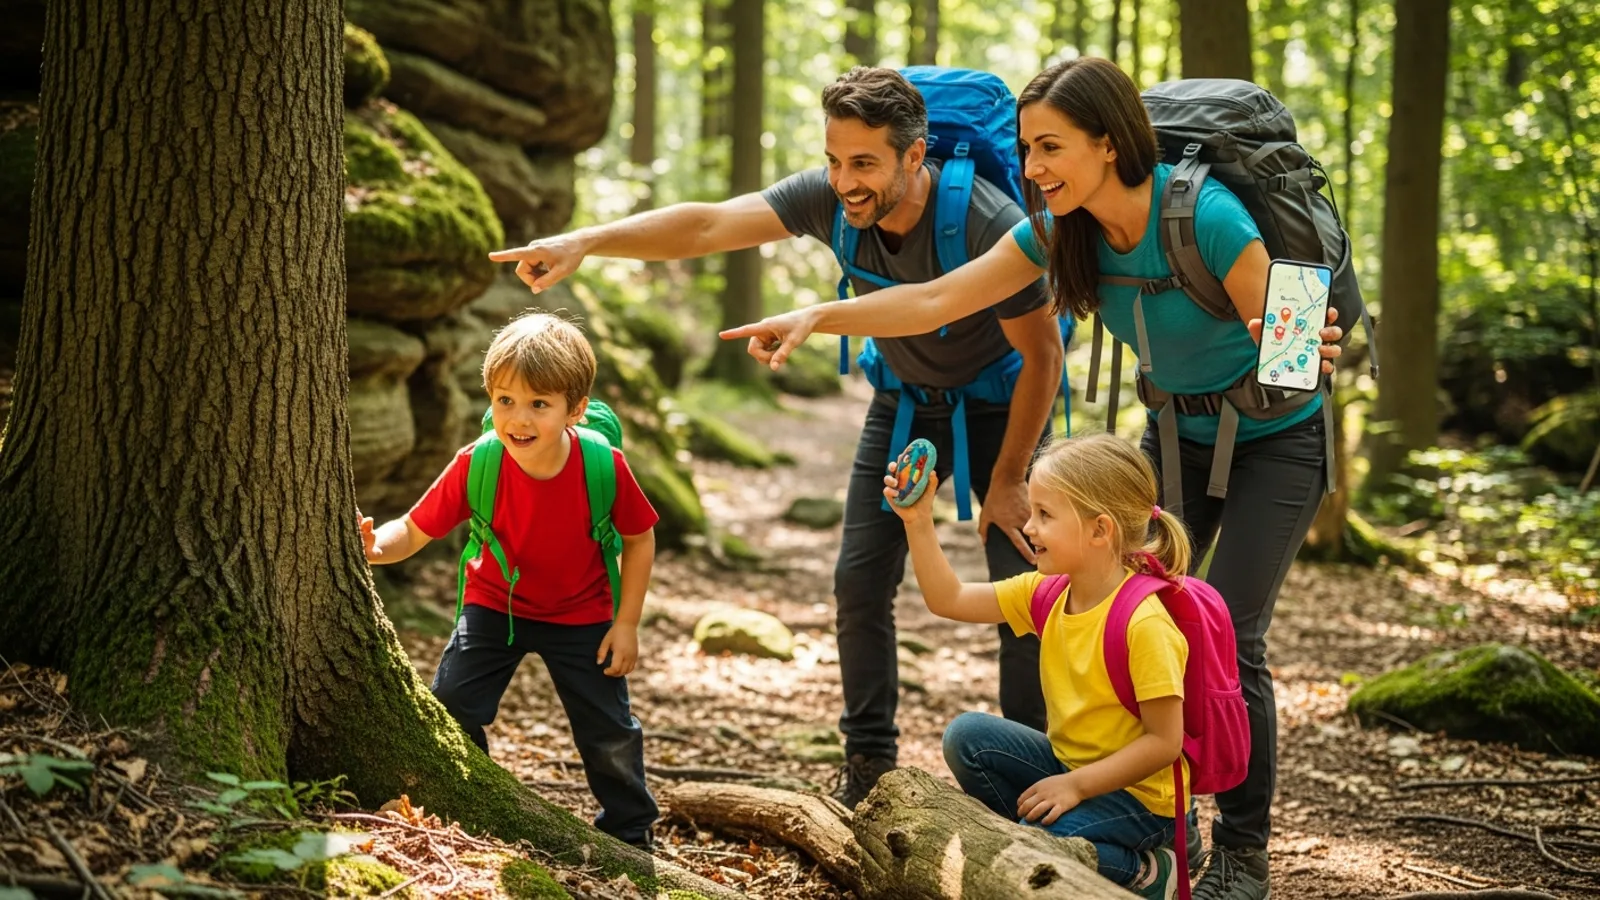
Step 7: Choose Your Hiding Spot
Select a location where your rock will be noticed and appreciated. Great spots include:
- Park benches and playground edges.
- Walking trail entrances and rest areas.
- Community garden fences and library steps.
- Near popular landmarks or public art installations.
Make sure your hiding spot follows the community rules - never hide rocks on private property, in environmentally sensitive areas, or where they could be a hazard.
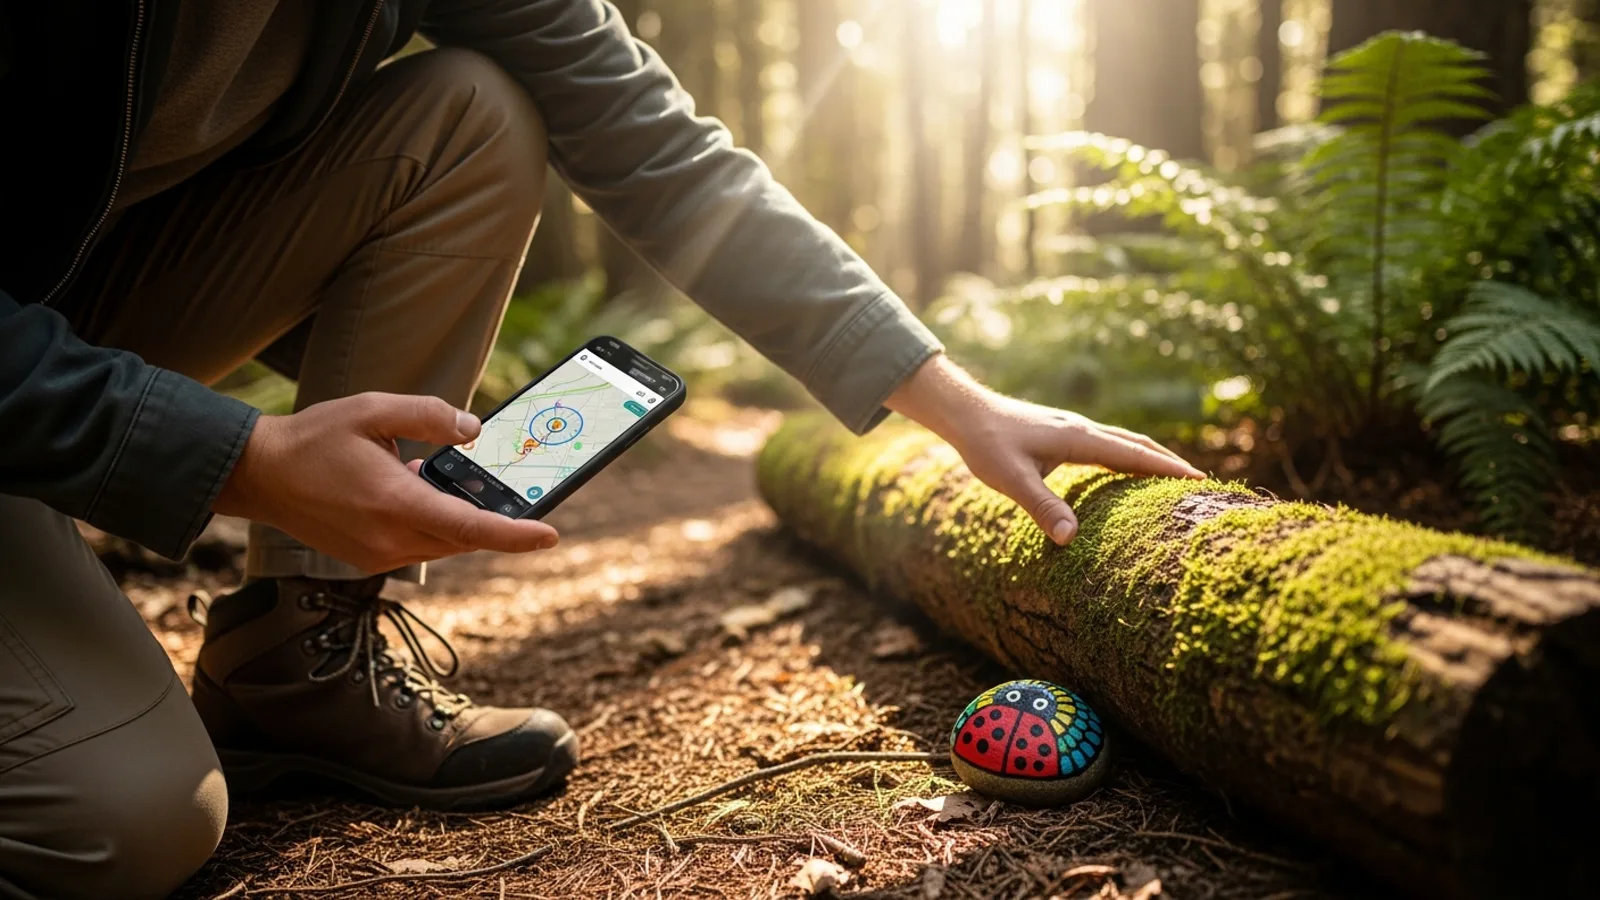
Step 8: Log the Hide
In the RoxGeo app, log your hide with GPS location. This sets the starting point for your rock's journey map. You can add a description of the hiding spot to make it fun for finders.
Step 9: Wait and Watch
Now comes the exciting part - waiting for someone to find your rock! You will receive a push notification the moment someone enters your rock's code. Open the app to see:
- Where your rock was found (city/area level).
- The finder's username and their emoji reaction.
- Your rock's updated journey map with the new pin.
- The total distance your rock has traveled.
Tips for Your First Rock
- Start with a rock you are proud of but not too precious - your first rock is about learning the process.
- Hide it in a moderately busy area where someone is likely to find it within a few days.
- Share a photo of your hidden rock with friends to spread awareness of the RoxGeo community.
- Once your first rock is found, the excitement of tracking will inspire you to create and hide many more!
Your first tracked rock is the beginning of an amazing creative journey. Every rock you create and hide has the potential to travel the world and bring smiles to strangers. Start today with RoxGeo!