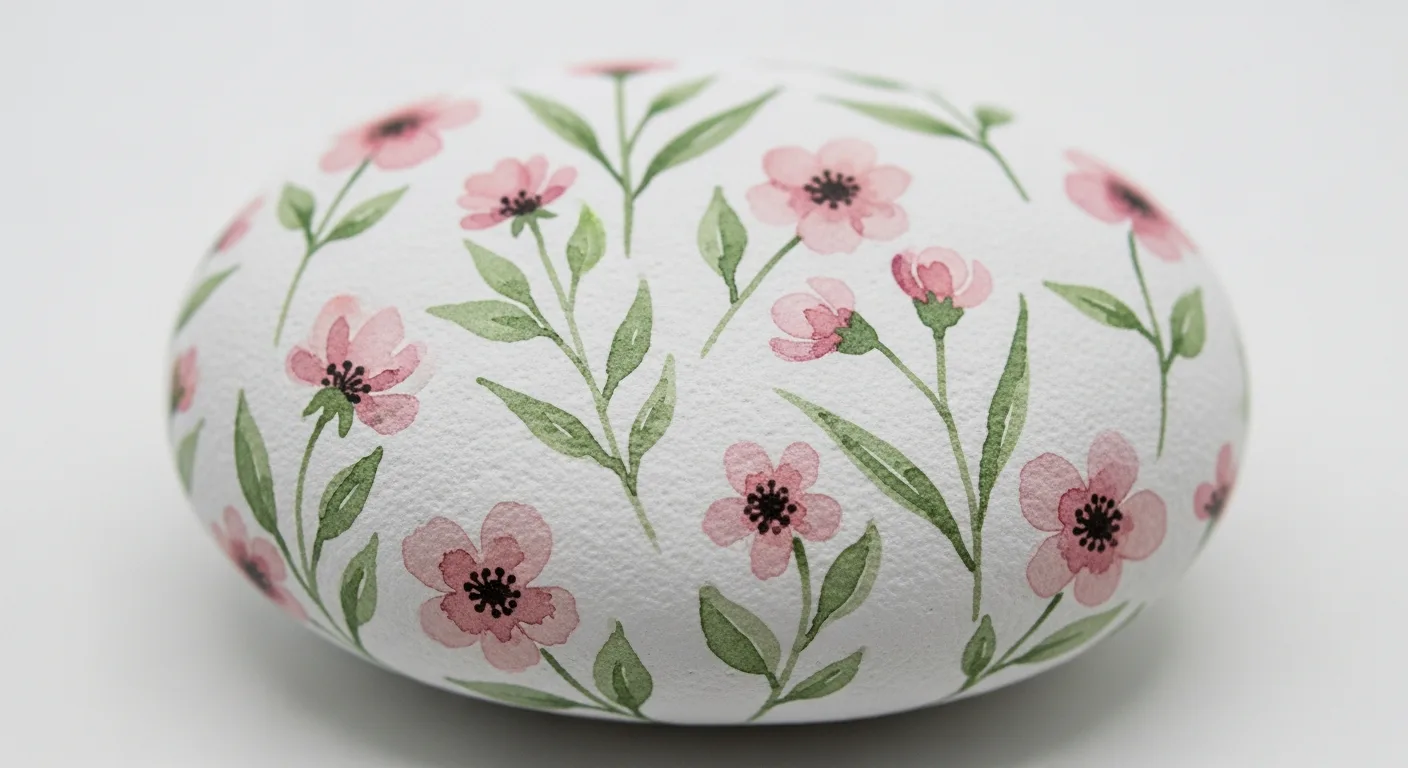
Watercolour effect rock painting creates some of the most delicate and sophisticated-looking stone art, despite being achievable by painters of any level. By diluting acrylic paints with water to create translucent washes, you replicate the soft, luminous quality of true watercolour on the cool, hard surface of a stone - with the added advantage of durability that watercolour on paper can never match.
Understanding the Technique
The watercolour effect relies on three principles: dilution, layering, and allowing the white surface to show through. Unlike opaque painting where colours fully cover the surface, watercolour-style painting uses transparent washes that build gradually, with each layer adding depth and complexity while allowing light to reflect through the paint from the white base coat beneath.
Start with a pure white acrylic base coat - not off-white or ivory, but brilliant white - applied smoothly and allowed to dry completely. This base acts as the paper would in traditional watercolour, reflecting light through the translucent paint layers above it.
Mixing Your Washes
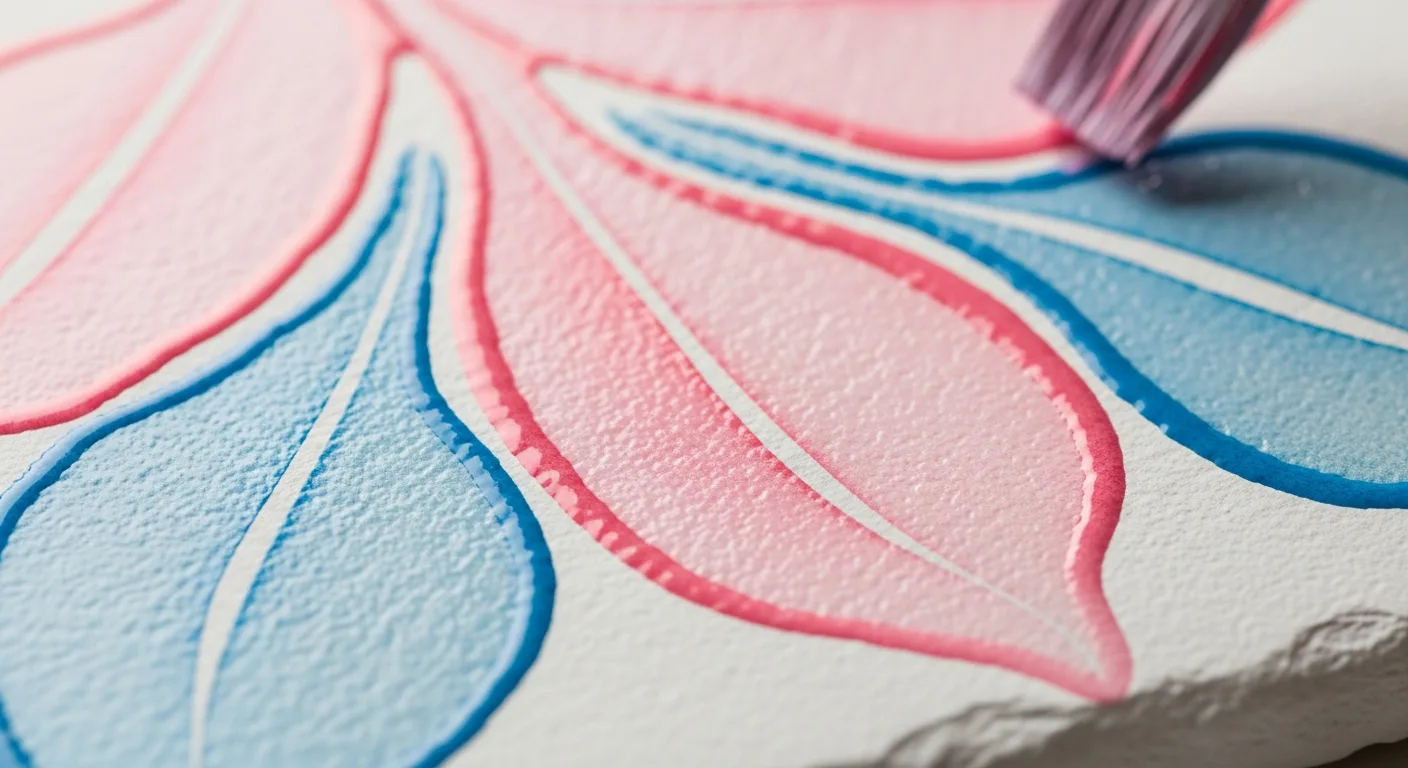
Mix each colour on your palette by adding water gradually - aim for a consistency similar to cold tea. Test on a piece of white paper before applying to stone. The wash should flow easily from the brush and be semi-transparent when dry. You can always add more layers to deepen a colour, but you cannot remove a wash that is too dark, so start lighter than you think you need.
Botanical Designs
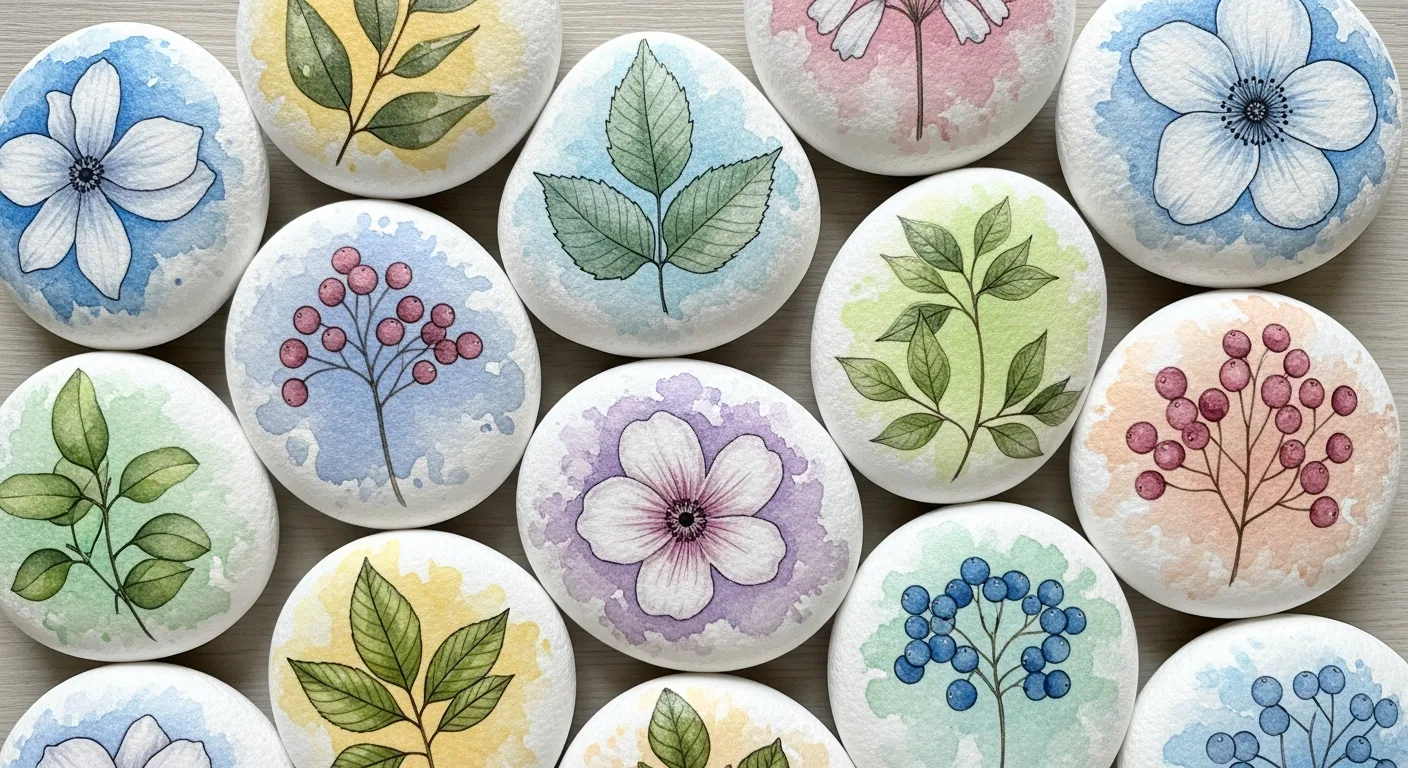
Botanical subjects - flowers, leaves, berries, branches - are the most natural fit for watercolour-effect rock painting. The soft edges and gentle colour variations of watercolour mimic the natural translucence of petals and leaves beautifully. Begin by sketching your design lightly in pencil, then paint the largest shapes first using your palest washes. Build detail and depth by adding progressively stronger washes in shadow areas and petal centres.
Popular botanical subjects for watercolour rocks include: cherry blossom branches, wild poppies, lavender sprigs, eucalyptus leaves, fern fronds, and simple daisy chains. These designs also make beautiful gift rocks.
Gradient and Background Washes
Watercolour-effect rocks can have beautiful gradient backgrounds that shift from one hue to another across the stone's surface - from pale yellow to soft pink, or from sky blue to lavender. Apply the first wash colour and while still wet, brush a second colour at the opposite end of the stone and allow them to merge naturally in the centre. Work quickly and do not over-brush the wet area, as this muddies the colours.
Layering for Depth
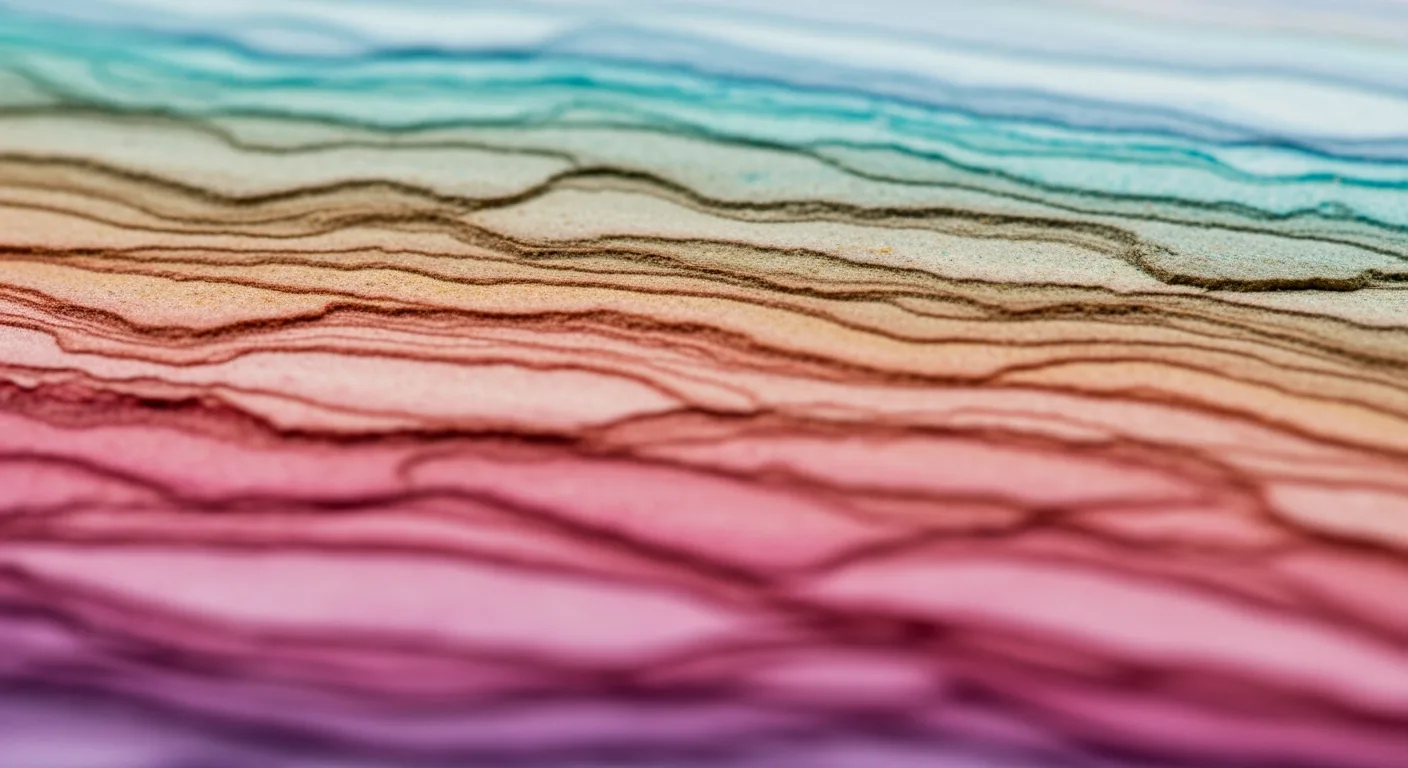
The most sophisticated watercolour rock paintings use multiple layers of washes to achieve luminous depth. Allow each layer to dry fully before adding the next - even a slight dampness in the previous layer causes the new wash to lift and muddy the colours. Three to five wash layers over a white base creates the richest, most complex results.
Register your finished watercolour-effect rocks on RoxGeo - their delicate beauty makes them memorable finds. For more painting inspiration, see our brush techniques guide.
Frequently Asked Questions
Can I use real watercolour paints instead of diluted acrylic?
Watercolour paints do not adhere reliably to stone surfaces and will lift when sealed. Use acrylic paints diluted with water - they dry with a permanent bond to the stone while replicating the translucent quality of true watercolour.
How do I prevent the washes from looking muddy?
Allow each wash layer to dry completely before adding the next. Clean your brush thoroughly between colours. Use a limited palette of 3–4 harmonious colours - the more colours you mix, the greater the risk of muddy, grey results.
What brush types work best for watercolour effects on stone?
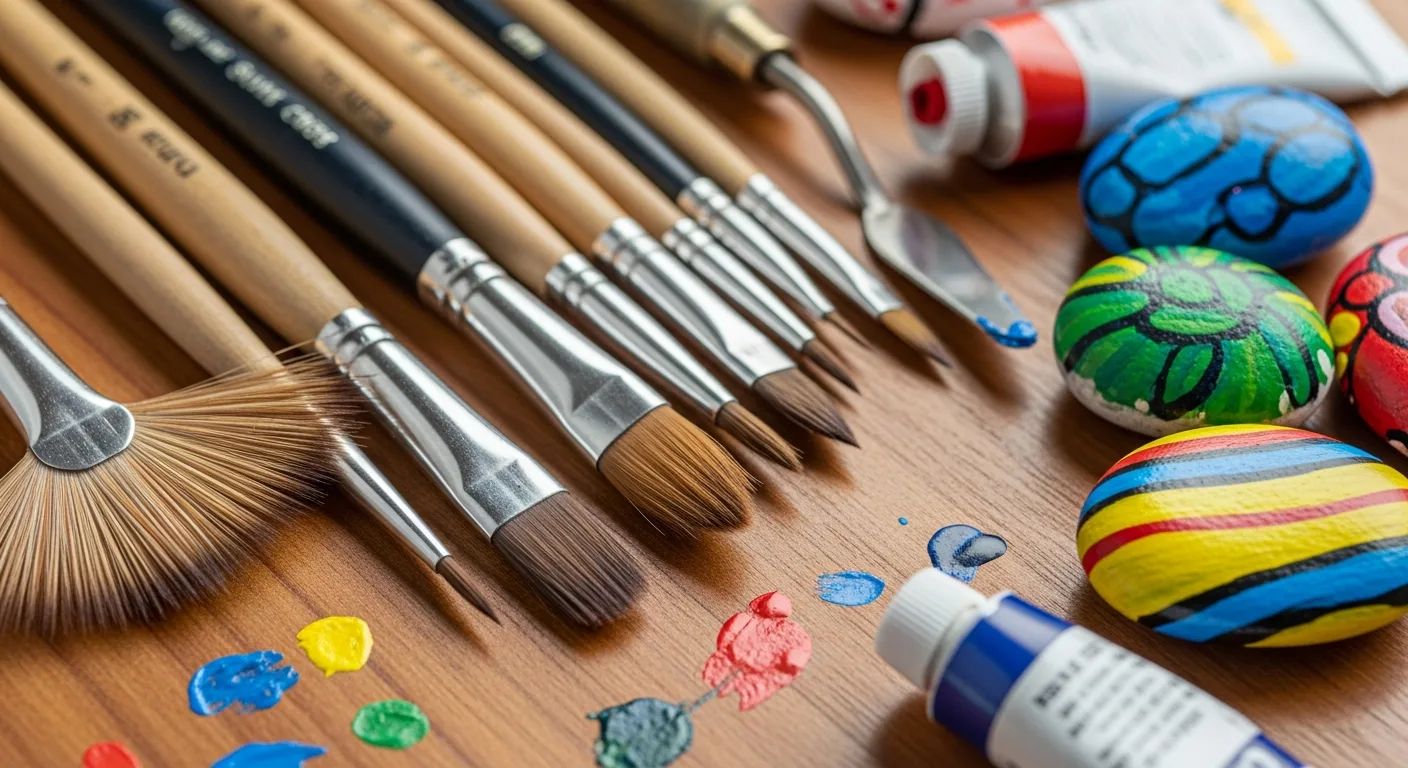
Soft, round brushes (watercolour rounds or synthetic watercolour brushes) are ideal - they hold water well and release it smoothly. Avoid stiff bristle brushes, which create harsh marks incompatible with the soft watercolour aesthetic.