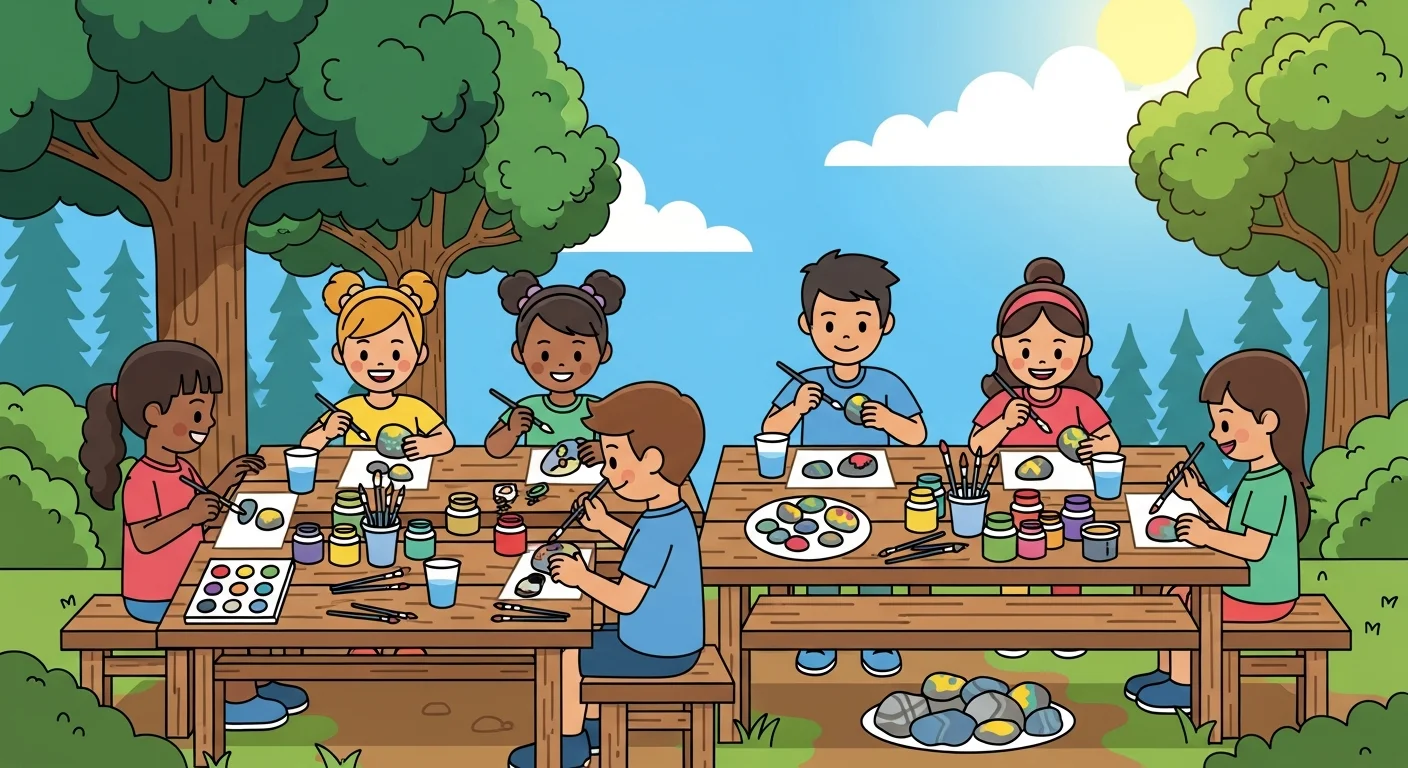
Running a rock painting summer camp gives children a creative, outdoor-focused activity that combines art, science, and community building. This 4-week curriculum provides camp leaders with a complete programme — from supply lists and daily lesson plans to a culminating rock-hiding celebration tracked with RoxGeo.
Each week builds on the previous one, progressing from basics to advanced techniques, and ending with a community event that connects campers to the global rock painting movement.
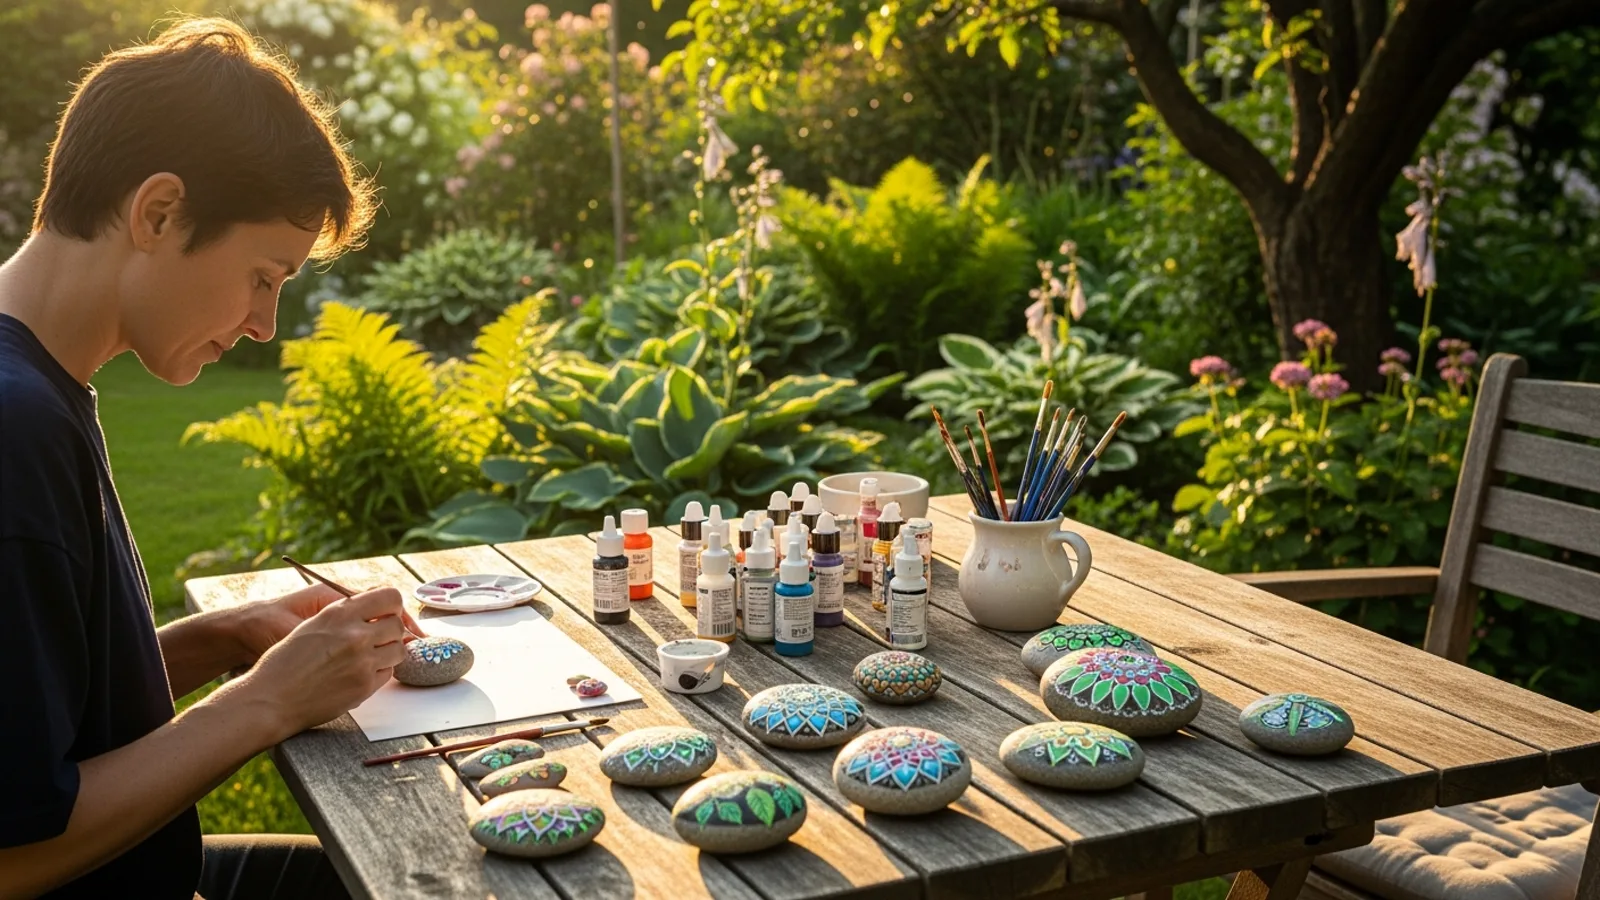
Week 1: Rock Painting Basics
Day 1 — Introduction to rock painting
Show examples of painted rocks from around the world. Discuss the history and culture of rock art — from ancient cave paintings to the modern painted rock movement. Let campers choose their first stones from a collection of pre-washed river rocks.
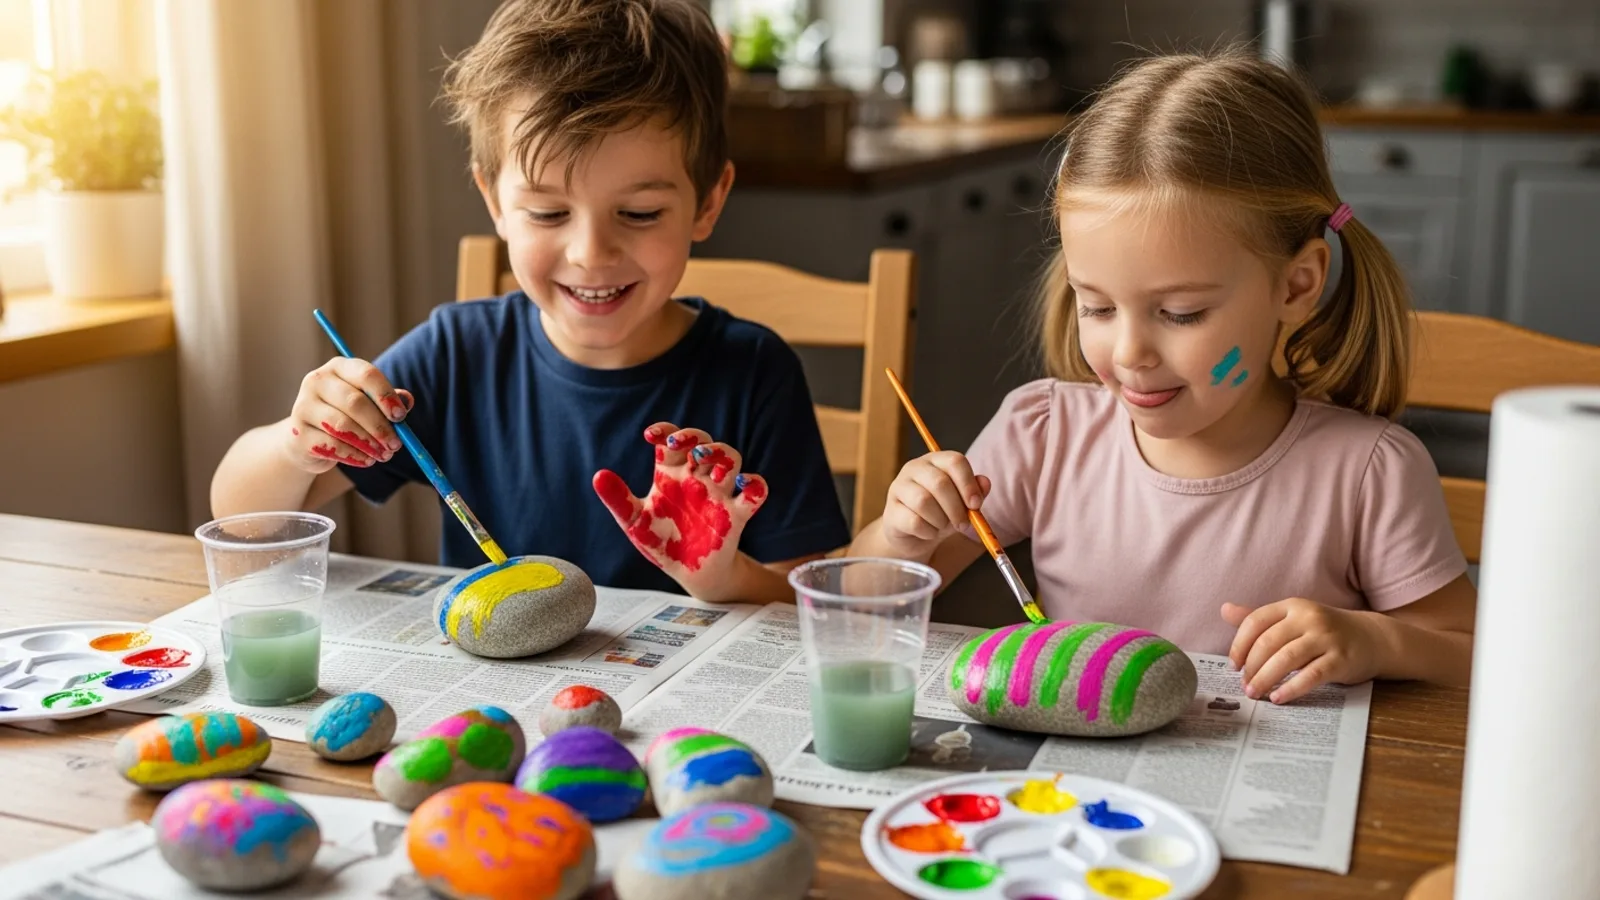
Day 2 — Colour theory and base coats
Teach primary, secondary, and tertiary colours. Let campers experiment with colour mixing using a limited palette. Apply solid base coats to multiple rocks for use throughout the week.
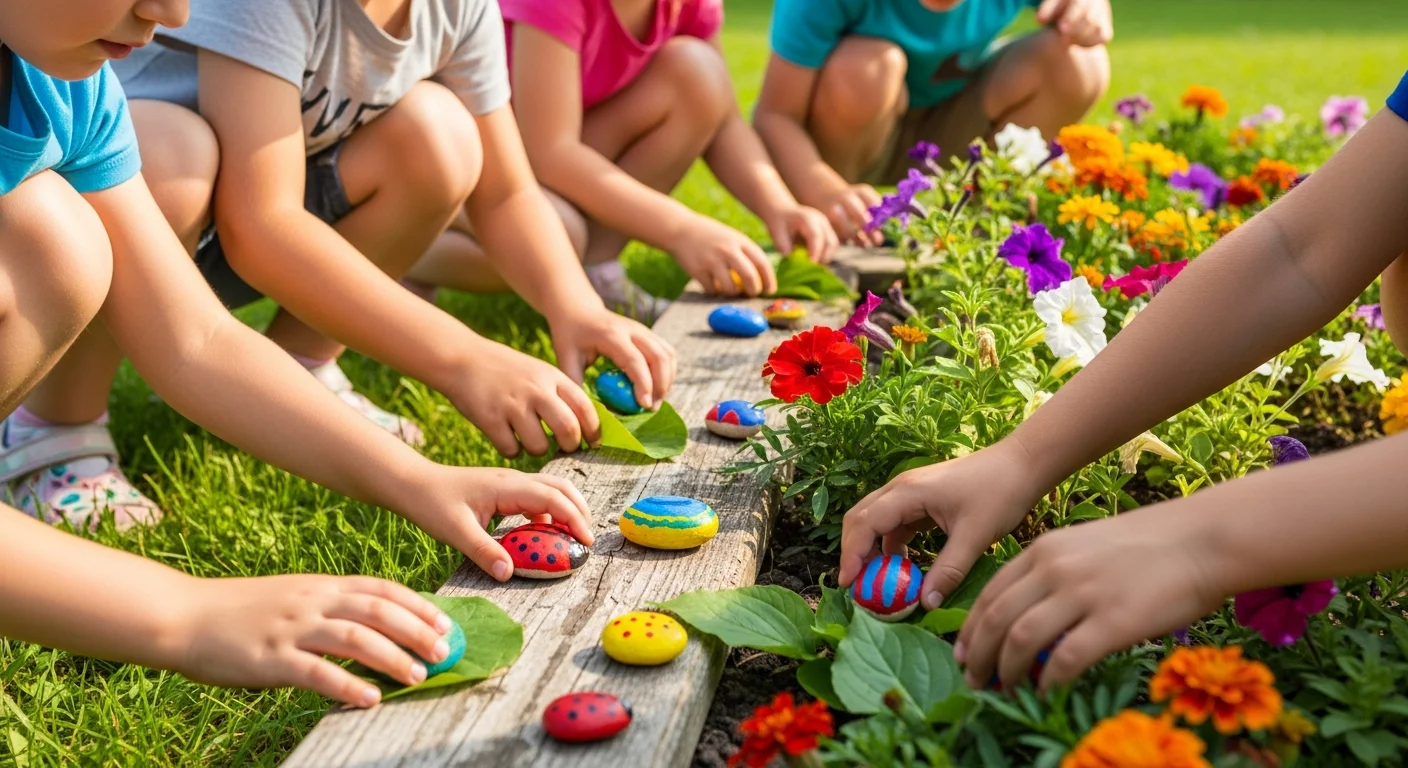
Day 3 — Simple designs
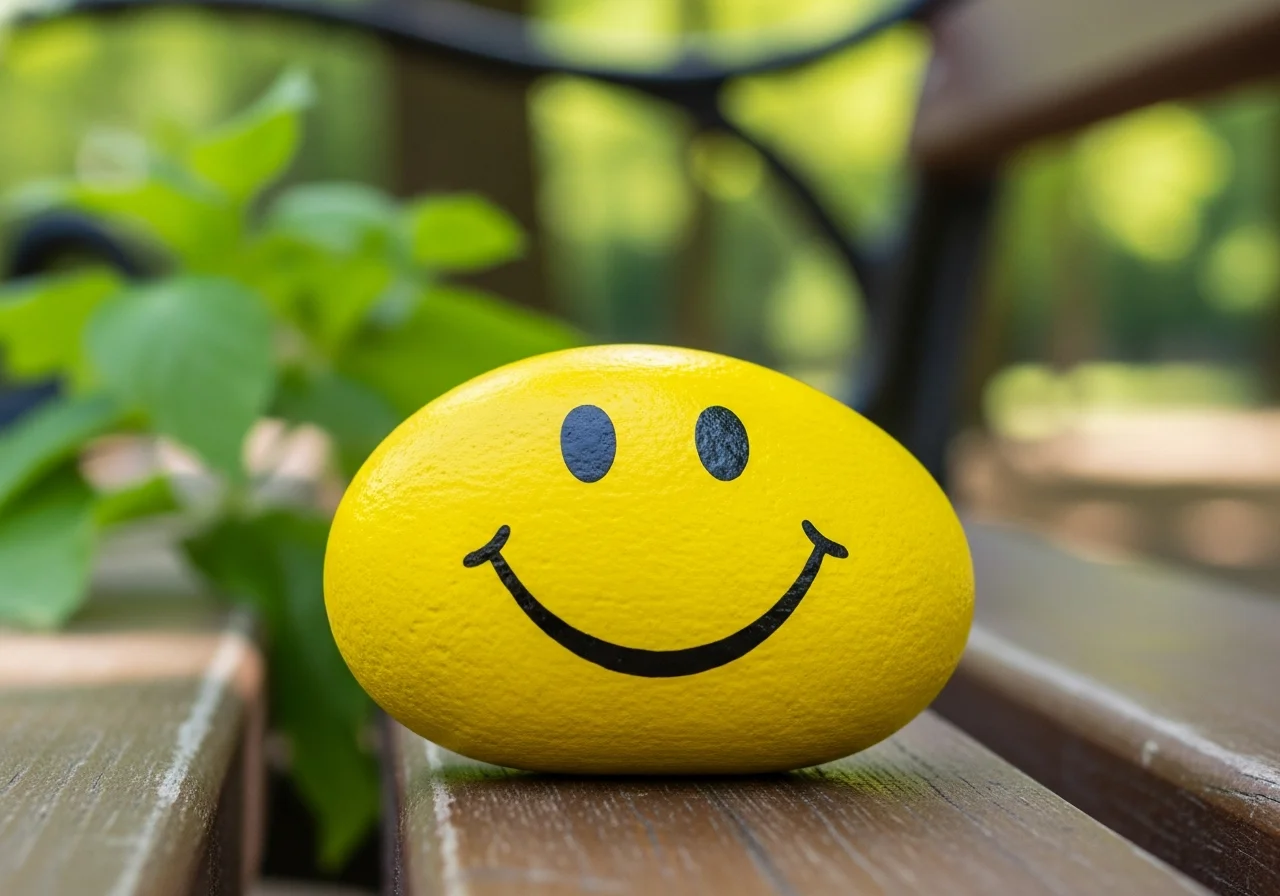
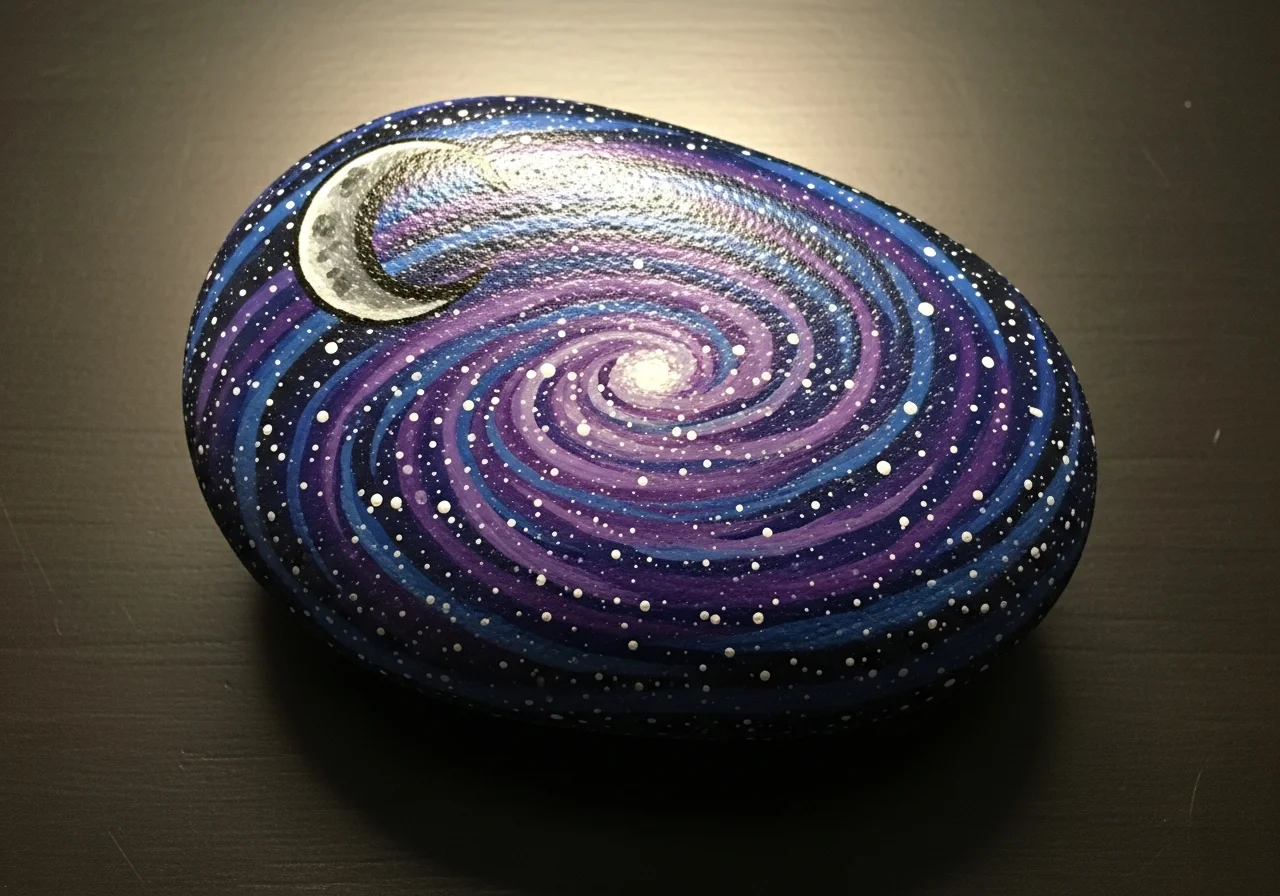
Guide campers through 3 beginner designs: dots and stripes, smiley faces, and single-colour silhouettes. Emphasise that every design is valid regardless of skill level.
Day 4 — Lettering and codes
Practice writing letters and numbers on rock surfaces. Introduce RoxGeo and explain how tracking codes work. Let campers practice writing codes neatly with paint pens. Read more about QR codes vs written codes.
Day 5 — Gallery walk and show-and-tell
Display all rocks painted during the week. Each camper presents their favourite creation and explains their design choices. Vote on categories like "Most Colourful" and "Most Creative."
Week 2: Nature and Science Themes
Day 1 — Rock geology basics
Examine different rock types with magnifying glasses. Sort into igneous, sedimentary, and metamorphic categories. Paint a rock from each type.
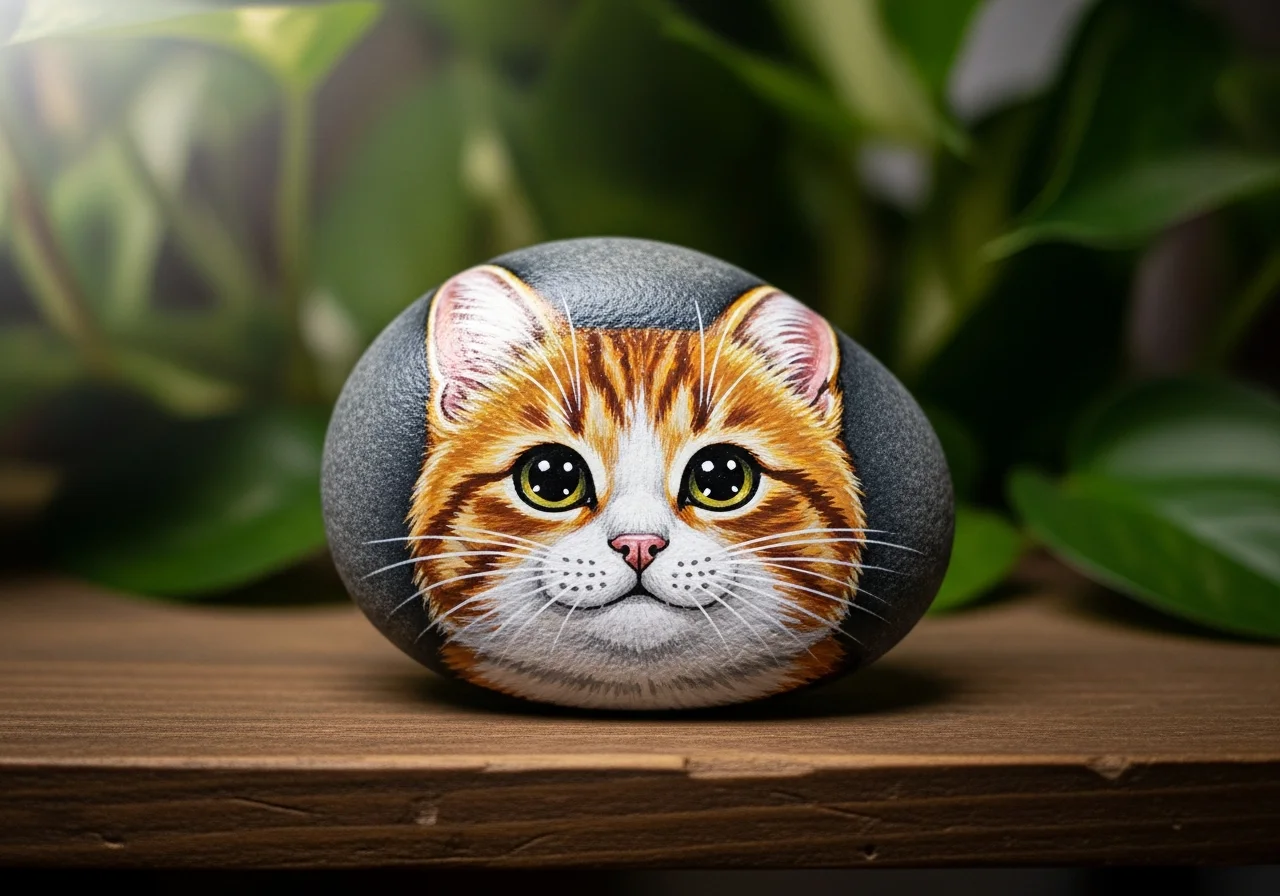
Day 2 — Animal rock designs
Paint local wildlife: birds, insects, frogs, or woodland creatures. Discuss the animals' habitats and why they matter to the local ecosystem. Read our animal rock painting ideas for inspiration.
Day 3 — Plant and flower designs
Paint local wildflowers and leaves. Take a nature walk to sketch real plants before painting. This combines observation skills with artistic expression.
Day 4 — Weather and seasons
Create a set of four rocks representing each season. Discuss how weather affects outdoor rock paintings and why sealing is important.
Day 5 — Science experiment day
Run 2–3 experiments from our rock painting science activities. Test paint durability, absorption rates, and colour mixing predictions.
Week 3: Advanced Techniques and Community
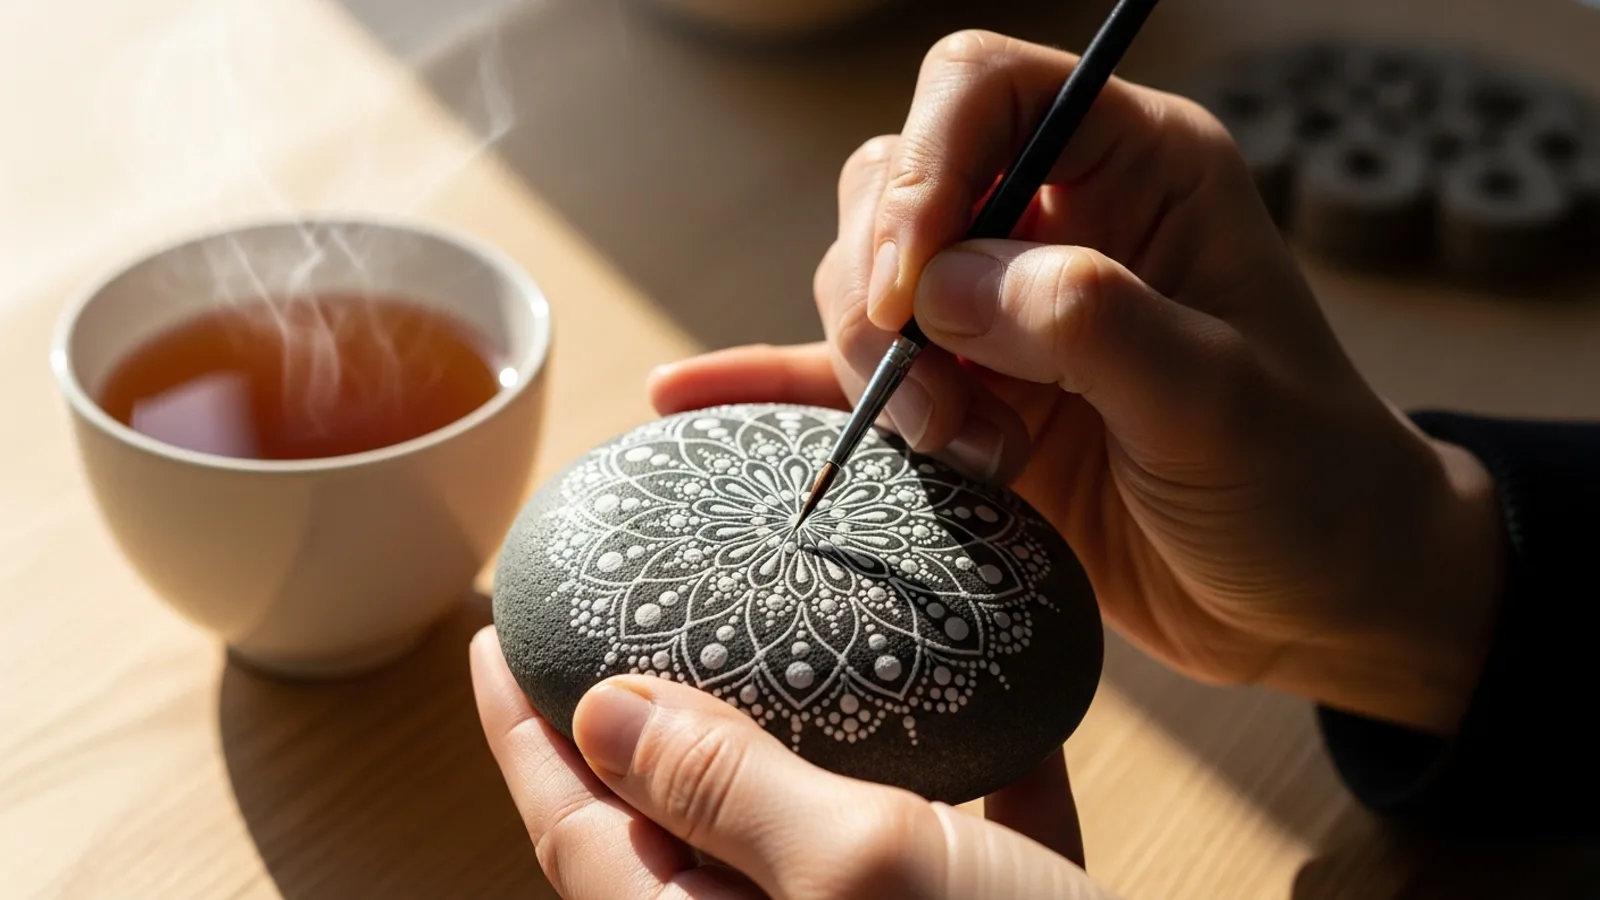
Day 1 — Mandala and geometric patterns
Introduce mandala rock painting with dotting tools. Start with a centre dot and build outward in concentric circles. For detailed techniques, see our mandala rock painting guide.
Day 2 — Glow-in-the-dark and special effects
Use glow-in-the-dark paint and metallic acrylics for special effect rocks. Discuss how these paints work chemically (phosphorescence). See our glow-in-the-dark rocks guide.
Day 3 — Community kindness rocks
Paint rocks with positive messages and encouraging words. Discuss the kindness rocks movement and how small acts of art can brighten someone's day.
Day 4 — Collaborative mural rock
Work together on a large flat stone where each camper contributes a section. Discuss collaboration, communication, and shared creativity.
Day 5 — Sealing and weatherproofing workshop
Apply sealant to all rocks destined for outdoor hiding. Teach proper techniques for lasting protection.
Week 4: The Grand Expedition
Day 1–2 — Final designs and RoxGeo registration
Campers create their final masterpiece rocks. Register each rock on RoxGeo and write tracking codes. Add finder messages with personalised greetings.
Day 3 — Map planning
Study a local area map and plan hiding locations. Discuss which spots have high foot traffic, are safe and accessible, and follow rock painting rules.
Day 4 — The Great Rock Hide
Take campers to the planned locations and let them hide their registered rocks. Photograph each hiding spot and mark it on a shared camp map.
Day 5 — Celebration and tracking launch
Host a closing ceremony where campers share their favourite moments. Set up a shared tracking board where the camp community can follow their rocks' journeys after camp ends.
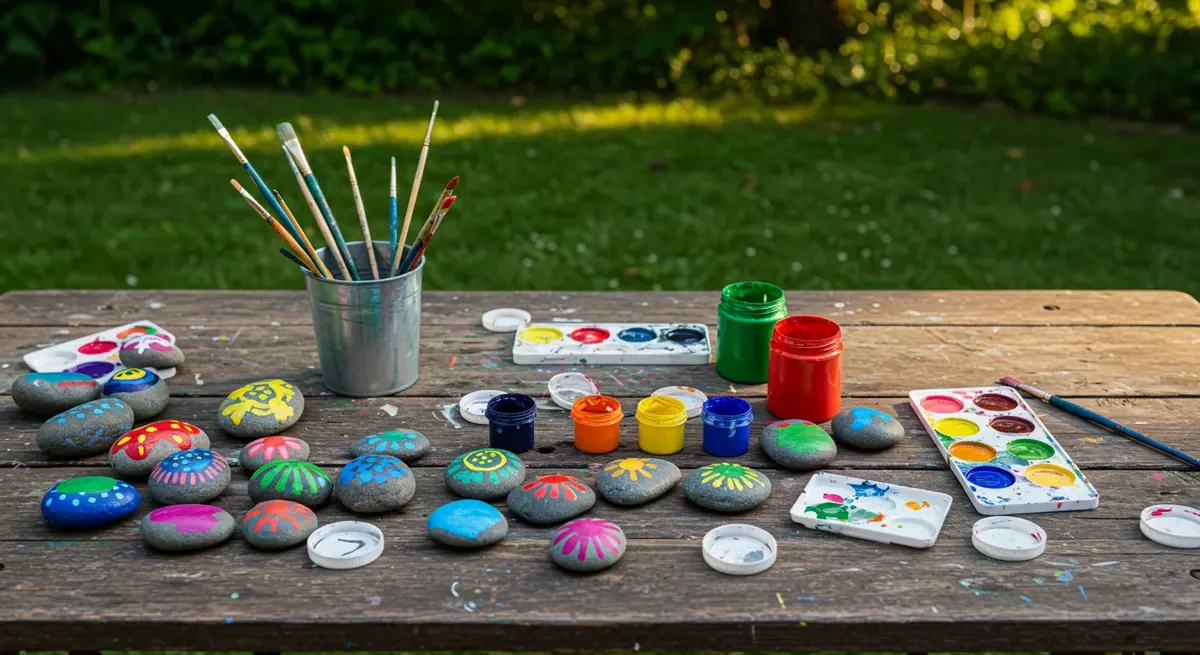
Supply List for Full Programme
- Smooth river stones (10–15 per camper)
- Acrylic paints — primary colours plus white, black, and metallic
- Brushes in 3 sizes, dotting tools, paint pens
- Water-based polyurethane sealant spray
- Newspaper, paper plates, water cups, paper towels
- Magnifying glasses (for geology activities)
- Printed RoxGeo registration cards
Frequently Asked Questions
What ages is this curriculum designed for?
The programme works best for ages 6–12. Weeks 1–2 suit younger campers (6–8) with simpler techniques. Weeks 3–4 challenge older campers (9–12) with advanced designs and planning activities.
Can this programme be adapted for shorter camps?
Yes. Pick the highlights from each week to create a 1-week or 2-week programme. The essentials are: basics (Week 1, Days 1–3), one science activity, sealing, and the group hide event.